

Using Long Exposure for Water
Capturing the movement of water with a camera can transform an ordinary scene into something truly captivating. Using long exposure for water is a popular technique among photographers who want to create dreamy, smooth effects in rivers, waterfalls, and oceans. By extending the shutter speed, you can blur the motion of water while keeping the rest of the scene sharp, resulting in images that feel both tranquil and dynamic.
Whether you’re new to photography or looking to refine your skills, understanding how to use slow shutter speeds for water scenes opens up creative possibilities. In this guide, you'll find practical advice, gear recommendations, and step-by-step instructions to help you master this approach. For those interested in exploring more creative techniques, check out creative slow shutter shots for additional inspiration.
Why Use Extended Shutter Speeds for Water Scenes?
Long exposure photography is especially effective for water because it allows you to capture the passage of time in a single frame. When you use a slow shutter speed, moving water appears silky and soft, creating a sense of motion that’s impossible to achieve with faster exposures. This technique is ideal for:
- Waterfalls and streams, where flowing water becomes a smooth ribbon.
- Oceans and lakes, where waves and ripples blend into a misty surface.
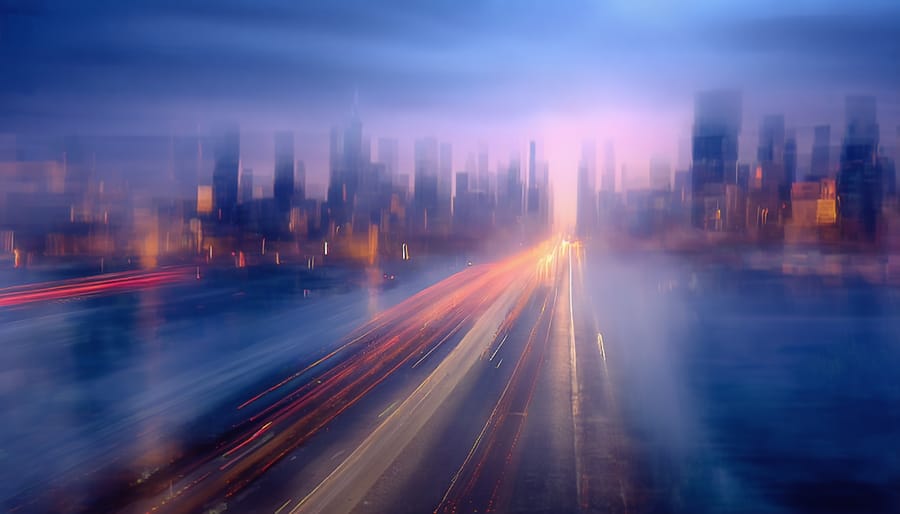
- Urban fountains, adding a sense of calm and elegance to cityscapes.
By experimenting with different shutter speeds, you can control the degree of blur and the mood of your photograph. This approach is also a great way to highlight contrasts between moving and static elements in your composition.
Essential Equipment for Capturing Smooth Water
To achieve the best results when photographing water with slow shutter speeds, having the right gear is crucial. Here’s what you’ll need:
- Tripod: Stability is key for long exposures. A sturdy tripod prevents camera shake, ensuring sharp details in stationary parts of your image.
- Neutral Density (ND) Filter: These filters reduce the amount of light entering your lens, allowing you to use slower shutter speeds even in bright conditions.
- Remote Shutter Release or Timer: Minimizes vibrations caused by pressing the shutter button.
- Camera with Manual Controls: Any DSLR or mirrorless camera that lets you adjust shutter speed, aperture, and ISO will work well.
While some smartphones offer manual controls and ND filter attachments, dedicated cameras provide more flexibility and higher image quality for this style of photography.
Step-by-Step Guide to Using Slow Shutter for Water Photography
Getting started with using long exposure for water doesn’t have to be complicated. Follow these steps for consistent results:
- Scout Your Location: Look for interesting water features such as waterfalls, rivers, or ocean waves. Consider the direction of light and how it interacts with the water.
- Set Up Your Tripod: Place your camera on a stable surface to avoid any movement during the exposure.
- Attach an ND Filter: If shooting during the day, screw an ND filter onto your lens to block excess light.
- Switch to Manual Mode: Set your camera to manual (M) or shutter priority (S/Tv) mode. Start with a shutter speed between 1/2 second and 30 seconds, depending on the effect you want.
- Adjust Aperture and ISO: Use a small aperture (high f-number) and the lowest ISO setting to maximize image quality and control exposure.
- Use Remote or Timer: Trigger the shutter with a remote release or the camera’s timer to prevent shake.
- Review and Refine: Check your image, adjust settings, and experiment with different shutter speeds for various effects.
For more tips on how light impacts your images, visit this lesson on how light affects photography.
Creative Ideas for Water Photography with Extended Exposures
Once you’re comfortable with the basics, try these creative approaches to make your water images stand out:
- Combine Motion and Stillness: Frame your shot to include both moving water and static objects like rocks, trees, or bridges for contrast.
- Experiment with Reflections: Use longer exposures to smooth out ripples and enhance mirror-like reflections on lakes or ponds.
- Capture Urban Water Features: Fountains and city streams can look magical with a soft, flowing effect.
- Emphasize Color and Light: Shoot during golden hour or blue hour to add warmth or cool tones to your images.
For more on storytelling through movement, explore using motion for storytelling and discover how to add narrative depth to your photos.

Common Challenges and How to Overcome Them
Working with slow shutter speeds for water scenes can present some difficulties. Here are solutions to common issues:
- Overexposure: If your images are too bright, use a stronger ND filter, a smaller aperture, or shoot during lower light conditions.
- Camera Shake: Always use a tripod and remote release. If wind is an issue, weigh down your tripod or shield it.
- Unwanted Movement: Watch for moving branches, leaves, or people in your frame that might blur during long exposures.
- Focus Issues: Focus manually before attaching your ND filter, as autofocus may struggle in low light or with dark filters.
Mastering these challenges will help you consistently produce sharp, visually striking images. If you want to further develop your skills, consider reading about understanding bokeh and light for more advanced lighting techniques.
Editing Tips for Water Images with Slow Shutter
Post-processing can enhance the mood and clarity of your water photographs. Here are some editing tips:
- Adjust Contrast and Clarity: Increase contrast to make the water stand out, and use clarity adjustments to fine-tune texture.
- Enhance Colors: Boost vibrance or selectively adjust hues to emphasize the natural tones in your scene.
- Crop for Impact: Reframe your image to remove distractions and focus attention on the most interesting elements.
- Sharpen Selectively: Apply sharpening to static areas while keeping the water smooth and soft.
Editing is a personal process, so experiment with different approaches to find a style that matches your creative vision.
Frequently Asked Questions
What shutter speed should I use for smooth water effects?
The ideal shutter speed depends on the speed of the water and the look you want. For gentle blur, try 1/2 to 2 seconds. For a more ethereal, misty effect, use exposures of 5 seconds or longer. Experiment with different settings to achieve your desired result.
Do I always need an ND filter for long exposure water photography?
An ND filter is essential when shooting in bright daylight, as it allows you to use slower shutter speeds without overexposing your image. In low light conditions, such as early morning or late evening, you may be able to achieve long exposures without a filter.
How can I keep my images sharp when using slow shutter speeds?
Use a sturdy tripod, a remote shutter release or timer, and turn off image stabilization if your camera is on a tripod. Focus manually before attaching ND filters, and avoid touching the camera during the exposure.
Conclusion
Mastering the art of using long exposure for water can elevate your landscape and cityscape photography, allowing you to create images with a sense of movement and tranquility. With the right equipment, a solid understanding of technique, and a willingness to experiment, you’ll be able to capture stunning water scenes that stand out. For more ideas on photographing movement, take a look at capturing dynamic movement and continue exploring the creative possibilities of slow shutter photography.
This article contains affiliate links. We may earn a commission at no extra cost to you.
This article contains affiliate links. We may earn a commission at no extra cost to you.
This article contains affiliate links. We may earn a commission at no extra cost to you.
This article contains affiliate links. We may earn a commission at no extra cost to you.