

Rembrandt Lighting Technique
The Rembrandt lighting technique is a classic approach in portrait photography that creates a dramatic yet natural look using a single light source. Named after the Dutch painter Rembrandt, this method is known for producing a distinctive triangle of light on the subject’s cheek opposite the light source. This effect adds depth, dimension, and character to portraits, making it a favorite among photographers seeking to evoke mood and highlight facial features.
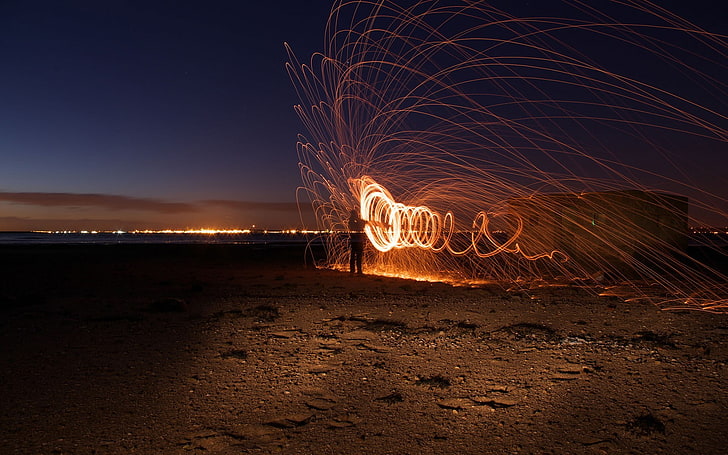
Understanding how to use this lighting style can elevate your photography, whether you’re shooting in a studio or working with available light. In this article, you’ll learn what sets this method apart, how to set it up, and practical tips for achieving consistent results. For those interested in exploring other creative lighting concepts, you might also find value in using light for visual rhythm to enhance your compositions.
What Makes Rembrandt Lighting Unique?
This lighting style is characterized by a small, illuminated triangle under the eye on the less-lit side of the face. The effect is achieved by positioning the main light source at approximately 45 degrees to the side and slightly above the subject’s eye level. The resulting shadow from the nose connects with the shadow on the cheek, leaving a triangle of light that is both flattering and visually striking.
Unlike flat or broad lighting, this approach creates contrast and depth, emphasizing the contours of the face. It’s especially effective for adding drama to portraits and is often used in both classic and contemporary photography. The Rembrandt lighting technique is versatile and works well for a range of subjects, from individual headshots to group portraits.
Setting Up Rembrandt-Style Lighting
To achieve this effect, you don’t need a complex setup. Here’s a step-by-step guide:
- Position the Key Light: Place your main light source about 45 degrees to one side of your subject and slightly above their eye level. This angle is crucial for casting the right shadow across the face.
- Adjust the Subject: Ask your subject to turn their face slightly toward the camera, but not directly facing the light. The nose shadow should connect with the cheek shadow, leaving a triangle of light under the eye.
- Control the Shadows: Use a reflector or a fill light on the opposite side if you want to soften the shadows. For a more dramatic effect, leave the shadows deeper.
- Check the Triangle: The illuminated triangle should be no wider than the eye and no longer than the nose. Adjust the light or subject’s position as needed.
Experimenting with different light modifiers, such as softboxes or umbrellas, can help you fine-tune the quality of the light and the sharpness of the shadows.
Benefits of Using This Portrait Lighting Approach
There are several reasons why photographers favor this method:
- Creates Depth: The interplay of light and shadow adds three-dimensionality to the image.
- Flattering for Most Faces: The shadow pattern can slim the face and highlight bone structure.
- Minimal Equipment Needed: You can achieve the effect with one light source and a reflector.
- Classic, Timeless Look: The style is reminiscent of old master paintings, lending a sense of artistry to portraits.
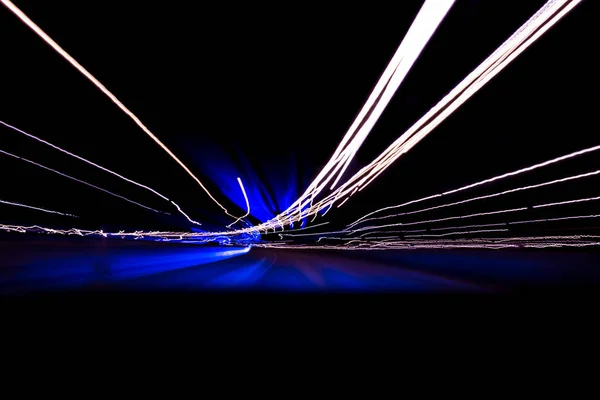
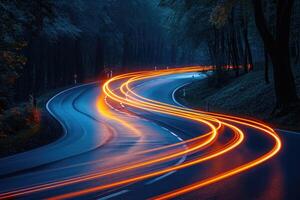
For those interested in experimenting with movement and light, check out techniques for how to photograph car motion to expand your creative toolkit.
Common Mistakes and How to Avoid Them
While the Rembrandt lighting technique is straightforward, there are a few pitfalls to watch for:
- Triangle Too Large or Small: If the triangle of light is too big, the effect is lost. If it’s too small, it may not be visible. Adjust the light and subject until the triangle is just right.
- Light Too Low: Placing the light too low can create unflattering shadows. Always keep the light slightly above eye level.
- Flat Lighting: If the light is too close to the camera axis, you’ll lose the signature shadow pattern. Maintain the 45-degree angle for best results.
Practice and careful observation are key. Take test shots and review them to fine-tune your setup.
Creative Variations and Advanced Tips
Once you’ve mastered the basics, you can experiment with different variations:
- Use Colored Gels: Add colored gels to your light source for creative effects.
- Combine with Backlighting: Introduce a rim or hair light to separate your subject from the background.
- Natural Light Adaptation: Use window light as your main source and a reflector to shape the shadows.
- Environmental Portraits: Apply the same principles outdoors, using sunlight and reflectors to mimic the effect.
For more inspiration on blending sharpness and blur in your images, explore creative use of blur and sharpness in photography.
How Light Interacts with Your Subject
Understanding the way light behaves is crucial for mastering any lighting technique. The direction, quality, and intensity of light all influence the final image. For a deeper dive into the science and artistry of lighting, visit this comprehensive guide on how light interacts with your subject. This resource covers the fundamentals of light in photography, helping you make more informed decisions when setting up your shots.
Integrating Rembrandt-Style Lighting into Your Workflow
Incorporating this approach into your regular workflow can help you create consistently compelling portraits. Here are some practical steps:
- Plan Your Session: Decide on the mood and style you want to achieve before setting up your lights.
- Test and Adjust: Take a few test shots and make adjustments to the light position and subject pose as needed.
- Review and Refine: Analyze your images for the signature triangle and overall balance of light and shadow.
- Experiment: Don’t be afraid to try different modifiers, backgrounds, and poses to see how they affect the final image.
For those who enjoy experimenting with exposure, you might also like learning about creative slow shutter shots and using long exposure for water to further expand your creative options.
Frequently Asked Questions
What equipment do I need for Rembrandt-style portraits?
You only need a single light source (such as a strobe, LED, or even a window) and optionally a reflector to control the shadows. Light modifiers like softboxes or umbrellas can help soften the light for a more flattering effect.
Can I use this lighting technique outdoors?
Yes, you can use natural sunlight as your main light source and a reflector to create the signature triangle of light. Position your subject so that the sun acts as the key light at a 45-degree angle.
Why is the triangle of light important?
The triangle of light is the hallmark of this technique. It adds depth and dimension to the face, creating a visually interesting and classic portrait look that draws attention to the subject’s features.
Is Rembrandt lighting suitable for all face shapes?
This approach is generally flattering for most face shapes, especially round or fuller faces, as it helps to slim and define features. However, you can adjust the angle and intensity to suit individual subjects.
This article contains affiliate links. We may earn a commission at no extra cost to you.
This article contains affiliate links. We may earn a commission at no extra cost to you.
This article contains affiliate links. We may earn a commission at no extra cost to you.
This article contains affiliate links. We may earn a commission at no extra cost to you.