

How to Capture Light Trails
Capturing the mesmerizing streaks of light created by moving vehicles, city lights, or even handheld light sources is a favorite technique among photographers looking to add drama and motion to their images. Mastering this approach requires a blend of technical knowledge and creative experimentation. Whether you’re a beginner or looking to refine your skills, understanding how to capture light trails will open up new possibilities for your night and low-light photography.
Before diving into the step-by-step process, it’s helpful to get familiar with the fundamentals of long exposure and motion blur. For a deeper look at these concepts, you might find the aperture and motion blur guide useful, as it explains how adjusting your camera’s settings can affect the look of moving subjects.
Understanding the Basics of Light Trail Photography
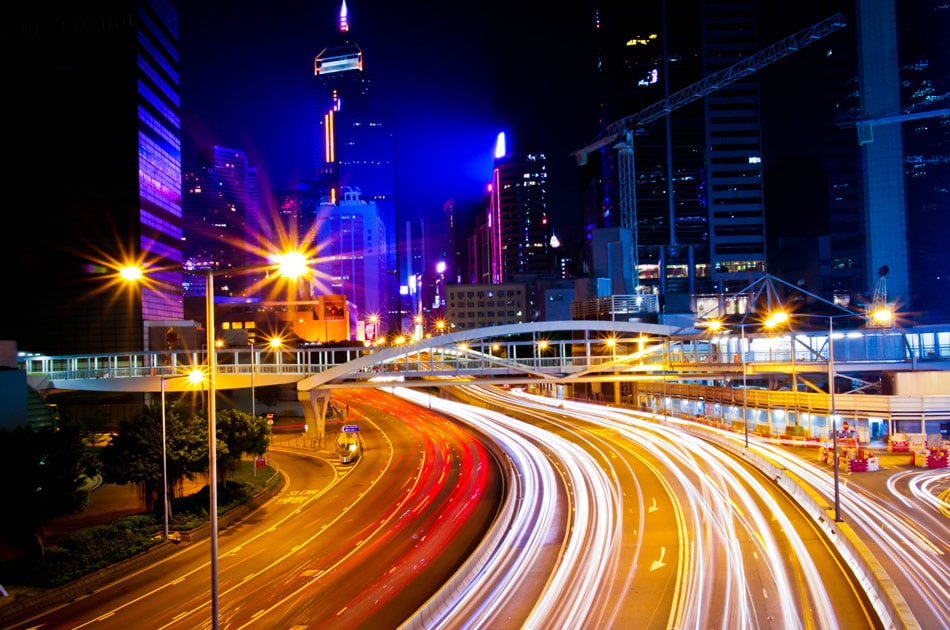
Light trail images are created by using a slow shutter speed to record the path of moving lights over time. This technique is most commonly used at night or in low-light conditions, where the contrast between the light source and the dark background is most pronounced. The resulting effect can transform ordinary scenes—like busy roads or cityscapes—into dynamic, visually striking photographs.
To achieve the best results, you’ll need a camera that allows manual control over shutter speed, aperture, and ISO. A sturdy tripod is also essential to keep your camera steady during long exposures, preventing unwanted blur from camera shake.
Essential Equipment for Shooting Light Trails
While it’s possible to experiment with light trails using a smartphone, a dedicated camera with manual controls gives you far greater flexibility and image quality. Here’s what you’ll need:
- Camera with Manual Mode: DSLRs, mirrorless cameras, or advanced compacts are ideal.
- Tripod: Keeps your camera stable during long exposures.
- Remote Shutter Release or Timer: Minimizes vibrations when triggering the shutter.
- Wide-Angle Lens: Captures more of the scene and accentuates the sense of motion.
- ND Filter (Optional): Useful for shooting in brighter conditions by reducing the amount of light entering the lens.
Good lighting is crucial for creative control. If you’re interested in enhancing your setup, consider checking out photography lighting options for more versatility.
Camera Settings for Stunning Light Trails
Getting the settings right is key to producing clean, vibrant trails. Here’s a breakdown of the most important parameters:
- Shutter Speed: The longer the exposure, the longer the light trails. Start with 5–30 seconds and adjust as needed.
- Aperture: A smaller aperture (higher f-number, like f/8–f/16) keeps more of the scene in focus and can create starburst effects around lights.
- ISO: Use the lowest ISO possible (100–400) to minimize noise in your images.
- Focus: Switch to manual focus and pre-focus on a point where the action will occur, as autofocus can struggle in low light.
Experiment with these settings to find the right balance for your scene. For more on exposure techniques, the long exposure photography tips article offers additional insights.
Choosing the Right Location and Timing
Location and timing play a significant role in the outcome of your light trail images. Urban environments with moving vehicles, illuminated bridges, or bustling intersections are classic choices. For a different atmosphere, try shooting during the blue hour, when the sky retains some color but city lights are already visible. The blue hour photography guide provides tips on making the most of this magical time.
Scout your location in advance to find interesting foregrounds and backgrounds. Look for vantage points that offer a clear view of the action, and consider how the lines of light will lead the viewer’s eye through the frame.
Step-by-Step Guide to Photographing Light Trails
- Set up your tripod and compose your shot, leaving enough space for the light trails to move through the frame.
- Switch your camera to manual mode and dial in your initial settings (e.g., 10-second shutter, f/11, ISO 100).
- Manually focus on your chosen point, such as a spot on the road where cars will pass.
- Use a remote shutter release or the camera’s timer to avoid shaking the camera.
- Take a test shot and review the result. Adjust your exposure time, aperture, or ISO as needed to achieve the desired effect.
- Repeat and experiment—try different angles, timings, and compositions for variety.
Don’t be afraid to take multiple shots. Traffic patterns and light movement are unpredictable, so patience and persistence often pay off.

Creative Tips for Unique Light Trail Images
Once you’re comfortable with the basics, try these creative ideas to make your photos stand out:
- Vary Your Perspective: Shoot from above, at street level, or even from behind glass for reflections.
- Include Static Elements: Buildings, signs, or people add context and contrast to the moving lights.
- Experiment with Colors: Look for scenes with different colored lights or use colored gels on light sources.
- Combine with Other Techniques: Blend light trails with motion blur techniques for even more dynamic results.
For inspiration and to understand the role of light in composition, explore this comprehensive guide on light in photography.
Troubleshooting Common Issues
Even with careful planning, you may encounter challenges when trying to photograph light trails. Here are some common problems and solutions:
- Overexposed Trails: Reduce your ISO, use a smaller aperture, or shorten your shutter speed.
- Unwanted Camera Shake: Always use a tripod and remote shutter release or timer.
- Too Few or Too Many Trails: Adjust your timing to coincide with heavier or lighter traffic, or increase/decrease your exposure time.
- Focus Issues: Use manual focus and check your images at high magnification to ensure sharpness.
If you want to freeze motion instead of capturing trails, the freezing motion in photography resource explains how to achieve crisp, sharp results.
FAQ
What is the ideal shutter speed for light trail photography?
The best shutter speed depends on the speed of the moving lights and the desired length of the trails. Typically, exposures between 5 and 30 seconds work well. Experiment with different durations to see what creates the most appealing effect for your scene.
Can I capture light trails without a tripod?
While it’s possible to rest your camera on a stable surface, a tripod is highly recommended for sharp, blur-free images. Handholding the camera during long exposures will almost always result in unwanted blur.
How do I reduce noise in my night photos?
Use the lowest ISO setting your camera allows, and avoid overexposing your image. Shooting in RAW format also gives you more flexibility to reduce noise during post-processing.
Are there any safety tips for shooting at night?
Always be aware of your surroundings, especially when shooting near roads or in unfamiliar areas. Bring a friend, keep your gear secure, and wear visible clothing if you’re near traffic.
Mastering the art of photographing light trails takes practice, patience, and a willingness to experiment. With the right equipment, settings, and creative approach, you’ll be able to create images that capture the energy and beauty of moving lights in any urban or natural setting.
This article contains affiliate links. We may earn a commission at no extra cost to you.