

Where Should Lighting Be Placed in Photography for Best Results?
When it comes to photography, lighting is undisputedly one of the most important elements. Understanding where should lighting be placed in photography can drastically elevate your work, whether you're a seasoned professional or an enthusiastic hobbyist. Getting your lighting right can mean the difference between a flat, uninteresting photo and one that captivates the viewer's eye.
In this article, we will dive deeply into the nuances of lighting placement. Well explore various scenarios involving natural and artificial lighting, indoor and outdoor setups, and the impact of directional light on mood and texture. Whether you're capturing portraits, landscapes, or products, the principles outlined here will help elevate your photography to new heights.

Understanding the Basics of Lighting Placement
Before we dive into specifics, its essential to grasp some foundational concepts about lighting placement in photography. The main types of lighting are:
- Key Light - The main source of light in your scene.
- Fill Light - Used to soften and lighten shadows.
- Back Light - Adds depth and dimension by illuminating the subjects back.
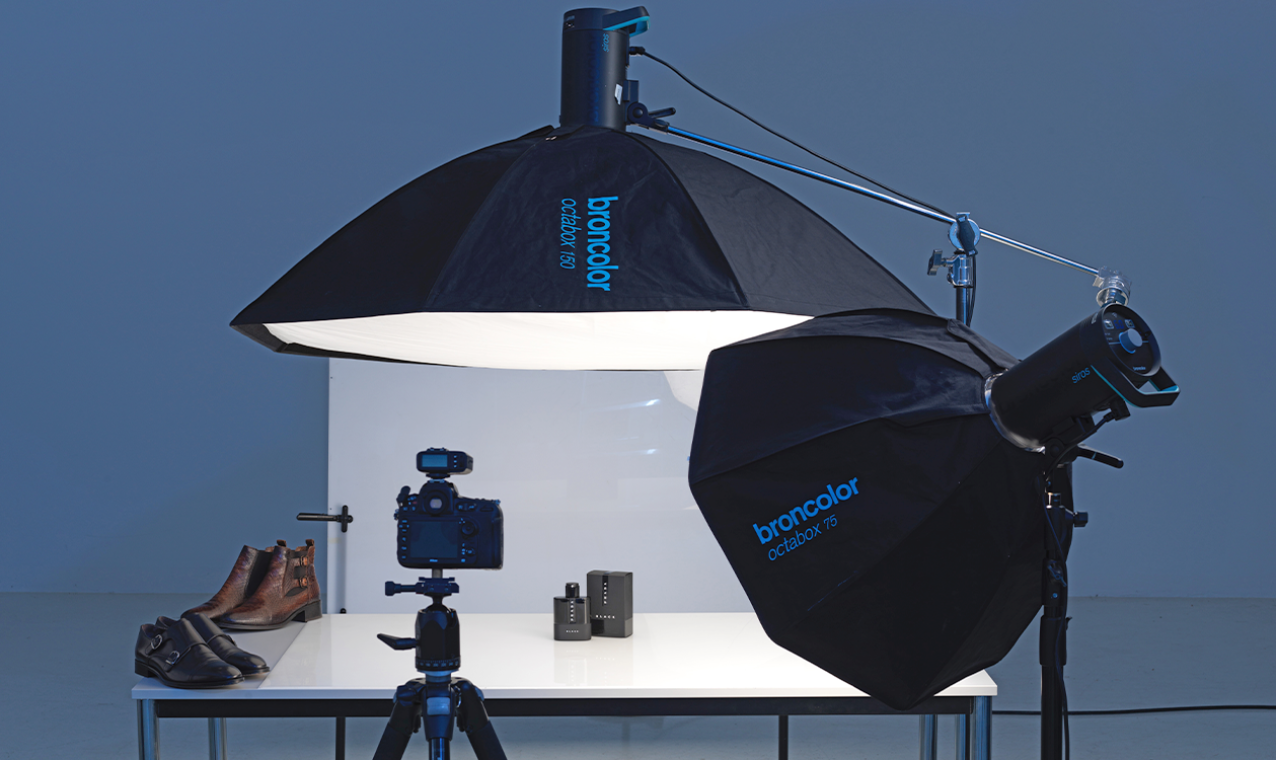
Getting these elements right helps in establishing the desired mood and feel for your photographs. In studio settings, controlled lighting allows for an experimentation that can lead to stunning results.
Where Should Lighting Be Placed for Portrait Photography?
Portrait photography relies heavily on how lighting interacts with the subject's features. A classic approach utilizes the three-point lighting system, which consists of:
- The Key Light: Usually positioned at a 45-degree angle to the subject, it provides the primary illumination.
- The Fill Light: A softer light positioned opposite the key light that reduces harsh shadows and evens out the light on the subject's face.
- The Back Light: This light is placed behind the subject to help distinguish them from the background, providing a sense of depth.
For detailed tips on setting up lighting specifically for portraits, check out this article on strobe lighting.
Lighting Placement for Children and Newborn Photography
When capturing children, the most flattering light is essential. Utilizing soft and diffuse light helps to create gentle images. Natural window light works wonders here:
- Position the baby near a window with sheer curtains to soften direct sunlight.
- Using reflectors can enhance softness and fill shadows, making for delightful portraits.
To delve deeper into setup ideas, explore this resource on studio lighting.

Using Rim Lighting in Photography
Rim lighting is a powerful technique that involves positioning light behind your subject. This creates a glowing edge that outlines the subject, adding dimension. Here's a quick breakdown of where it works well:
- Perfect for dramatic portraits.
- Creates eye-catching product shots, especially when the background is darker.
For further understanding, check this article about rim lighting.
Natural Light and Its Placement
Natural light can be magical, but it requires careful planning. The best times for natural photography are known as the golden hour, which occurs shortly after sunrise or before sunset. This light is soft, diffused, and rich in color.
In outdoor scenarios, here are a few tips for effective natural lighting:
- Position your subject with the sun behind them and use a reflector to bounce that light onto their face.
- Utilize structures or trees to create shaded areas that shield your subjects from harsh light.
To understand the importance of such light setups in photography, refer to this insightful article on natural lighting.
Experimenting with Artificial Lighting Options
While natural light offers beauty, there's much to gain from the versatility of artificial lighting. Experimenting with different artificial light sources can open up countless creative avenues. Here is a breakdown of commonly used artificial light sources:
- Strobe Lights: Perfect for freezing motion and creating powerful images.
- LED Lights: Highly adjustable with various color temperatures, great for video and photo work.
- Continuous Lighting: Provides a consistent light source, excellent for beginners.
To better understand how to utilize strobe lighting, check out this article on D-Lighting.
Conclusion
Mastering where should lighting be placed in photography opens up endless avenues for creative expression. Understanding the different qualities of light, whether natural or artificial, can significantly impact your photography style and effectiveness. Always remember, lighting is about experimentation; have fun and discover what works best for you!
Frequently Asked Questions
1. Why is lighting essential in photography?
Good lighting determines the overall quality and emotion of a photograph. It can highlight textures, create depth, and contribute to the aesthetic quality of the image.
2. How can I manipulate natural light for my photography?
Consider using reflectors or diffusers, and always shoot during the golden hour for the best results. Explore shadows and highlights in your scenario to find what works best.
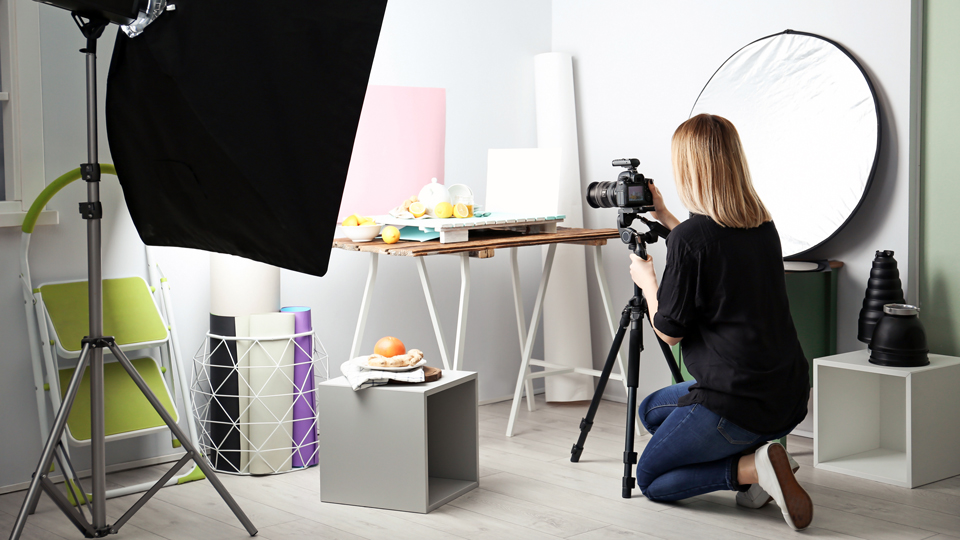
3. What are the best tools to control lighting in the studio?
Using light modifiers, reflectors, and backdrops can help you control light and enhance the final outcome of your photographs.
As an Amazon Associate, I earn from qualifying purchases.