

What is Rim Lighting Photography and How to Master It?
As a professional photographer, understanding various lighting techniques is crucial for enhancing your compositions. One of the intriguing techniques is rim lighting photography. But what is it exactly? In simple terms, rim lighting is a technique where a light source is placed behind the subject, creating a bright outline or rim around the edges of the subject. This technique can add dramatic flair, define shapes, and help the subject stand out against the background.
The challenge and beauty of rim lighting lie in its ability to transform ordinary scenes into extraordinary works of art. Its a go-to method for photographers seeking to convey depth and drama. This article delves deep into the intricacies of rim lighting photography, providing you with insights and tips to master this fascinating technique.

Understanding Rim Lighting in Photography
Rim lighting is an essential tool in a photographer's lighting arsenal. The technique can be applied to a variety of scenarios, including portrait, fashion, and product photography. A typical setup involves placing a light source behind the subject, which can either be a flash, LED panel, or natural light. This creates a stunning halo effect that separates the subject from the background, enhancing dimension and focus.
One of the great advantages of this technique is its versatility. Depending on the intensity and angle of the light, you can create soft glows or harsh backlighting effects. This flexibility is particularly appealing for professional photographers who often need to adapt their techniques based on the requirements of their clients.
Key Elements of Successful Rim Lighting Photography
To effectively use rim lighting, consider the following important elements:
- Light Positioning: The position of your light source is critical. For rim lighting, it's essential to have the light behind the subject at an angle. This positioning creates that defining edge.
- Control of Background: The background is just as crucial as the subject. A cluttered background can detract from the rim effect. Ensure the background complements the overall composition.
- Camera Settings: Adjusting your camera settings is vital. A higher exposure can help to accentuate the rim light, while lower apertures can produce a wider depth of field.
- Modifiers: Using light modifiers such as softboxes or reflectors can help you control the intensity of the light, enabling you to craft the desired effect.

Types of Rim Lighting Techniques
There are several types of rim lighting techniques that you can use based on your photography style:
1. Natural Rim Lighting
This technique utilizes sunlight as your light source. Early mornings or late afternoons provide the perfect soft light conditions for achieving beautiful rim lighting.
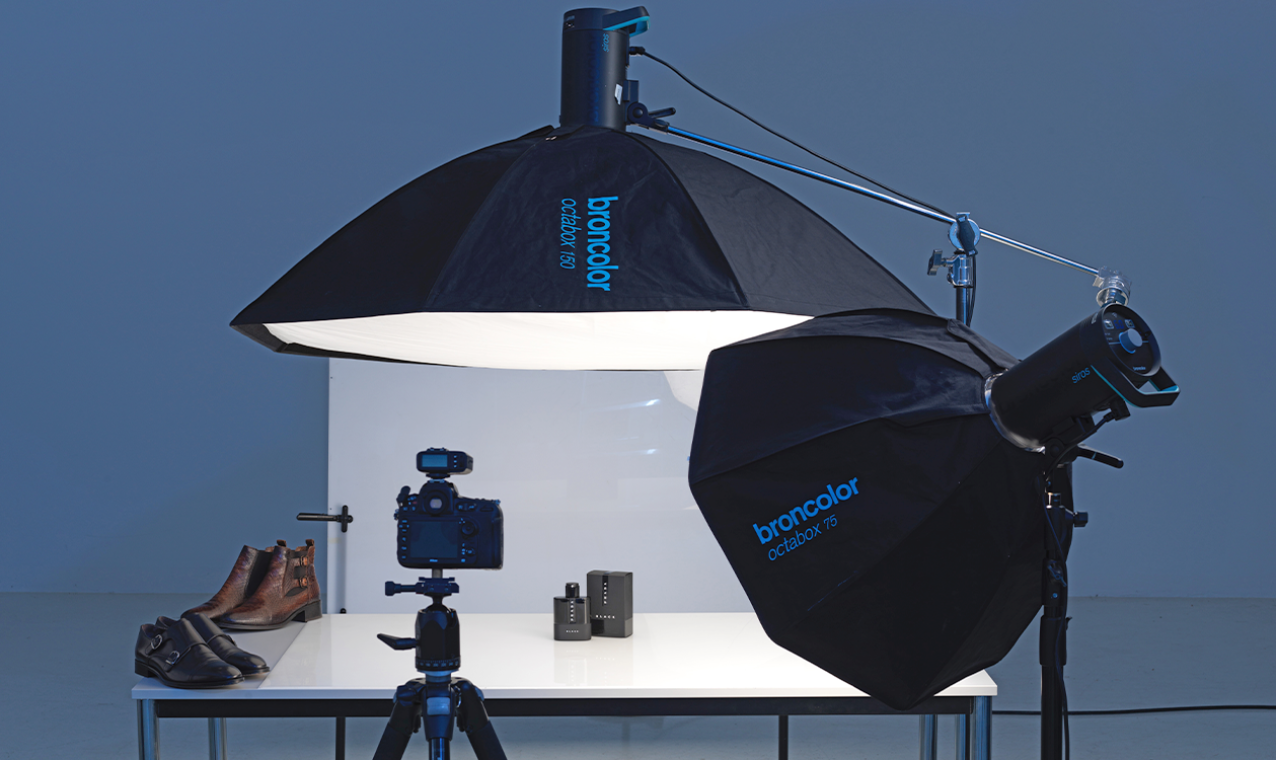
2. Studio Rim Lighting
In a studio setting, you can precisely control your light sources. Use multiple lights to create layered rim lighting effects, or combine rim lighting with other lighting systems, such as key and fill lights.
3. Artificial Rim Lighting
LED lights or portable flashes can serve as excellent artificial rim lights. Experiment with different power outputs and distances from the subject to achieve the desired effect.

Practical Tips for Capturing Rim Lighting
Here are actionable tips for implementing rim lighting in your photography:
- Experiment: Dont be afraid to try different placements for your light. Minor adjustments can significantly impact how the rim light interacts with your subject.
- Use Remotes: If you are photographing solo, using a remote trigger can help you adjust your lights and compositions without needing another person.
- Adjust the Environment: Modify the surrounding area to reduce unnecessary reflections and distractions, enhancing your main subject.
- Post-Processing: Don't overlook the potential for significant enhancements during editing. Adjusting brightness, contrast, and shadows can make your rim lighting photos truly shine.
Common Mistakes to Avoid in Rim Lighting Photography
Even seasoned photographers can fall prey to common pitfalls in rim lighting photography. Here are a few to avoid:
- Overexposing the Subject: Ensure your subject is not overexposed. This can completely negate the effect of rim lighting.
- Poor Background Choice: An inappropriate background can spoil the subtlety of the rim light effect. Always opt for backgrounds that complement your subject.
- Lack of Experimentation: Sticking rigidly to one setup can limit your creativity. Experiment with various angles and distances for unique results.
Related Techniques and Resources
Rim lighting is just one of many incredible lighting techniques available to professional photographers. To broaden your lighting repertoire, check out these helpful resources:
Frequently Asked Questions (FAQ)
What equipment do I need for rim lighting photography?
You can use any light source, such as a flash or natural light. Softboxes and reflectors can help in controlling and directing light.
Can I use rim lighting for indoor photography?
Absolutely! Rim lighting is effective indoors. You can use window light or artificial lights to create stunning rim effects indoors.
What are some creative applications of rim lighting?
Rim lighting can be used effectively in portrait photography, product photography, and even in landscape photography to highlight certain elements.
As an Amazon Associate, I earn from qualifying purchases.