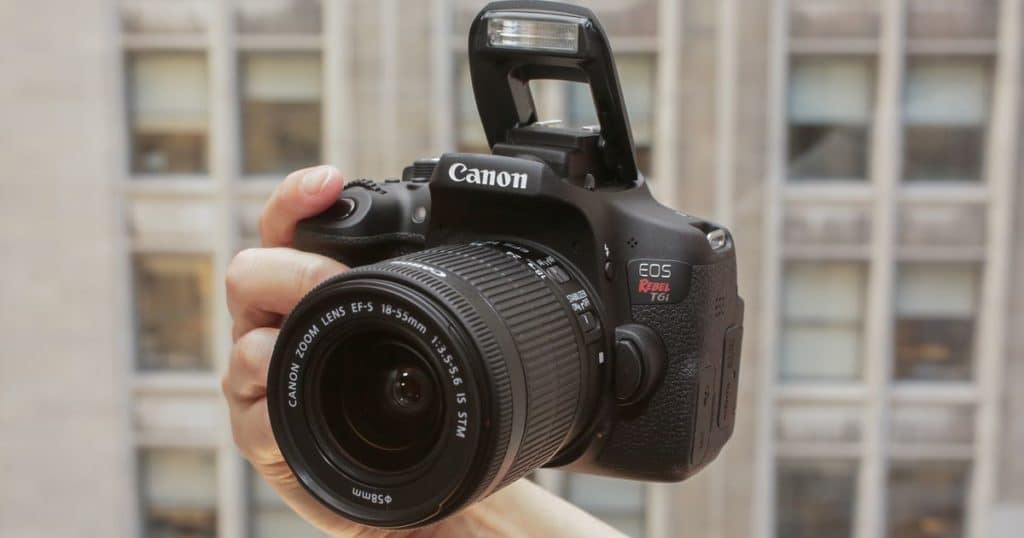
What Type of Light Meter is in a DSLR Camera? Unraveling the Details
For all the professional photographers out there, the very mention of a light meter quickly draws ones mind to subjects like exposure, dynamic range, and those perfect shots that make impactful imagery. You might be wondering, what type of light meter is in a DSLR camera? Let's unravel this inescapable aspect of modern digital photography.

The Integral Importance of Light Meters in Photography
Light meters have been the backbone of any photographer's toolkit. Understanding light, measuring it, and using it to shape your photographs is essential for professional photography. This journey begins with the light meters embedded in your DSLR.
Professional photographers know very well that the correct exposure is the essence of a good photograph. Light meters help achieve this by measuring the light in a scene and recommending the optimal exposure settings.

Types of Light Meters Inside DSLR Cameras
Digital Single-Lens Reflex (DSLR) cameras usually feature built-in light meters, typically of three types. Understanding these can significantly enhance your photography:
1. Center-Weighted Metering
Center-weighted metering is the most traditional type of metering. It gives priority to the light in the center of the frame, considering the peripheral areas to a lesser extent.
2. Evaluative/Matrix Metering
Evaluative or matrix metering is a more advanced system. It divides the frame into several zones and takes multiple readings to determine the best overall exposure. It's particularly useful in complex lighting conditions.
3. Spot Metering
Spot metering allows precise measurement by evaluating light from a small, specific area of the frame. This type is preferable when dealing with high-contrast scenes or when the subject is heavily backlit.

Maximizing the Efficiency of Your DSLRs Light Meter
Learning how to effectively use your DSLRs light meter can make a substantial difference. For instance, knowing when to switch between spot metering and evaluative metering can help you capture the right exposure in challenging lighting conditions.
Understanding how your camera interprets light can aid in better decision-making during shoots. For example, in scenes with evenly distributed light, matrix metering is highly efficient. Yet for subjects with strong backlight, switching to spot metering might yield the desired results.
Dont miss out on this comprehensive guide on buying the right DSLR camera to ensure you get one with features that meet your photography needs.

Advanced Techniques for Professional Photographers
Light meters in DSLRs excel in most situations, but supplementing meter readings with advanced exposure techniques can lead to even more professional results.
Consider integrating manual exposure adjustments. This allows you to tweak settings beyond what the light meter suggests, perfect for achieving your desired artistic effect.
Another noteworthy technique is exposure bracketing. By taking several shots at different exposure levels, you can select the best one or even combine them to create high dynamic range (HDR) images, thus showcasing the full spectrum of light in your scene.
Expert Tips for Optimal Use of DSLR Light Meters
To further master the effective use of light meters in your DSLR, here are few professional tips:
1. Understand Your Cameras Metering Patterns
Read your camera manual thoroughly to fully understand how each metering mode operates.
2. Learn to Observe Light
Beyond relying on technology, develop an innate sense of light quality and direction. This will help you anticipate how the cameras meter will read the scene.
3. Practice Constantly
Like any skill, using a light meter effectively requires practice. Regularly experiment with different metering modes and see how they perform in various lighting situations.
To delve deeper into maximizing your camera's features, check out our articles on fixing blurry DSLR camera issues and organizing your DSLR camera bag.
Common Issues with DSLR Light Meters and Solutions
While sophisticated, DSLR light meters are not infallible. Here are common issues and solutions:
1. Metering in Low Light Conditions
DSLR meters may struggle in extremely low light. Use a combination of higher ISO settings, larger apertures, and longer shutter speeds to compensate.
2. High Contrast Scenes
For scenes with extreme contrasts, spot metering can offer more accurate exposure for the subject.
3. Incorrect Metering Due to Reflective Surfaces
Reflective surfaces can deceive the meter. In such cases, manual metering or using exposure compensation can help.
Conclusion
Understanding what type of light meter is in a DSLR camera and how to utilize it effectively is paramount for professional photographers aiming to create impactful images. From center-weighted to matrix and spot metering, theres a lot to harness and experiment with.
Remember, while the built-in light meter is incredibly powerful, supplementing with advanced techniques and practice will enhance your skills and outcomes. For more photography tips and tricks, visit our comprehensive photography blogs and guides at Photo4Art.
As an Amazon Associate, I earn from qualifying purchases.
Frequently Asked Questions
1. Why is matrix metering recommended for beginners?
Matrix metering is recommended for beginners because it provides balanced exposure by dividing the frame into zones and considers the overall ambient light.
2. How can I ensure accurate metering in low light conditions?
Ensure accurate metering in low light by increasing ISO, using a larger aperture, and slowing the shutter speed. Additionally, using spot metering can help focus on specific areas with lower light.
3. Can I rely solely on my DSLRs light meter for professional shoots?
While DSLR light meters are highly reliable, professional photographers often supplement them with manual adjustments and advanced techniques like exposure bracketing for optimal results.

