

How to Photograph the Northern Lights with a Point and Shoot Camera for Stunning Results
Capturing the mesmerizing dance of the Northern Lights is a dream for many photographers. However, doing it with a point and shoot camera can seem like a daunting task. In this article, we'll delve deep into the techniques and tips on 'how to photograph the Northern Lights with a point and shoot camera'. Even with the simpler mechanics of a point and shoot, you can still achieve beautiful and professional results.

Understanding the Phenomenon of the Northern Lights
Before diving into the practical elements, it's essential to understand the spectacular light show known as the Northern Lights or Aurora Borealis. Originating from the collision of solar particles with Earths magnetic field, the Northern Lights create ethereal patterns of green, pink, and violet hues in the night sky. Knowing when and where they appear can dramatically improve your photographic endeavors. Identifying your shooting location and understanding the best time for such a natural event is the first crucial step.
:max_bytes(150000):strip_icc()/GettyImages-618066222-58a7a9565f9b58a3c9d780d3.jpg)
Best Time and Locations for Photographing Northern Lights
The Northern Lights are primarily visible during winter months from late September to early March, generally between 65-72 degrees north, nearer to the Arctic Circle. Locations such as Norway, Sweden, Iceland, and parts of Canada are excellent places to witness this phenomenon.
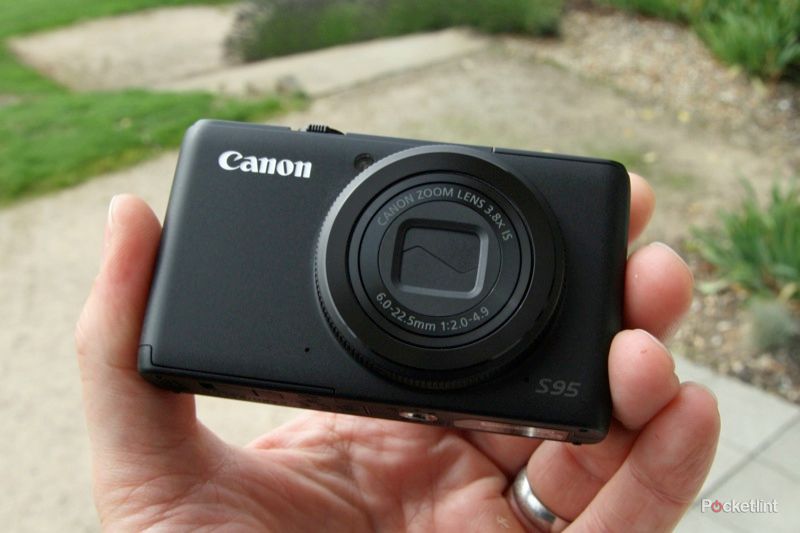
Choosing the Right Point and Shoot Camera
Its vital to note that not all point and shoot cameras are capable of capturing the Northern Lights effectively. Look for cameras with a high ISO range, manual settings, and good low-light performance. Some point and shoot cameras that fit the bill include the largest sensor cameras and models like the Canon PowerShot G7 X Mark II or the Sony RX100 series.
Manual Settings and Functions
Manual settings are a game-changer when capturing the Northern Lights with a point and shoot camera. Ensure your camera has the following:
- Manual Focus: Autofocus often fails in low-light conditions.
- Shutter Speed Control: To allow longer exposure times.
- High ISO Capability: To brighten your images in low light conditions.
Essential Gear for the Best Shots
Besides the camera, you'll need some additional gear:
- Sturdy Tripod: Reduces camera shake during long exposures.
- Remote Shutter Release: To avoid any camera movement when taking a shot.
- Extra batteries: Cold weather can drain batteries quickly.

Camera Settings for Capturing the Northern Lights
ISO Settings
When photographing the Northern Lights, start with an ISO setting between 800 and 3200. Higher ISO levels can introduce noise, but they can also make a significant difference in exposure. Some cameras have noise reduction features which can be beneficial.
Aperture and Shutter Speed
Set your aperture to its widest setting (smallest f-number) which in point and shoot cameras is usually around f/2.8 to f/4. Your shutter speed should vary between 5-25 seconds, depending on the intensity of the Aurora and ambient light conditions.
Composition Tips for Stunning Shots
A well-composed shot can make a drastic difference. Follow the rule of thirds and try to include interesting foreground elements like trees, mountains, or bodies of water. This not only gives the photo depth but also offers a sense of place and scale.
Foreground Elements
Incorporating objects like trees or mountains creates a silhouette effect against the vibrant sky. Reflective surfaces like water bodies can double the impact by mirroring the Aurora.
Post-Processing Techniques
Post-processing is where your photos can go from good to spectacular. Software like Lightroom or Photoshop can help bring out the colors and reduce noise. Adjust the white balance to tone down any artificial coloration introduced by the camera. Tweaking the exposure and contrast can also bring out more details.
Practical Tips and Advice
Be patient and dress warmly. Northern Lights photography often requires waiting in cold conditions. Plan for multiple nights in case of poor weather conditions. Also, learn to use your camera in the dark before you go.
Keep Learning
Photography is an evolving skill, and new techniques are always coming up. For more details on how to optimize your point and shoot camera for various situations, check out this informative article on better images.
FAQ
Can I photograph the Northern Lights with any point and shoot camera?
While it's possible, not all point and shoot cameras are designed for low-light photography. Choose a model that supports manual settings and has a high ISO range.
Why is a tripod essential for Northern Lights photography?
A tripod stabilizes your camera during long exposures, reducing the risk of blurry images caused by camera shake.
What post-processing tools do I need?
Editing software like Adobe Lightroom or Photoshop helps enhance your photos by adjusting exposure, contrast, and white balance and by reducing noise.
As an Amazon Associate, I earn from qualifying purchases.