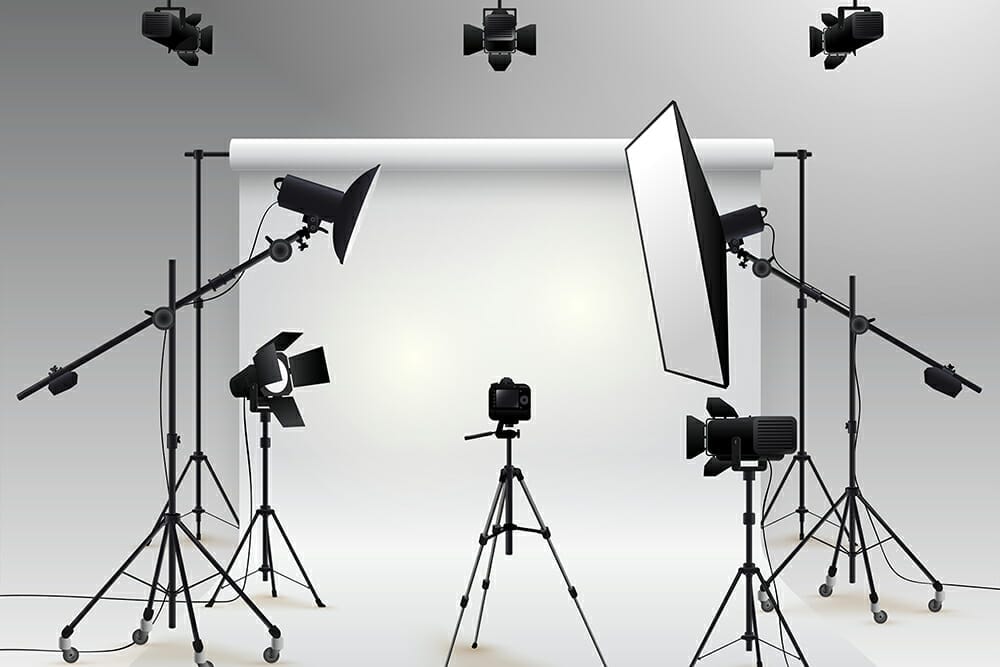
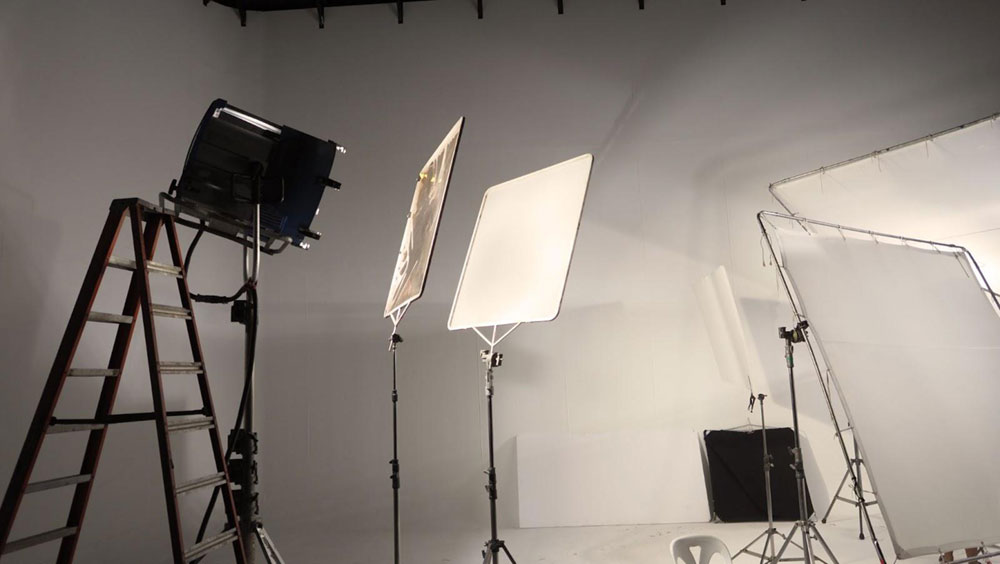
What is Three Point Lighting in Photography? A Terrific Guide
When it comes to mastering the art of photography, lighting is one of the most critical elements to consider. One popular and highly regarded technique among professional photographers is three point lighting. But what is three point lighting in photography, and how can you use it to create stunning and remarkable images? In this extensive guide, well explore the intricacies of this fundamental lighting technique that every professional photographer should know.
Three point lighting is essentially a method that uses three different light sources to illuminate your subject evenly and create depth. By understanding this method, photographers can achieve a more balanced and aesthetically pleasing composition in their photographs. Moreover, knowing how to manipulate light effectively can lead to life-changing results in your work.

What is Three Point Lighting?
The three point lighting technique consists of three primary light sources: the key light, fill light, and back light. Each of these lights serves a different purpose, contributing to the overall illumination and mood of the image. When set up correctly, three point lighting can dramatically improve your photography skills and aesthetic sense.
The Key Light
The key light is the main source of light and is usually the strongest. It creates the overall look of your subject by providing the primary illumination. Typically positioned at a 45-degree angle from the subject, the key light helps to create shadows and highlights that give depth and dimension to the scene. This is where your artistic direction comes into play, as the placement and intensity of the key light significantly affect the final image.
The Fill Light
The fill light serves a crucial role in softening and filling in the shadows created by the key light. Often less intense than the key light, the fill light is usually placed on the opposite side of the key light, filling in any harsh shadows while preserving the texture of the subject. Finding the right balance between the key and fill lights is essential for achieving a professional look.
The Back Light
The back light, as the name suggests, is positioned behind the subject. This light creates separation between the subject and the background, adding depth and dimension to the photograph. By illuminating the edges of the subject, the back light can create a stunning halo effect, which helps in making your subject pop against the backdrop. Proper use of backlighting can lead to some of the most captivating images.

Setting Up Three Point Lighting
Now that you understand the components of three point lighting, lets dive into how to set it up effectively. It is essential to consider your environment and the subject's characteristics when determining the light intensity and angles.
Step-by-Step Guide to Setup:
- Position the Key Light: Begin by placing your key light at a 45-degree angle to the side and above the subject. Adjust the height and intensity to achieve your desired effect.
- Add the Fill Light: Place the fill light on the opposite side of the key light at a lower intensity. Aim to eliminate harsh shadows without completely flattening your subject.
- Include the Back Light: Position the back light behind the subject and aimed towards them. Adjust the height and angle to create the desired separation from the background.

Common Mistakes in Three Point Lighting
While the three point lighting setup is effective, many photographers make common mistakes. Here are a few to watch out for:
- Overpowering the Key Light: A common mistake is using a key light that is too intense compared to the fill light. This can create unflattering shadows and an unnatural appearance.
- Ignoring Background Lighting: The back light is crucial for depth; neglecting it can lead to flat images.
- Inconsistent Color Temperature: Using lights with different color temperatures can result in an unbalanced color cast.

Practical Applications of Three Point Lighting
The versatility of three point lighting makes it suitable for various photography styles, including newborn photography, portraiture, and even product photography. Different applications may require tweaking the setup for optimal results.
Portrait Photography
In portrait photography, three point lighting becomes essential for creating depth and dimension in the subject's face. By manipulating the key and fill lights, photographers can flatter their subjects while maintaining a natural look.
Product Photography
In product photography, three point lighting can help define the shapes and features of your product, allowing consumers to see the details clearly. Ensure your lights are positioned in a way that makes your product appear appealing and professional.
Conclusion
Understanding what is three point lighting in photography is fundamental for any professional photographer seeking to elevate their craft. This remarkable technique not only enhances your subjects' appearance but also dramatically improves the overall image quality. Experiment with different configurations of key, fill, and back lights to discover what works best for you.
For those looking to dive deeper into specific lighting types, feel free to check out these additional resources:
FAQ
What are the advantages of using three point lighting?
The advantages include enhanced depth, dimensionality, and an overall balanced look, making your subjects more appealing.
Can I use natural light with three point lighting?
Absolutely! You can integrate natural light into your setup, often using it as a key or fill light to achieve a softer look.
How can I modify three point lighting for different settings?
Modifications can include adjusting the light distance, intensity, and angle based on the environment and the desired effect.
As an Amazon Associate, I earn from qualifying purchases.

