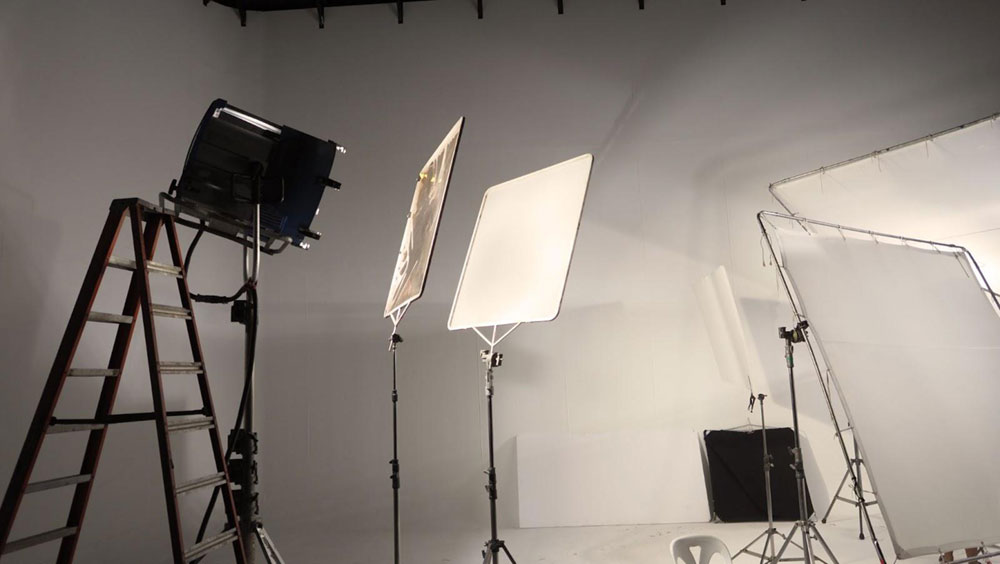
What is Side Lighting in Photography and Why It Matters?
For professional photographers, mastering light is crucial to creating stunning images. One of the key techniques that every photographer should understand is side lighting. In this article, we will delve deep into what side lighting in photography is, its benefits, how to effectively use it, and the distinct visual characteristics it imparts to your photographs.
Defined simply, what side lighting in photography refers to a lighting technique where the primary light source illuminates the subject from the side. This method creates dramatic shadows, enhances textures, and adds depth to images, making it a favored choice among professional photographers.

Understanding the Basics of Side Lighting
Before diving deep into the art of side lighting, it is essential to understand the fundamentals of light in photography. Light is a critical element that affects exposure, color, and mood. By utilizing side lighting, photographers can emphasize specific features of their subjects while introducing a sense of dimension and volume.
For instance, a side-lit portrait can draw attention to the contours of a person's face, offering a more three-dimensional feel compared to flat lighting. In this case, shadows are not merely the absence of light; they help to define and sculpt the subject.
Benefits of Side Lighting
Using side lighting in photography comes with a plethora of advantages:
- Depth and Dimension: Side lighting creates a three-dimensional effect, which can bring your images to life.
- Texture Enhancement: It highlights textures, which is particularly useful in product photography or still life.
- Emotional Impact: The contrast created can evoke strong emotions, pulling viewers into the scene.
- Increased Focus: Shadows can lead the viewer's eye toward crucial details of the photograph.

Tips for Mastering Side Lighting
Utilizing side lighting effectively requires practice and understanding. Here are valuable tips:
1. Positioning Your Light Source
To achieve optimal results, the position of your light source is essential. Placing the light at a 90-degree angle to your subject will yield dramatic effects. For instance, the use of natural light during the golden hour can create breathtaking side light.
2. Adjusting the Angle
Play with the angle of the light. Moving it slightly closer or farther away can alter the intensity of the shadows and highlights, providing different outcomes for your image.
3. Use Reflectors
Incorporating reflectors can bounce light back onto your subject, softening shadows and providing a more balanced effect. This is particularly useful when working with portraits.
4. Experiment with Distance
The distance of the light source from your subject will significantly affect the overall feel of your photograph. Closer sources create harsher shadows, while distant sources produce softer effects.

Creative Applications of Side Lighting
Side lighting can be employed across various photography genres, from portraits to landscapes. Here are some creative applications:
1. Portrait Photography
Customers often yearn for stunning portraits. Utilizing side lighting in portrait photography can bring out the subject's features effectively. The shadows and highlights add intrigue, making the photo pop.
2. Product Photography
For product photography, side lighting can accentuate the textures and colors of the product being showcased. This method is particularly useful in e-commerce photography to attract customers. Learn more about product lighting.
3. Landscape Photography
In landscapes, side lighting can create dramatic contrasts between light and shadows, adding depth to mountains, trees, or any focal point. This is particularly effective during dawn or dusk, known as the golden hour. For more on landscape lighting, check out this helpful resource from CreativeLive.
4. Macro Photography
In macro photography, side lighting can emphasize minute details and textures in flowers or insects. It's the perfect technique for capturing the intricacies of the natural world.

Challenges of Side Lighting
While there are numerous benefits to using side lighting, it does come with its own set of challenges:
- Harsh Shadows: If not controlled, side lighting can produce overly harsh shadows that may detract from the image.
- Lighting Control: It requires careful management of light sources to maintain balance in exposure and tone.
- Negative Space: Side lighting can create empty negative space if the composition isn't thought out.
Conclusion
Understanding what side lighting in photography is can significantly transform your photographic approach. The benefits of this technique can help capture images that resonate with viewers, leading to compelling visual storytelling. Remember, experimentation is key. Play with angles, distance, and the positioning of light sources to find what works best for your style.
Incorporate side lighting into your projects, and you will unlock an entirely new world of possibilities in your photography journey. For further reading, consider checking out passionate tutorials on studio lighting.
As an Amazon Associate, I earn from qualifying purchases.
FAQs
1. How can I control harsh shadows when using side lighting?
Consider using diffusers or adjusting the distance of the light source. Reflectors can also help manage shadows effectively.
2. What is the best time of day for side lighting in landscape photography?
Golden hour, during sunrise and sunset, presents the ideal lighting conditions for side lighting in landscapes.
3. Can I use side lighting for indoor photography?
Absolutely! You can create stunning indoor shots with side lighting by utilizing windows and artificial light sources strategically.

