

Shocking Tips on How to Set Up Lighting for Product Photography
When getting into the world of product photography, a crucial element lies in the question of how to set up lighting for product photography. It can either break or make your images. For professional photographers, mastering lighting techniques is essential to showcase products in their best lightboth literally and metaphorically.
In this article, we will delve into different aspects of setting up lighting for product photography that will leave your clients amazed and asking for more. We promise an unmissable journey through the intricacies of lighting and its impact on your photography.

The Importance of Lighting in Product Photography
Understanding the importance of lighting can not be overstated. It influences how colors appear, affects shadows, and helps in creating the mood of a photograph. For product photography, it allows you to highlight essential features of the products you are showcasing.
Good lighting can transform a mundane subject into a visually captivating piece, while poor lighting can result in images that look flat and uninviting. Consider these two critical aspects while setting up:
- Quality of Light: Always choose the right quality of light based on the product you're photographing. Soft light is perfect for fragile items, whereas hard light can be utilized for textures.
- Direction of Light: The angle at which light hits your product makes a significant difference. Experiment with backlighting, sidelighting, and overhead lighting to find the best approach for your subject.
Types of Lighting for Product Photography
In professional product photography, you have several lighting techniques to experiment with. Each has its unique advantages, ensuring that photographers can create the ideal setup for different products.
1. Natural Lighting
Natural lighting is often considered as one of the most accessible methods of lighting. It provides soft shadows and a dynamic range of colors. Use large windows or outside settings for this technique. Keep in mind:
- Consider the time of day; early morning and late afternoon offer beautiful, diffused light.
- Overcast days can also work wonders for even lighting.
2. Continuous Lighting
Continuous lights are versatile, providing a steady light source throughout the shoot. It allows you to see the effect of your light before taking the shot. Options for continuous lights include:
- Fluorescent lights: Energy-efficient and provide a soft light.
- LED lights: Long-lasting and available in various color temperatures.
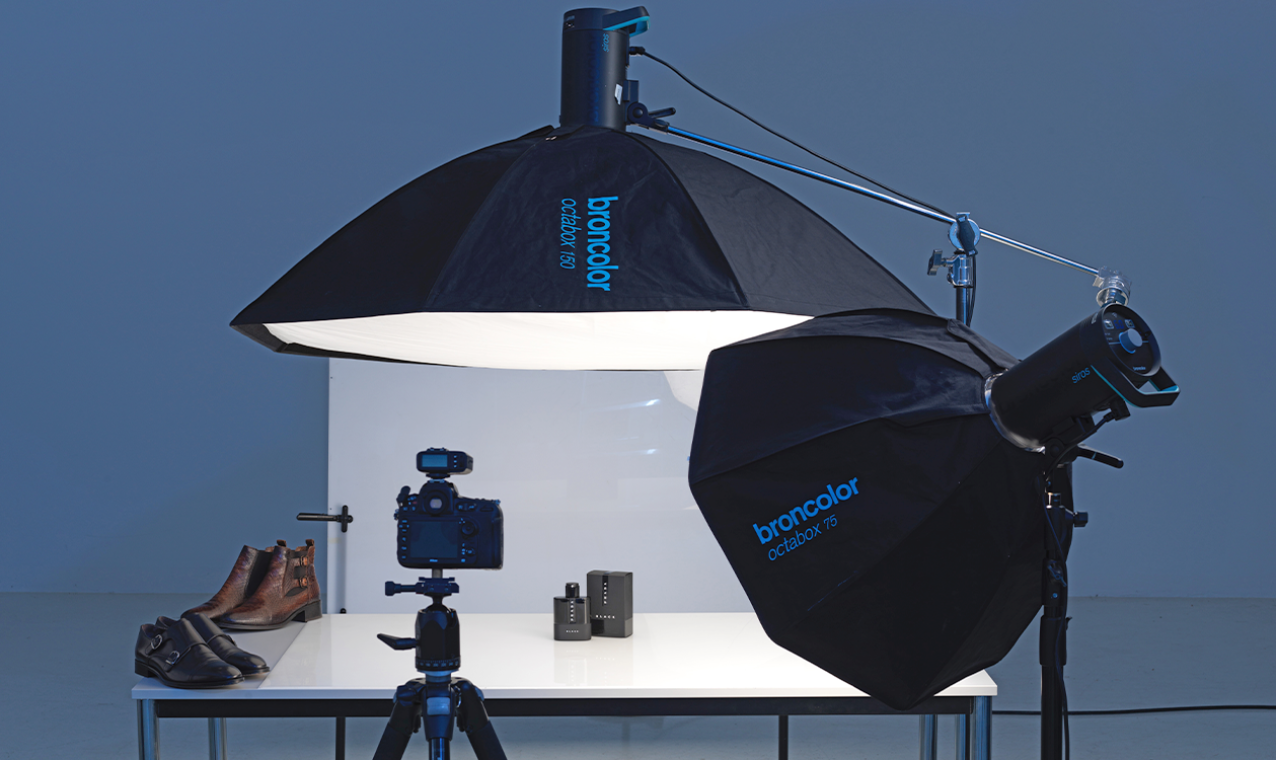
3. Studio Lighting
For those looking to take their product photography to the next level, investing in studio lighting offers vast possibilities. You might consider:
- Softboxes: Help in creating soft, even lighting.
- Umbrellas: Allow you to diffuse or bounce the light effectively.
4. Flash and Strobe Lighting
Using flash or strobe lights can freeze action and provide brilliant exposure, especially for fast-moving subjects. Setting it up requires knowledge of:
- Syncing your camera's shutter speed with the strobe.
- Adjusting the intensity based on distance.
Setting Up Your Lighting: Step-by-Step Guide
Now that we understand the types of lighting available, let's go step by step on how to set up lighting for product photography effectively:
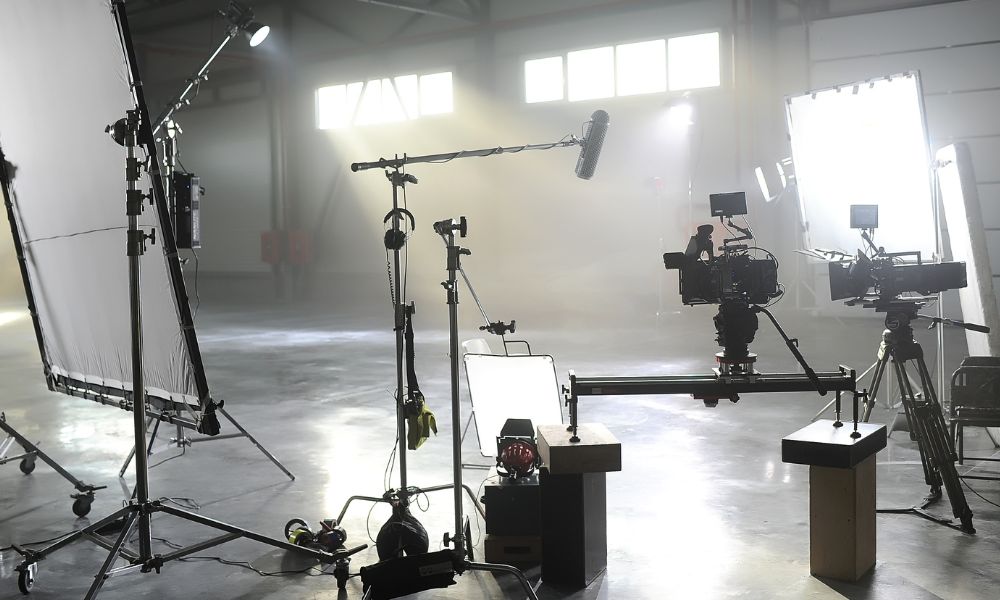
Step 1: Choose the Location
Select a location with enough space to set up your lights and backdrop. Natural lighting can often brighten internal spaces.
Step 2: Select Your Background
Choose a backdrop that complements your product. Neutral colors generally work best.
Step 3: Set Up Your Base Lighting
Start with the main light source. If you are using a softbox or umbrella, position it at a 45-degree angle from the product.
Step 4: Add Fill Lights
Fill lights help control the shadows created by your main light. Softboxes can be used here as well, positioned on the opposite angle.
Step 5: Experiment with Backlight and Accent Lights
By adding backlights, you can create dramatic effects and highlights, adding depth to your photos.

Common Mistakes in Lighting Setup
Even experienced photographers make mistakes when it comes to lighting. Here are a few common ones to avoid:
- Using improper white balance settings can distort colors.
- Overexposing highlights can eliminate detail.
- Neglecting reflections that might spoil professional images.
Real-life Examples
Let's analyze some real-life scenarios where effective lighting made a difference in product photography:
- Aren't Macro Shots Beautiful? Utilizing a combination of natural and artificial lighting highlighted the intricate details of jewelry photography.
- Food Photography: Using overhead and diffused light brought out rich colors and textures of dishes. Check out this essential tutorial.
- Fashion Accessories: Experimenting with colored gels created a playful theme that successfully attracted a younger audience.
Post-Production Tips
After capturing your product images, post-production can enhance the impact. Here are some techniques every professional photographer should consider:
- Use software to adjust colors and shadows.
- Remove imperfections while preserving natural details.
- Crop images to focus on the product.
Frequently Asked Questions (FAQs)
1. What type of lighting is best for small products?
Soft light from diffusers or LED panels typically works best, as it minimizes shadows and creates an even shine.
2. Can I use my smartphone for product photography?
Yes, many smartphones have excellent cameras. Ensuring adequate lighting can significantly enhance mobile photos.
3. Should I invest in expensive lights for product photography?
While it is recommended to use quality lights, start with affordable options and progressively upgrade as your skills develop.
For more insights on photography basics, check out DSLR functions.
As an Amazon Associate, I earn from qualifying purchases.