

Using ND Filters for Long Exposure
Capturing smooth water, streaking clouds, or bustling city scenes with blurred motion is a hallmark of creative photography. Achieving these effects in bright daylight can be challenging, but using ND filters for long exposure opens up new possibilities. Neutral density (ND) filters reduce the amount of light entering your lens, allowing you to use slower shutter speeds without overexposing your images. This guide explains how ND filters work, how to choose the right one, and practical steps for mastering long exposure photography.
Before diving into the technical details, it’s helpful to understand how ND filters fit into the broader world of creative photography. For more inspiration and advanced ideas, check out our article on creative exposure techniques.
Understanding Neutral Density Filters
Neutral density filters are essentially darkened pieces of glass or resin that mount in front of your camera lens. Their primary function is to block a specific amount of light, measured in stops, without affecting color balance. By reducing light, you gain the flexibility to use longer shutter speeds or wider apertures in bright conditions, which is essential for long exposure photography.
ND filters come in various strengths, typically labeled as ND2, ND4, ND8, and so on, each representing a different level of light reduction. For example, an ND8 filter cuts the light by three stops, letting in only 1/8th of the original light. This reduction is what enables those silky water effects or blurred crowds in daylight scenes.
Why Use ND Filters for Extended Shutter Speeds?
Long exposure techniques allow photographers to transform ordinary scenes into dynamic images. Moving elements—like water, clouds, or traffic—become smooth or streaked, while stationary objects remain sharp. However, in daylight, even the smallest aperture and lowest ISO often can’t slow the shutter enough without overexposing the shot. This is where neutral density filters for long exposure become invaluable.
By blocking light, ND filters let you:
- Blur moving water for a dreamy effect in rivers, waterfalls, or seascapes
- Show movement in clouds or crowds
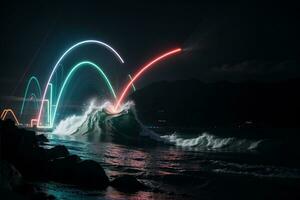
- Capture light trails from cars or neon signs in urban environments
- Isolate subjects by removing people or vehicles from busy locations
For those interested in exploring neon signs and city lights, our guide to neon light photography offers additional creative ideas.
Choosing the Right ND Filter
Selecting the appropriate ND filter depends on your creative goals and lighting conditions. Here’s a quick overview:
| ND Filter | Stops of Light Reduced | Common Uses |
|---|---|---|
| ND2 | 1 | Slightly slower shutter, mild motion blur |
| ND8 | 3 | Flowing water, moderate daylight |
| ND64 | 6 | Strong daylight, dramatic blur |
| ND1000 | 10 | Extreme long exposures, midday sun |
Variable ND filters offer adjustable density, but fixed ND filters often provide better image quality and color accuracy. Consider your subject and the amount of blur you want—more stops mean longer exposures and more pronounced effects.
Step-by-Step Guide to Shooting Long Exposures with ND Filters
To get the most out of your ND filter, follow these practical steps:
- Compose and Focus First: Set up your shot and focus before attaching the ND filter, as dark filters can make it difficult for your camera to autofocus.
- Attach the ND Filter: Carefully screw or mount the filter onto your lens. Avoid touching the glass to prevent smudges.
- Switch to Manual Mode: Set your camera to manual exposure. Choose a low ISO (100 or 200) and a small aperture (f/8–f/16) for maximum sharpness and depth of field.
- Calculate Exposure: Use your camera’s meter to determine the correct exposure without the filter. Then, add the number of stops your ND filter reduces. Many smartphone apps and online calculators can help with this step.
- Set the Shutter Speed: Adjust your shutter speed to the calculated value. For exposures longer than 30 seconds, use Bulb mode and a remote shutter release to avoid camera shake.
- Take the Shot: Use a tripod to keep the camera steady. Consider using a remote or the camera’s self-timer to minimize vibrations.
- Review and Adjust: Check your image for exposure and sharpness. Adjust settings as needed and experiment with different shutter speeds for creative effects.
For more on capturing dynamic movement, our article on using motion in still life offers practical tips.
Common Challenges and Solutions
While using ND filters for long exposure is straightforward, a few common issues can arise:
- Color Casts: Some ND filters introduce a color tint. Shoot in RAW and correct in post-processing, or invest in high-quality filters with minimal color shift.
- Light Leaks: Cover your viewfinder during long exposures to prevent stray light from affecting the image.
- Focusing Difficulties: Always focus before attaching strong ND filters, or use live view with focus magnification.
- Vignetting: Stacking multiple filters or using wide-angle lenses can cause dark corners. Use slim filters and avoid stacking when possible.
Creative Ideas for Long Exposure Photography
Once you’re comfortable with the basics, try experimenting with different subjects and settings. Here are a few creative ideas:
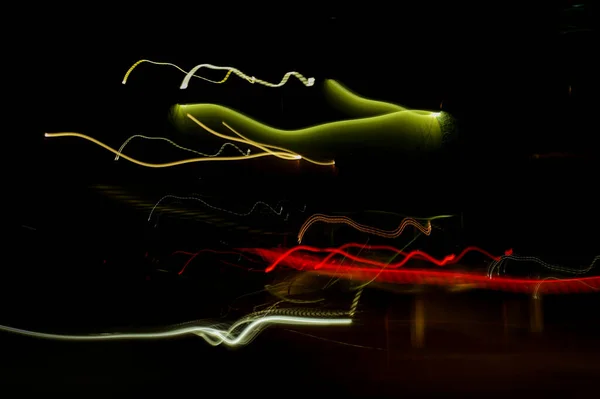
- Urban Light Trails: Capture the movement of cars, trams, or bicycles at night for vibrant streaks of color. For more on this, see our post on how to shoot moving lights.
- Cloud Movement: Use a 10-stop ND filter on a windy day to turn fast-moving clouds into soft, streaky patterns.
- People Removal: In busy locations, long exposures can make moving people disappear, leaving you with an empty scene.
- Reflections and Water: Smooth out choppy lakes or rivers for a mirror-like surface, perfect for landscape photography.
- Cityscapes at Dusk: Combine ND filters with golden hour light for dramatic, glowing city photos. For more inspiration, visit our guide on light and movement in city photography.
Lighting Considerations and Additional Resources
Lighting is crucial in any photographic technique, especially when working with long exposures. While ND filters control the amount of ambient light, you may also want to add artificial lighting for creative effects or to highlight specific subjects. For those new to lighting, this beginner’s guide to photography lighting covers essential tips and gear recommendations.
Combining ND filters with controlled lighting opens up even more creative options, such as light painting, illuminating foreground elements, or balancing exposure between sky and land.
Frequently Asked Questions
What strength ND filter should I use for long exposure photography?
The ideal ND filter strength depends on your desired effect and lighting conditions. For subtle motion blur in water or clouds, a 3-stop (ND8) filter often suffices. For dramatic effects or shooting in bright sunlight, a 6-stop (ND64) or 10-stop (ND1000) filter is recommended.
Can I stack multiple ND filters for longer exposures?
Yes, stacking ND filters increases total light reduction, allowing for even longer exposures. However, stacking can introduce vignetting and color casts, especially on wide-angle lenses. It’s generally better to use a single high-quality filter of the needed strength.
How do I avoid overexposure when using ND filters?
Always calculate your exposure before attaching the ND filter, and adjust your shutter speed accordingly. Use a tripod and review your histogram to ensure highlights aren’t blown out. Shooting in RAW also gives you more flexibility to correct exposure in post-processing.