

Soft Light vs Hard Light
Understanding the differences between soft light and hard light is essential for photographers, videographers, and anyone interested in visual storytelling. The way light interacts with a subject can dramatically change the mood, texture, and overall impact of an image. Whether you are shooting portraits, landscapes, or products, knowing when and how to use these lighting styles will help you achieve your creative goals.
Both types of illumination have their unique characteristics and applications. Soft lighting produces gentle transitions and flattering shadows, while hard lighting creates sharp edges and strong contrast. Mastering these techniques allows you to control the visual narrative and evoke specific emotions in your audience.
For those looking to deepen their understanding of how lighting direction influences images, the direction of light in photography is another key concept to explore.
Defining Soft and Hard Lighting
Before diving into practical applications, it's important to clarify what is meant by soft and hard lighting. These terms refer to the quality of shadows and the transition between light and dark areas in an image.
- Soft lighting is produced by large, diffused light sources relative to the subject. It results in gradual shadow transitions and a more even spread of brightness.
- Hard lighting comes from small, direct sources or when the light is far from the subject. This creates crisp, well-defined shadows and high contrast.
The distinction between the two is not always absolute; lighting can exist on a spectrum, with many situations falling somewhere in between.
Visual Differences: What Sets Them Apart?
The most noticeable difference between these two lighting styles is the appearance of shadows and highlights. Soft illumination wraps around the subject, reducing harsh lines and smoothing out textures. This is ideal for minimizing blemishes in portraits or creating a dreamy, gentle atmosphere.
In contrast, hard illumination accentuates texture, shape, and detail. It is often used to create dramatic effects, emphasize structure, or convey a sense of intensity.
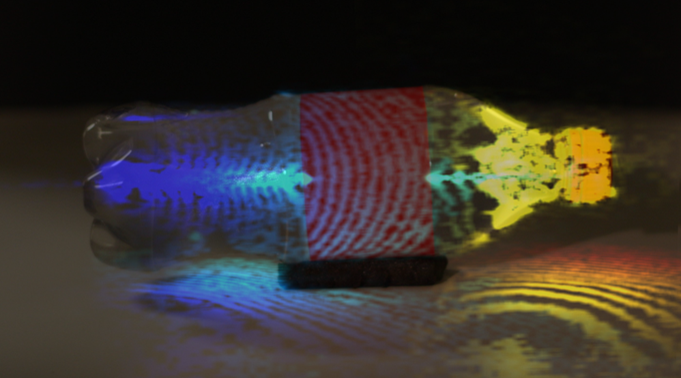
How Light Quality Affects Photography
The choice between soft and hard illumination can make or break a photo. For example, portrait photographers often prefer soft sources because they flatter facial features and reduce imperfections. On the other hand, fashion or editorial shoots may use hard sources to create bold, striking images with defined shadows.
In landscape photography, the time of day influences the quality of sunlight. Early morning and late afternoon provide softer, warmer tones, while midday sun is much harsher. Understanding this helps photographers plan their shoots for the desired effect.
Learning about how to capture light trails can further expand your creative options, especially when experimenting with different lighting conditions.
Techniques for Creating Soft and Hard Effects
There are several ways to manipulate the quality of light in your images:
- Distance: Moving the light source closer to the subject softens the effect; moving it farther away makes it harder.
- Modifiers: Using diffusers, softboxes, or umbrellas spreads the light and reduces harshness. Bare bulbs or focused reflectors produce harder results.
- Size of Source: Larger sources relative to the subject create softer shadows, while smaller sources create sharper ones.
- Natural Light: Overcast skies act as a giant diffuser, providing gentle illumination, while direct sunlight produces crisp shadows.
Experimenting with these variables helps you achieve the precise look you want for each scene.

When to Use Each Lighting Style
Choosing between soft and hard illumination depends on your subject, the mood you wish to convey, and the story you want to tell.
- Soft lighting is best for portraits, product photography, and any scenario where you want to minimize harsh shadows and create a welcoming, gentle feel.
- Hard lighting works well for emphasizing shape, texture, and drama. It is often used in black-and-white photography, architectural shots, and creative projects that benefit from strong contrast.
For example, if you are interested in motion blur and dynamic effects, understanding how aperture and motion blur interact with different lighting types can help you achieve unique results.
Tips for Controlling Light Quality
Here are some practical suggestions for managing the quality of illumination in your work:
- Use a diffuser or softbox for portraits to achieve a flattering, gentle look.
- Experiment with bare bulbs or direct sunlight for dramatic, high-contrast images.
- Adjust the distance and angle of your light source to fine-tune shadow sharpness.
- Observe how natural conditions, such as clouds or window curtains, affect the softness or hardness of light.
- Combine multiple sources or reflectors to balance and shape the light as needed.
For more guidance on capturing dynamic scenes, the how to photograph motion blur article offers additional insights into working with various lighting setups.
Common Mistakes and How to Avoid Them
Many beginners struggle with unwanted harsh shadows or flat, uninspiring images. Here are some pitfalls to watch out for:
- Placing the light source too far from the subject, resulting in unflattering hard shadows.
- Using small, undiffused sources for close-up portraits, which can emphasize skin imperfections.
- Relying solely on overhead lighting, which often creates deep eye sockets and unappealing facial shadows.
- Ignoring the direction and color temperature of natural light, which can affect the mood and accuracy of your photos.
By being mindful of these factors and practicing with different setups, you can develop a keen eye for lighting quality and improve your results.
Learning from the Masters
Many renowned photographers and filmmakers have mastered the art of manipulating light to serve their creative vision. Studying their work can provide valuable inspiration and practical lessons. For a deeper dive into the science and artistry behind natural illumination, check out this comprehensive guide to natural light photography.
Additionally, exploring the blue hour photography guide can help you understand how different times of day influence the softness or hardness of available light.
FAQ
What is the main difference between soft and hard lighting?
The primary distinction lies in the quality of shadows and the transition between light and dark. Soft illumination produces gradual, gentle shadows, while hard illumination creates sharp, defined edges and higher contrast.
How can I make my lighting softer?
To achieve a softer effect, use larger light sources relative to your subject, add diffusers or softboxes, and position the light closer to the subject. Overcast skies and shaded areas outdoors also provide naturally soft illumination.
When should I use hard lighting in photography?
Hard illumination is ideal for emphasizing texture, shape, and drama. It works well in editorial, fashion, and black-and-white photography, or when you want to create a bold, graphic look with strong shadows.