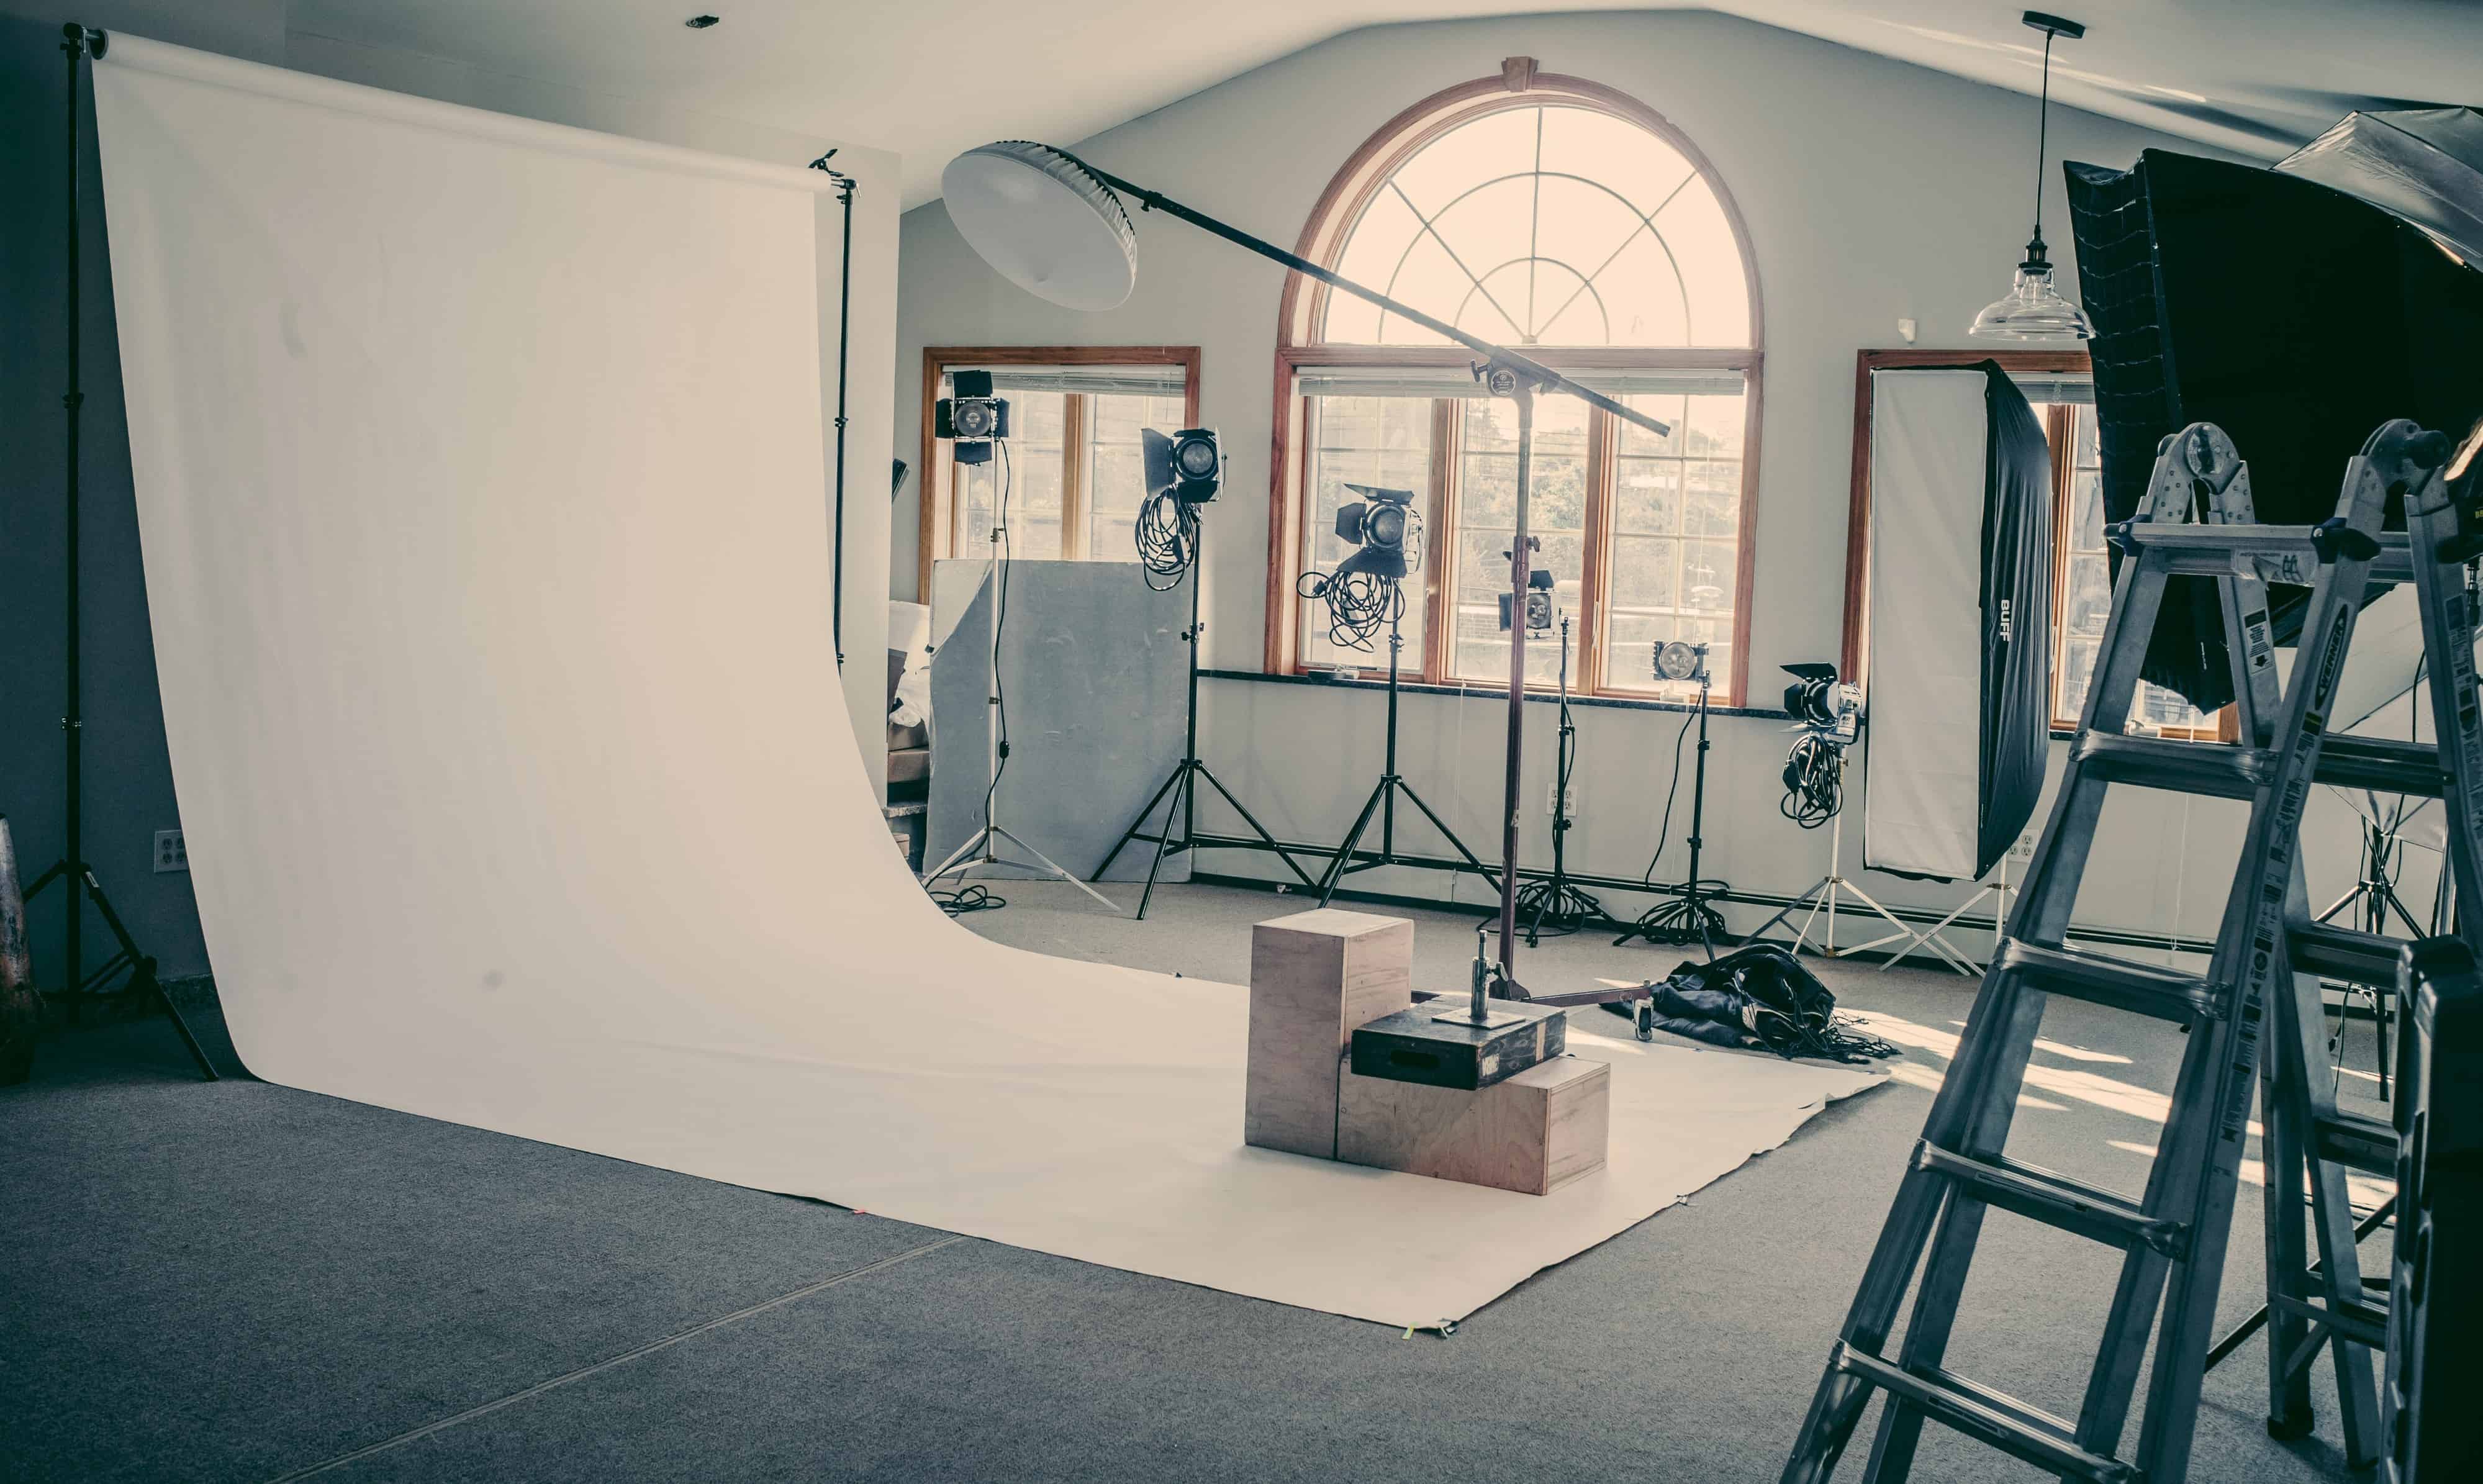
How to Use Softbox Lighting for Product Photography Effectively?
When it comes to professional photography, mastering how to use softbox lighting for product photography is essential. Proper lighting can transform an ordinary image into an extraordinary one. As professional photographers, understanding the nuances of lighting is crucial, and softbox lighting is one of the most effective tools in your arsenal.
Softbox lights provide soft, diffused illumination that minimizes hard shadows and highlights, making your product stand out beautifully. In this article, we'll provide a detailed guide to help you achieve the best results with softbox lighting for your product photography.

Understanding Softbox Lighting
So, what exactly is a softbox? A softbox is a type of lighting modifier that surrounds a light source with a soft, diffuse material. This design diffuses the light, creating a soft, even glowperfect for highlighting the fine details of your products. Unlike harsh lights, softboxes deliver flattering results, rendering your products appealing and eye-catching.
Softbox lighting mimics the effects of natural light, making it a favorite among photographers. Whether you are photographing jewelry, clothing, or electronics, softbox lights can help you replicate the subtle textures and colors that bring life to your images.
Setting Up Your Softbox Lighting
To effectively use softbox lighting for product photography, setting up your equipment correctly is key. Here are the critical steps to follow:
1. Choose the Right Space
Begin by selecting an appropriate workspace. Ideally, you want a controlled environment where you can manage ambient light. If you are using multiple softboxes, set them up in a studio or a space with limited outside light.
2. Position Your Softboxes
The placement of your softboxes will dramatically affect the outcome of your photos. Follow these guidelines:
- **Main Light**: Position your first softbox at a 45-degree angle from your product to act as your primary light source.
- **Fill Light**: Use another softbox on the opposite side to fill in shadows and create even lighting.
- **Background Light**: If needed, add a softbox behind the product to highlight the background.

Using Softbox Lighting for Different Products
Different products may require varied lighting techniques. Heres how to approach various categories of products:
1. Jewelry Photography
For jewelry, your goal is to capture details and brilliance.
- Set the softboxes close to the product.
- Utilize reflectors to bounce light onto the jewelry.
2. Clothing and Textiles
When photographing clothing, ensure the fabric's texture is evident.
- Use two softboxes to illuminate from both sides, preventing harsh shadows.
- Incorporate backlighting to create depth.
3. Electronics
For electronic items, avoid glare while showcasing both features and textures.
- Place the softboxes at 45-degree angles to minimize reflections.
- Experiment with various angles to find the best placement.

Advanced Techniques for Professional Photographers
Once you have mastered the basics, consider these advanced techniques:
1. Experiment with Light Modifiers
Light modifiers can help you achieve unique effects. Consider using:
- Grids to control light spill.
- Diffusion materials to soften the light even more.
2. Control Ambient Light
Minimizing ambient light will help you focus on the product. Use blackout curtains or photography tents if necessary.
3. White Balance Settings
Ensure your camera's white balance settings match the type of light. This will keep colors true to life.
Conclusion: Perfecting Your Product Photography
Mastering how to use softbox lighting for product photography is pivotal in creating stunning, high-quality images. Proper positioning, diffuse lighting, and attention to detail can set your work apart from competition. It's not simply about the gear you use; its about how you use it effectively. By following the steps outlined in this article, youll be well-equipped to enhance your product photography.
FAQs
1. What is the best distance for a softbox from the product?
The ideal distance depends on the size and wattage of your softbox, but generally, 2 to 3 feet would provide good results.
2. Can I use softbox lighting for outdoor shoots?
While softboxes are typically used indoors, they can also be used outdoors in shaded areas to reduce harsh lighting.
3. How can I avoid reflections in product photography?
Adjust the angles of your softboxes and consider using a polarizing filter to reduce glare.
As an Amazon Associate, I earn from qualifying purchases.
For further reading on the importance of lighting in photography, check out this lighting guide. You can also learn more about proper lighting placements in this placement article or dive into understanding various studio lighting techniques through this setup tutorial.

