

How to Create Warm Lighting Photography: A Terrific Guide
For professional photographers, mastering the art of how to create warm lighting photography is not just an added skill; it is a transformative process that can greatly influence the atmosphere of their images. Warm lighting has the power to evoke emotions, set the mood, and create stunning visual compositions.
This article will delve deep into the various aspects of creating warm lighting, including techniques, equipment, and tips that will help elevate your photography endeavors. Whether you are shooting indoors or outdoors, understanding how to manipulate light effectively can lead to remarkable results in your work.

Understanding the Basics of Warm Lighting
To truly grasp the concept of warm lighting, it is important to first understand what it entails. Warm lighting is characterized by a color temperature that falls within the yellow to orange spectrum. This type of lighting can create a cozy and inviting feel in photographs, making it particularly effective for portrait, wedding, and lifestyle photography.
The color temperature is measured in Kelvin (K). Warm light typically ranges from 2000K to 3000K. In contrast, cooler light falls between 4000K and 6000K. By familiarizing yourself with these temperatures, you can easily adjust your lighting sources to achieve that sought-after warm glow.
Key Techniques for Creating Warm Lighting
1. Utilizing Natural Light
One of the most effective and accessible methods of creating warm lighting is by utilizing natural light. During golden hour, which occurs shortly after sunrise and before sunset, the sunlight takes on a warm, soft quality that is ideal for photography. To capitalize on this, plan your shoots during these times.
Visit our article on natural lighting to understand how you can take full advantage of nature's light.
2. Adjusting White Balance
If you're shooting in conditions where the light source is cooler, you can adjust the white balance settings on your camera to create a warmer effect. This adjustment allows you to infuse a golden tone into your images during post-processing or even in-camera. Experiment with the white balance presets such as Tungsten or Shade settings to find the perfect warmth.
3. Using Artificial Light Sources
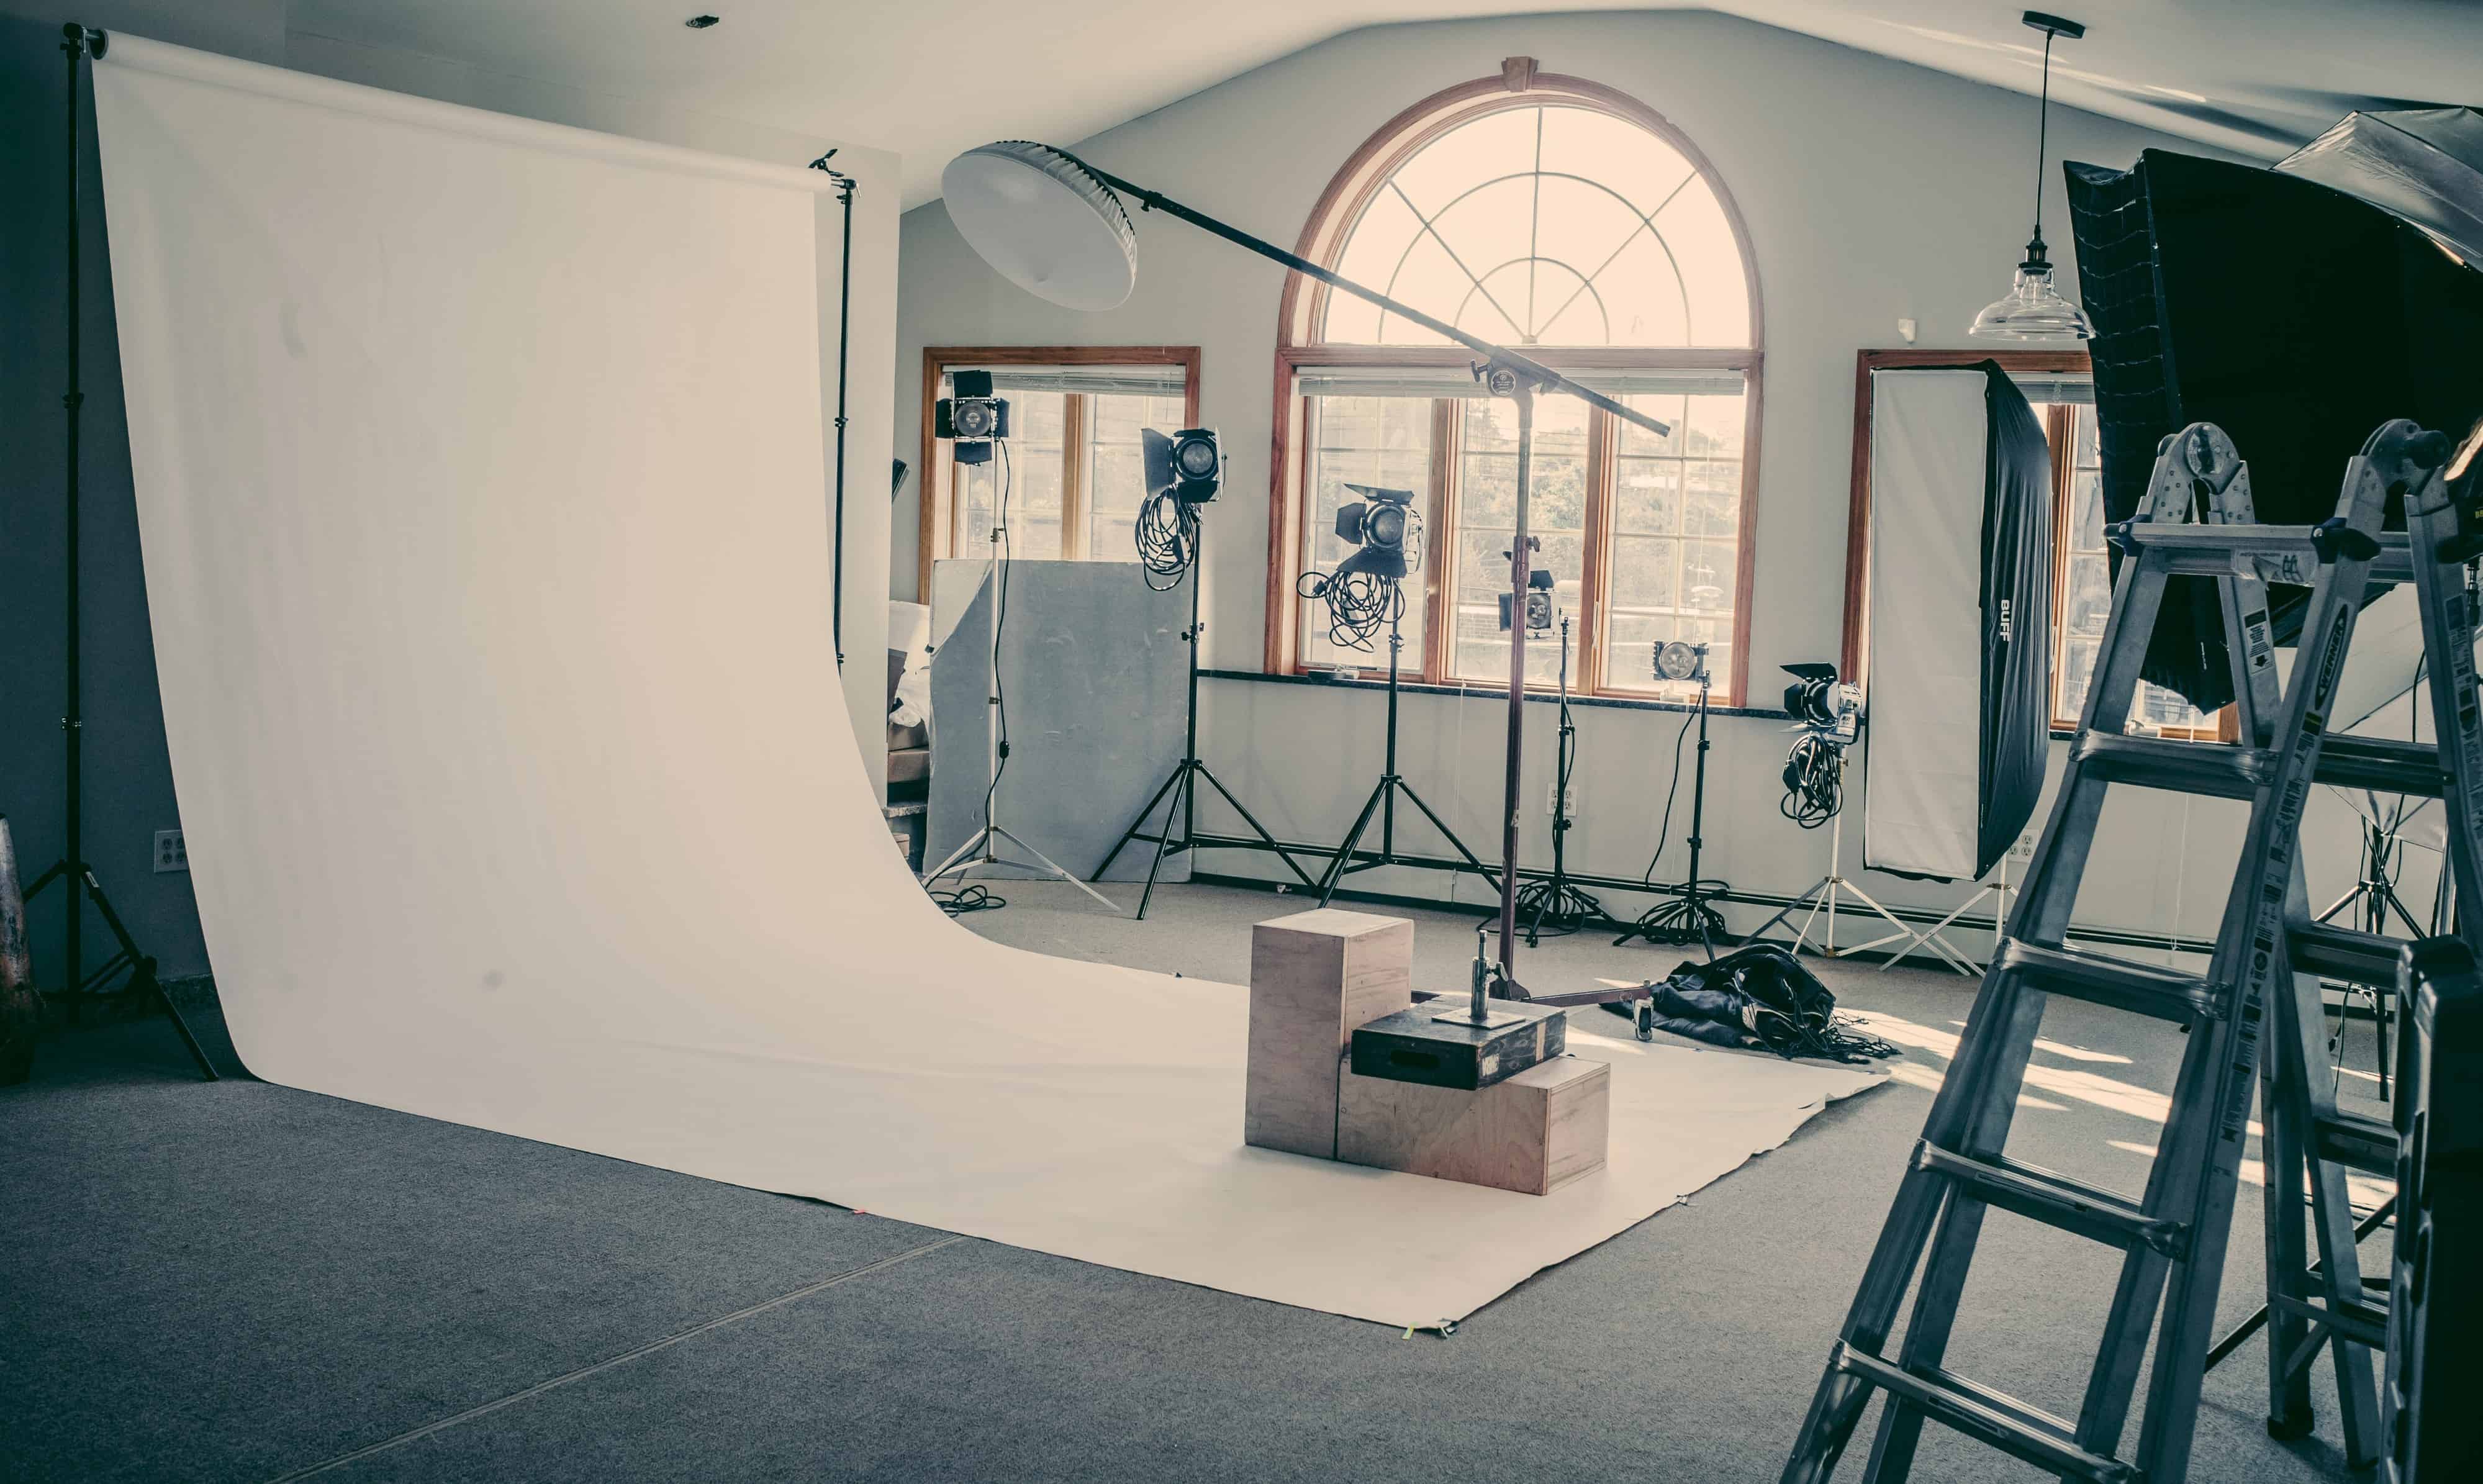
When natural light is not available, artificial light can fill the gap. You can purchase warm light bulbs or modify your existing lighting with color gels that produce warm hues. Softboxes, ring lights, and LED panels are popular tools that can be adjusted to emit warm light, creating outstanding portrait or product photography.
For more guidance on using studio lighting, check this article on studio lighting.
Equipment That Helps Achieve Warm Lighting
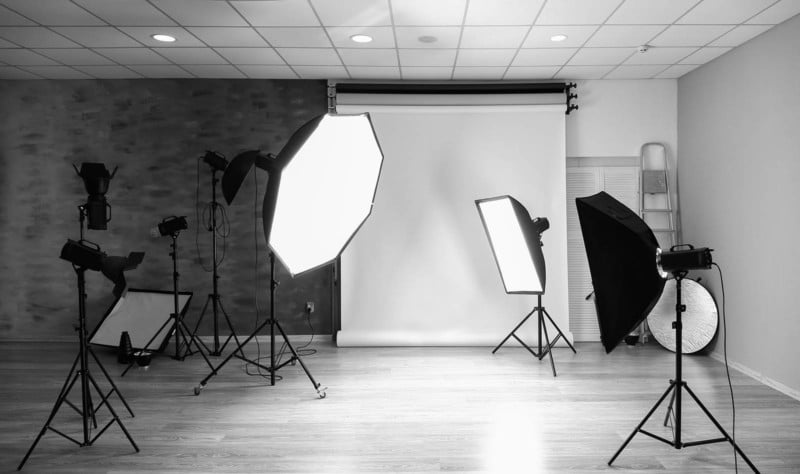
1. Light Modifiers
Light modifiers, such as softboxes and reflectors, can soften light and introduce warm tones. White and gold reflectors can be utilized to bounce light onto your subject, creating a warm and flattering glow.
2. Filters
Using filters, such as amber gels, can enhance the warmth of your lighting. By adding these filters to your light sources, you can create a consistent warm tone that improves the overall quality of your photography.

Playing with Shadows and Highlights
Another key element of warm lighting is manipulating shadows and highlights. Soft, diffused shadows can enhance the warm ambiance of an image while harsh shadows can detract from this effect. Be mindful of your light placement in relation to your subjects to create an unmissable balance between light and shadow.
Learn more about the importance of lighting placement in this article: lighting placement.
Post-Processing for Warm Lighting Effects
1. Color Grading
Post-processing provides another avenue for enhancing the warmth of your photos. In software like Adobe Lightroom or Photoshop, you can use color grading techniques to fine-tune the warmth of your images further. Adjusting the hue and saturation levels can bring out the beautiful warm tones you want to emphasize.
2. Managing Contrast
Careful management of contrast is essential when working with warm lighting. Increasing overall contrast can sometimes overshadow warmer tones, so make sure to strike a balance that keeps the warm aesthetics without making the image feel too harsh.
Common Mistakes to Avoid
Even seasoned photographers can fall into traps while trying to create warm lighting. Be wary of factors such as overexposing areas or using too many different light sources, which can conflict in color temperature. Always maintain coherence in the tones you choose to work with.
Recap and Final Thoughts
In concluding, understanding how to create warm lighting photography involves a mixture of both technical skills and creative intuition. By mastering various techniques, from adjusting your white balance to implementing effective lighting equipment, you can bring a truly remarkable warmth to your photography.
For more tips on lighting techniques, check out this in-depth article on types of lighting.
Frequently Asked Questions
1. What are the best times for warm lighting photography?
The best times for warm lighting are during the golden hours right after sunrise and just before sunset, as the sun emits a warm glow during these times.
2. Can I achieve warm lighting indoors?
Yes, you can create warm lighting indoors using warm-toned light bulbs, reflectors, and light modifiers.
3. How can I warm up cooler images in post-processing?
You can adjust the white balance and use color grading tools in photo-editing software to warm up cooler images.
As an Amazon Associate, I earn from qualifying purchases.