Shocking Unmissable Guide to Connecting a Mic to Your DSLR Camera
Professional photographers understand the importance of audio quality in video production. Whether you're shooting interviews, creating a vlog, or working on a short film, connecting an external microphone to your DSLR camera can significantly enhance the overall production quality. In this comprehensive guide, we will break down the step-by-step process of how to connect a mic to a DSLR camera and offer some exclusive tips and tricks to ensure you get the best sound possible.

The Importance of Good Audio in Photography
While stunning visuals are vital, poor audio can ruin an otherwise perfect video. The built-in microphones on most DSLR cameras are not designed to capture high-quality sound. They often pick up ambient noise and produce a tinny, distant audio quality, which can distract from the visual content.
External microphones, on the other hand, are designed to capture crisp, clear audio, focusing on the subject and minimizing background noise. But how do you go about connecting a mic to your DSLR camera? Here's a breakdown of the key steps:

Choosing the Right Microphone
Types of Microphones
There are several types of microphones available, each designed for different purposes:
- Shotgun Microphones: These are highly directional mics ideal for capturing sound from a specific source. They are excellent for interviews and dialogues.
- Lavalier Microphones: Also known as lapel mics, these are small, clip-on microphones perfect for on-the-go filming and interviews.
- Handheld Microphones: Typically used by reporters, these are good for on-the-spot interviews and capturing ambient sound.
Depending on your specific needs, you can choose the microphone that best suits your requirements.
Consider Your Cameras Input
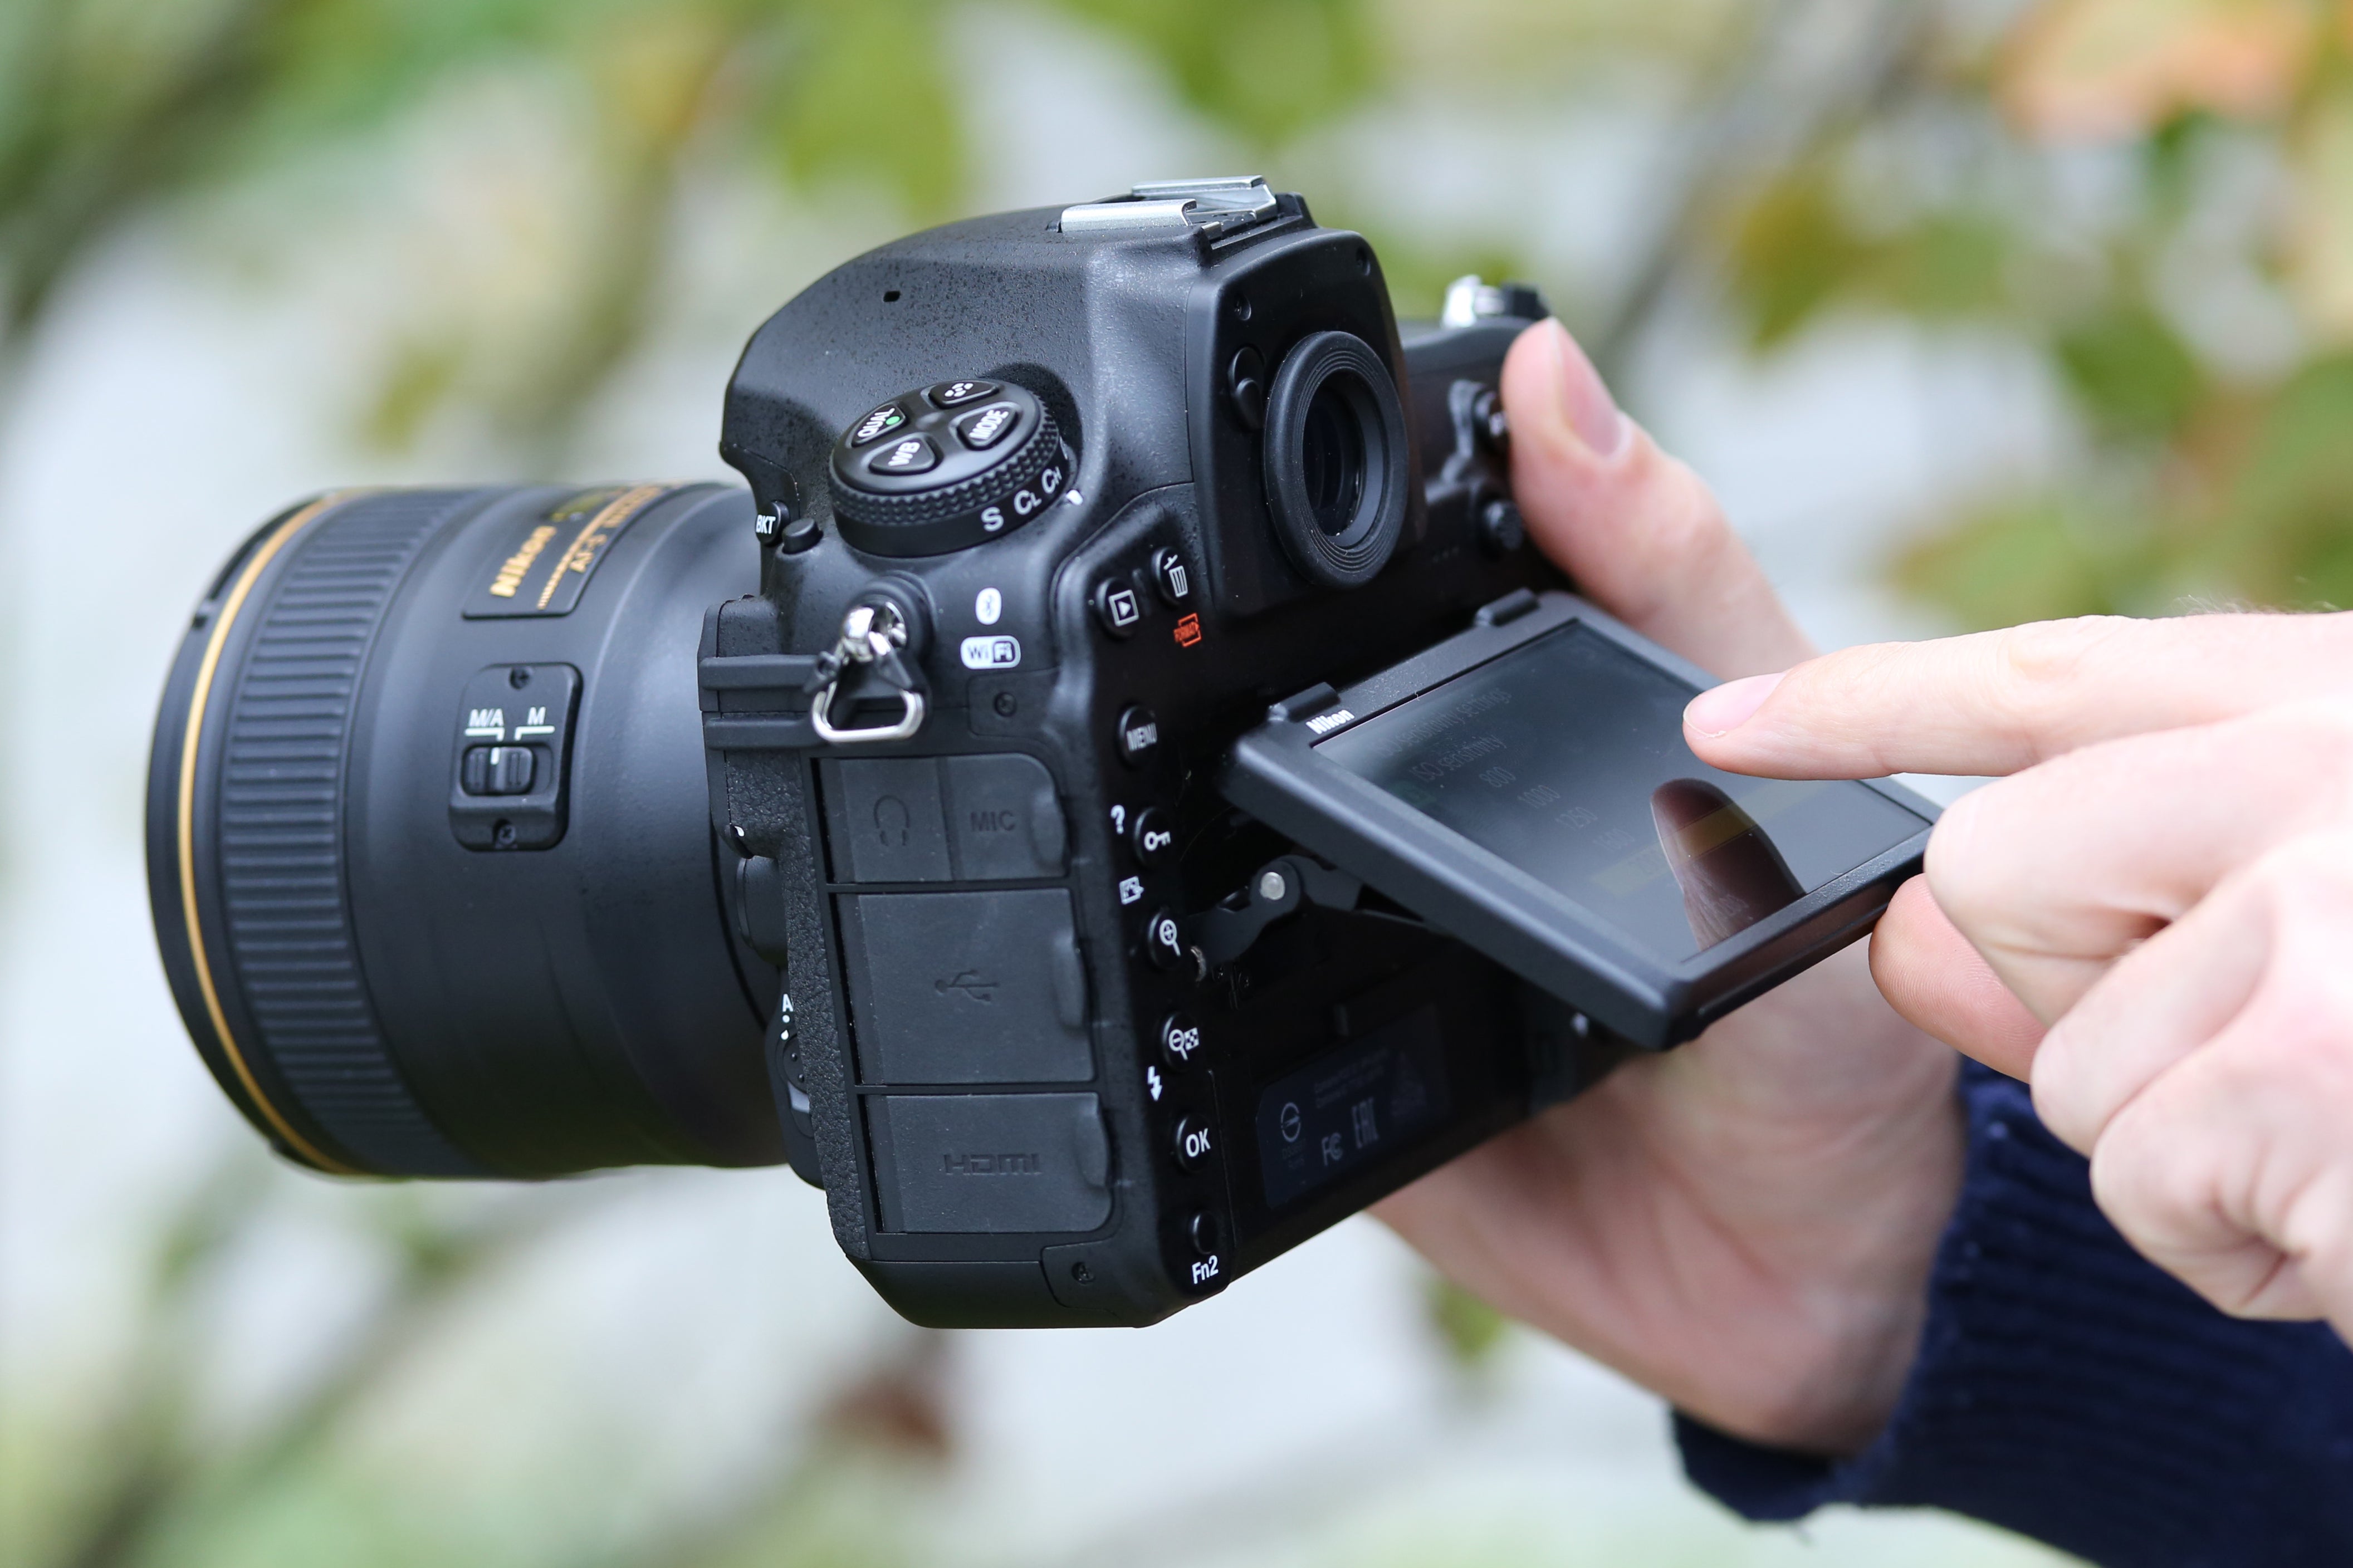
Before purchasing a microphone, ensure your DSLR camera has a compatible audio input. Most modern DSLRs have a 3.5mm microphone input jack, but it's crucial to check your camera's manual to confirm.
How to Set Up DSLR Camera
Step-by-Step Guide to Connecting a Mic to Your DSLR
Step 1: Gather Your Equipment
Start by gathering all the necessary equipment:
- DSLR Camera
- External Microphone
- Camera-Mount Adapter (if needed)
- Audio Cable (usually 3.5mm)
- Windshield or Pop Filter (optional but recommended)
Step 2: Attach the Microphone to the Camera
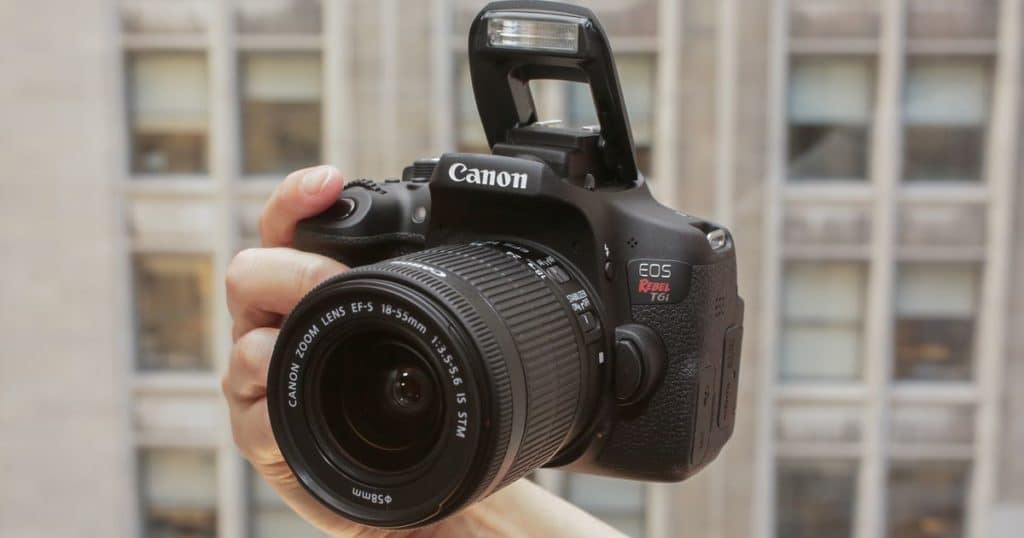
Use the camera's hot shoe mount to attach the microphone. If your microphone doesnt have a hot shoe mount, you might need a camera-mount adapter. Secure the microphone tightly to prevent it from moving during shoots.
Step 3: Connect the Audio Cable
Plug one end of the audio cable into the microphone's output and the other end into your camera's microphone input jack. Ensure the connection is secure to avoid audio disruptions.
Step 4: Configure Camera Settings
Turn on your camera and navigate to the audio settings menu. Here, you can adjust the audio levels. Set the levels based on your environment and ensure the audio isn't peaking, which can cause distortion.
If your camera has a headphone jack, use it to monitor the audio in real-time. This step is essential to ensure the audio is clear and free from background noise.
Take Good Photos Using DSLR
Tips for Optimal Audio Quality
Position Your Microphone Correctly
The placement of your microphone plays a crucial role in capturing quality sound. Position the microphone as close to the subject as possible without entering the frame. Use a boom pole or a stand if needed.
For lavalier microphones, clip the mic onto the subject's clothing, near the chest. Ensure the microphone is unobstructed and placed away from any jewelry or clothing that may cause rustling noises.
Use Windshields and Pop Filters
Windshields are essential for outdoor shoots to minimize wind noise. Pop filters, on the other hand, are used to reduce plosive sounds that can cause distortion. These accessories are affordable and can significantly improve your audio quality.
Monitor Audio Levels
Keep an eye on your cameras audio levels throughout the shoot. This ensures that the audio is consistently clear and at an appropriate level. Use headphones to monitor audio in real-time and make adjustments as needed.
Use DSLR for VideoAdvantages of Using External Microphones
Using an external microphone offers numerous benefits:
- Superior Audio Quality: Compared to built-in microphones, external mics provide clear, professional-grade audio.
- Flexibility: External microphones can be positioned to capture the best sound, whether it's a dialogue, an interview, or ambient noise.
- Noise Reduction: Quality external mics focus on the subject and filter out background noise, resulting in cleaner audio.
Conclusion
Connecting an external microphone to your DSLR camera can be a game-changer in your video production. With the tips and steps provided in this guide, you are on your way to capturing crystal-clear audio that will complement your stunning visuals.
Remember, the key to great audio is a combination of the right equipment, proper setup, and continuous monitoring. Happy shooting!
Turn iPhone into DSLR CameraFAQ
1. What microphones are compatible with my DSLR?
Most modern DSLRs feature a 3.5mm input jack, making them compatible with a wide range of external microphones such as shotgun mics, lavalier mics, and handheld mics. Always check your camera's manual for specific compatibility.
2. How can I monitor the audio quality while recording?
Some DSLR cameras come with a headphone jack that allows you to monitor audio in real-time. If your camera lacks this feature, consider using external audio recorders that offer live monitoring.
3. What can I do to reduce background noise in my recordings?
Using a directional microphone like a shotgun mic can help focus on the subject and minimize background noise. Additionally, employing windshields and pop filters can reduce wind and plosive sounds.
As an Amazon Associate, I earn from qualifying purchases.

