

How to Scan Film with a Mirrorless Camera: Remarkable Tips & Tricks
The resurgence of film photography among professional photographers has ignited a renewed interest in digitizing film negatives. There are plenty of modern methods, but learning how to scan film with a mirrorless camera offers unique benefits that both preserve image quality and provide greater flexibility. Many professionals are adopting this technique due to its ease, efficiency, and the remarkable results it yields.
In this article, we dive deep into the methodology and explain the entire process step-by-step. Whether you're a seasoned expert or someone venturing into the fascinating realm of film photography, this guide is here to help you get the most out of your film negatives using your mirrorless camera.

Why Use a Mirrorless Camera for Film Scanning?
Mirrorless cameras offer several advantages that make them ideal for film scanning. First and foremost, their high-resolution sensors capture every detail of the film negative. Additionally, their compact design and electronic viewfinder provide more accurate framing and focus, allowing for precise control during the scanning process.
Moreover, mirrorless cameras are highly adaptable, and the wide array of available lenses ensures you get the perfect setup for each film roll. This adaptability makes them a popular choice for professionals who demand high-quality scans without investing in expensive, dedicated film scanners.
Essential Equipment for Film Scanning
Before you begin scanning your film, gather the necessary equipment. The following items are essential for optimal results:
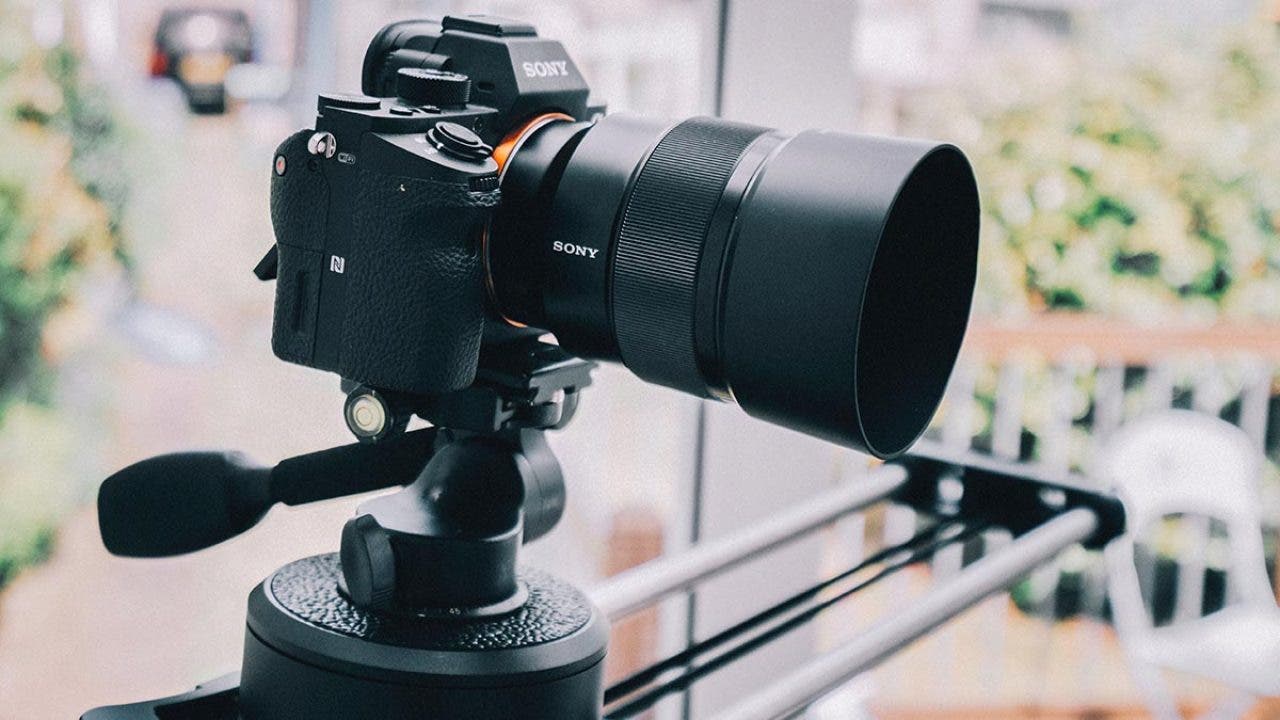
- Mirrorless Camera - Ensure your camera has a high-resolution sensor and excellent macro capabilities.
- Macro Lens - A macro lens enables you to capture detailed close-up shots of the film negatives.
- Film Holder - This holds the film strips flat and stable during the scanning process.
- Lightbox - A uniform light source is crucial for evenly illuminating the film negatives.
- Tripod - Stability is key to capturing sharp, well-aligned images of the film negatives.
Setting Up Your Workspace
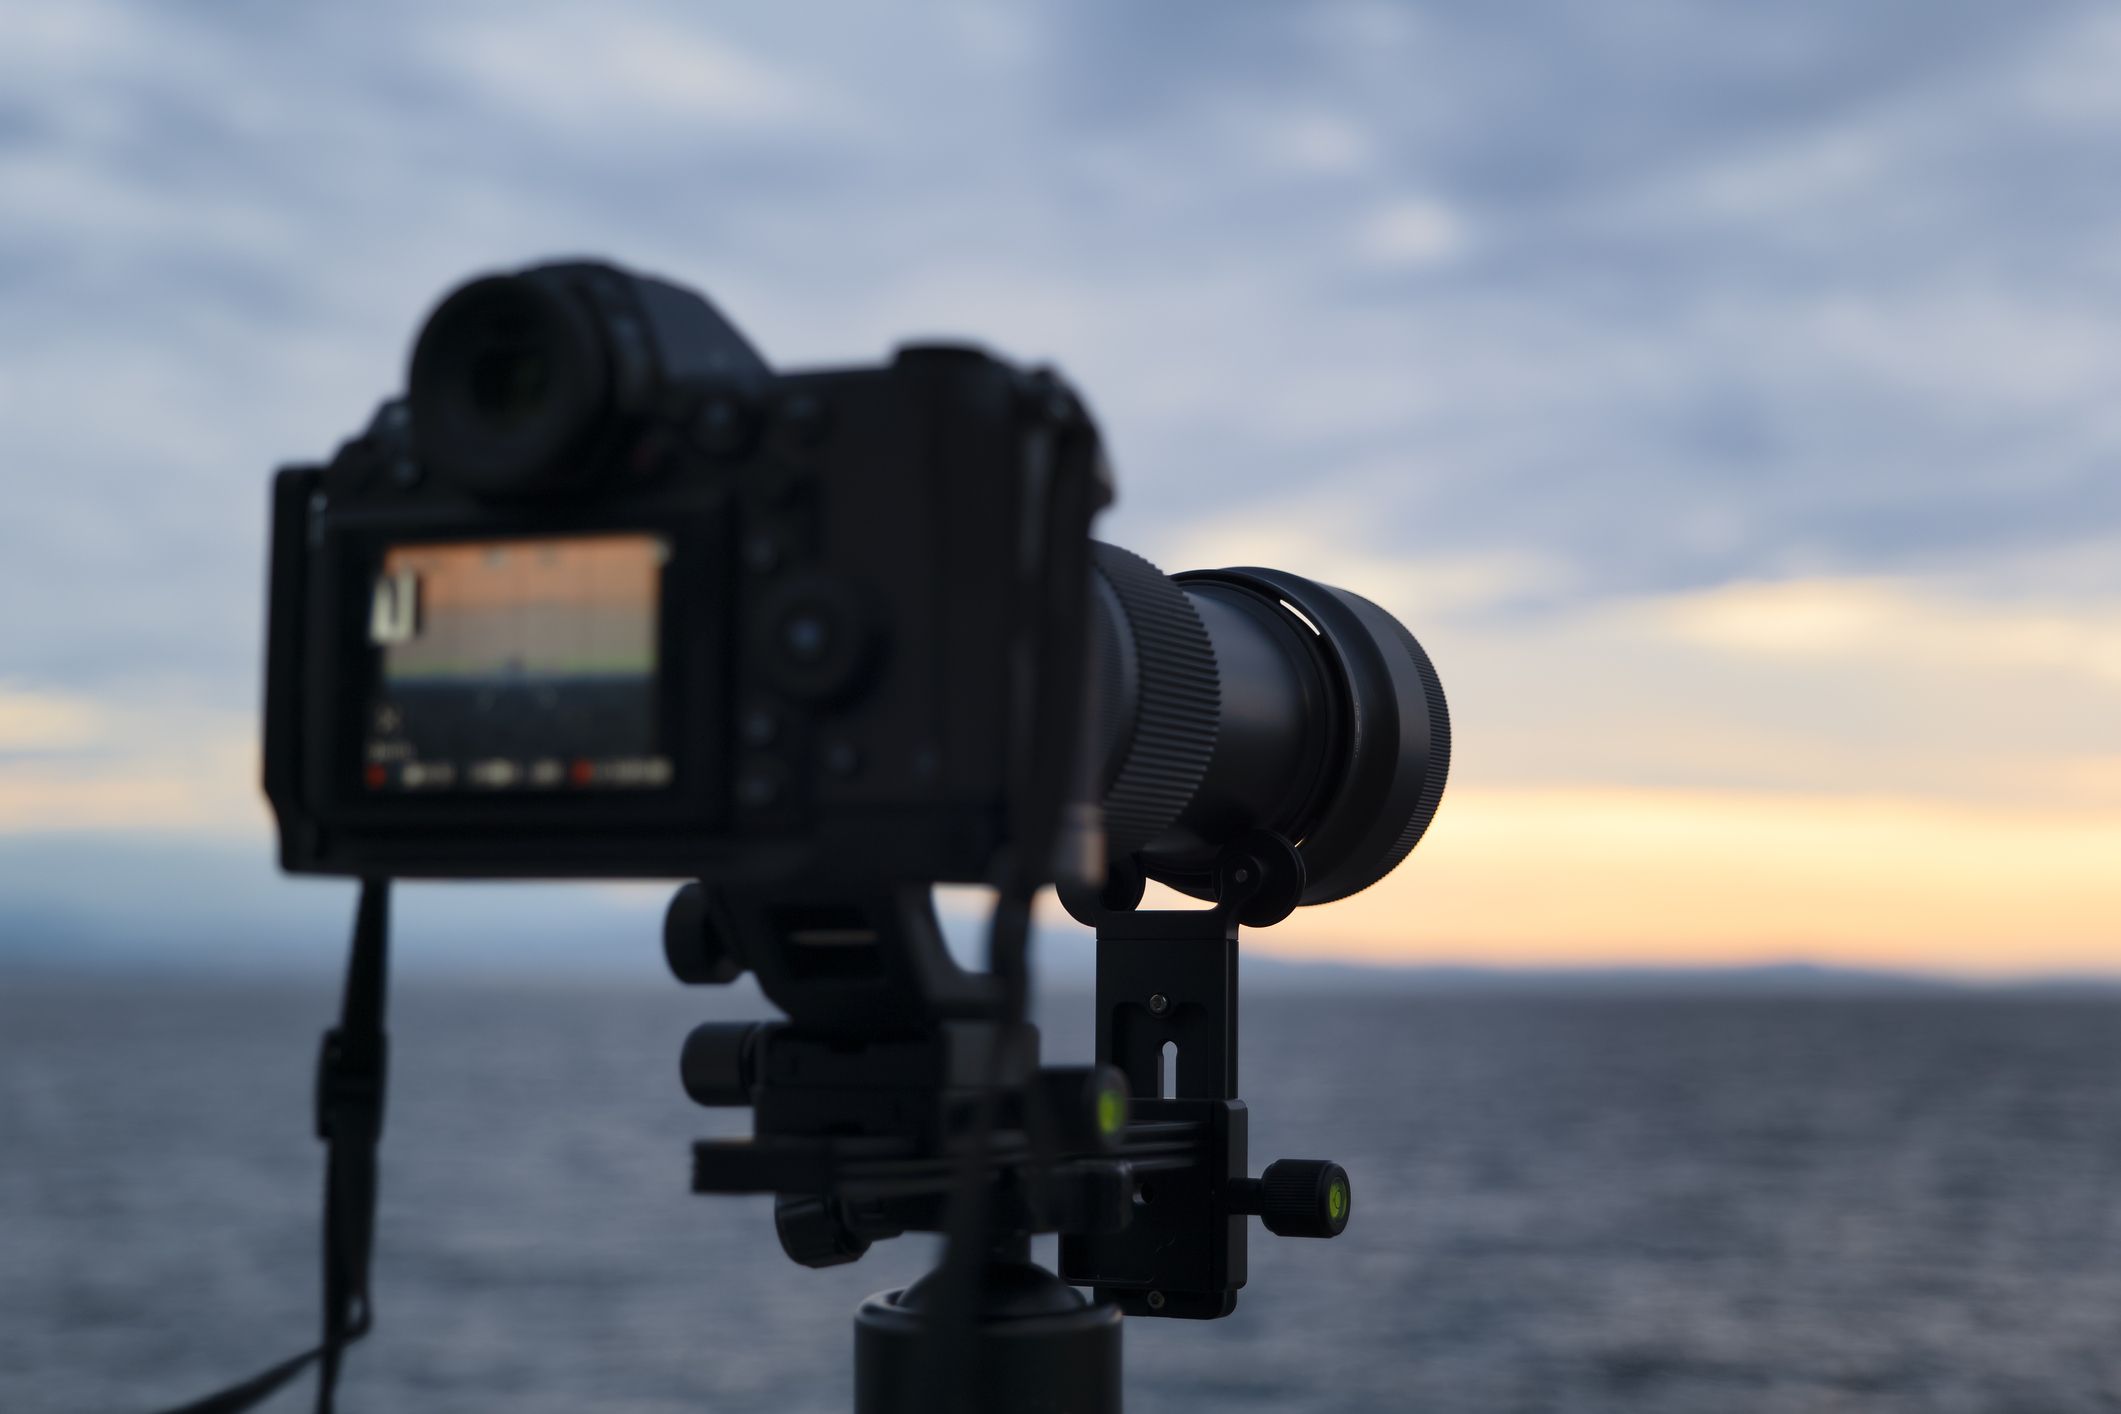
Creating an organized and comfortable workspace is vital for achieving high-quality scans. Start by setting up your lightbox on a stable surface. Place the film holder on the lightbox and ensure it lies flat. Position your mirrorless camera on the tripod, aligning it perfectly with the film holder.
Adjust the camera height so that the film negative fills the frame, and ensure proper focus using the macro lens. Using the electronic viewfinder or live view mode helps in accurately framing and focusing the film. Remember to set your camera to RAW format for maximum post-processing flexibility.
Scanning Different Types of Film
Different types of film require slight adjustments in the scanning process. Heres a brief overview:
Black and White Film
For black and white film, use a monochrome setting on your mirrorless camera to capture the essence of the original film. Adjust exposure settings to ensure a balanced histogram, avoiding blown highlights or deep shadows.
Color Negative Film
Color negative films have an orange mask that needs correction. Use your cameras white balance setting to neutralize the orange tint. Alternatively, you can adjust the color balance in post-processing software to get accurate colors.
Slide Film
Slide films, or positives, are straightforward to scan since they dont have an orange mask. Ensure the exposure is accurate, as slide films have a narrower dynamic range compared to negatives.

Post-Processing Your Scans
Post-processing is crucial to achieving the best results from your scans. Using software like Adobe Photoshop or Lightroom, import the scanned RAW files for editing. Heres how to enhance your scanned images:
Adjust Exposure and Contrast
Begin by tweaking the exposure and contrast to bring out the details in your images. Use the histogram as a guide to ensure there are no clipped highlights or shadows.
Color Correction
For color negatives, perform color correction to address any color casts introduced during scanning. Use the color balance tools to achieve accurate and pleasing colors.
Remove Dust and Scratches
Film negatives are prone to dust and scratches. Utilize the healing brush or clone stamp tools to clean up these imperfections for a polished final image.
Frequently Asked Questions (FAQs)
Is it necessary to use a macro lens for scanning film?
While its not strictly necessary, a macro lens allows for capturing finer details and achieving the necessary magnification for film scanning.
Can I use any light source for backlighting the film?
Using a dedicated lightbox ensures even and consistent lighting, which is crucial for high-quality scans. Avoid using uneven or colored light sources.
What resolution setting should I use on my mirrorless camera for film scanning?
Use the highest resolution setting available on your mirrorless camera to ensure the maximum amount of detail is captured.
For more tips on mirrorless camera usage, check out this guide on maximizing your mirrorless camera or read up on how to carry mirrorless camera for professional shoots.
As an Amazon Associate, I earn from qualifying purchases.