

How to Connect DSLR Camera to OBS: A Step-by-Step Guide
In the world of professional photography and live streaming, mastering new techniques can give you a considerable edge. Whether you are capturing stellar shots or streaming your content live, merging high-quality equipment like a DSLR camera with potent software such as OBS (Open Broadcaster Software) can elevate your output remarkably.
For professional photographers striving to broaden their digital capabilities, learning how to connect DSLR camera to OBS is indispensable. Below, we delve deeply into the step-by-step process, making it simple to fuse these two powerful tools.

Why Connect Your DSLR Camera to OBS?
Connecting your DSLR to OBS offers a myriad of benefits. Firstly, DSLR cameras are known for their superior image quality. This enhancement in visual production can make your streams or recordings look substantially more professional. Additionally, it grants more control over depth of field, focus, and overall composition.
OBS is a versatile and open-source software that supports live streaming and video recording. By integrating your DSLR with OBS, you can take advantage of advanced features like scene transitions, real-time streaming, and various source inputs directly from your professional camera setup.
What You Need
Before diving into the connection procedure, ensure you have the following essential tools ready:
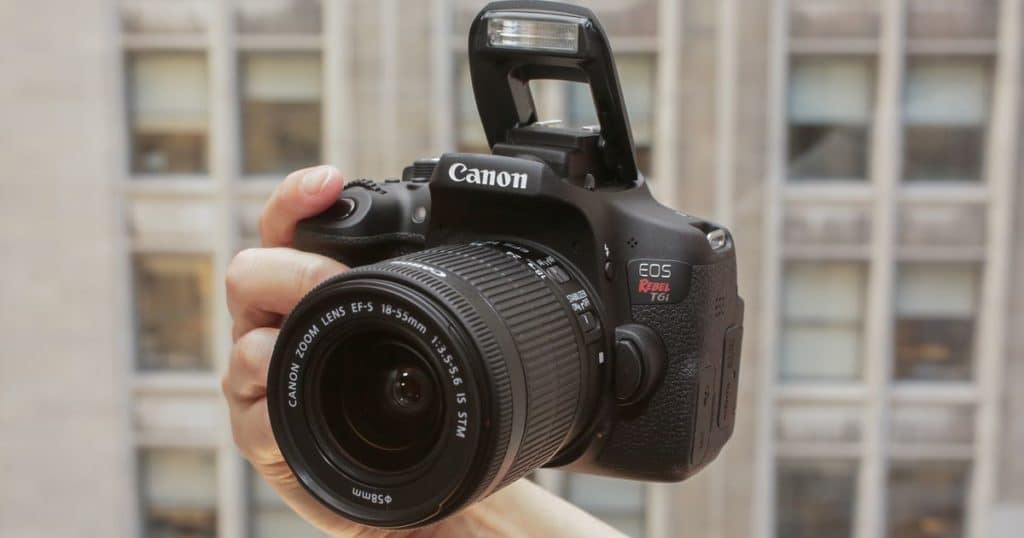
- A DSLR camera with HDMI output
- A reliable HDMI cable
- Capture card (e.g., Elgato Cam Link 4K)
- Computer with OBS Studio installed
Choosing the Right Capture Card
Your choice of capture card can significantly influence the success of this setup. Some capture cards are known for their seamless compatibility with a variety of DSLR models. The Elgato Cam Link 4K, for example, is highly recommended. It provides smooth video transmission without latency, ensuring your streams and recordings appear as crisp and fluid as possible.
Step 1: Connecting the Hardware
Your first step involves connecting your DSLR camera to the capture card using the HDMI cable. Make sure your camera is off during the initial setup process to avoid any electrical mishaps. Connect one end of the HDMI cable to the HDMI output port on your DSLR, and the other end to the input port on your capture card.
Step 2: Setting Up the Capture Card
Once your HDMI cable is securely connected, it's time to set up the capture card. Insert the capture card into an available USB port on your computer. Upon insertion, your computer should automatically recognize the capture card. If prompted, download and install any necessary drivers or software updates required for your specific capture card model.
Step 3: Configuring OBS Studio
Now, we turn our attention to OBS Studio. Launch the OBS application on your computer. In the 'Sources' box located at the bottom, click the '+' icon to add a new source. Select 'Video Capture Device' from the list of source options. This initiates a new window, allowing you to configure your video source.
In the window that opens, provide a name for your new source (e.g., DSLR Camera) and click 'OK'. On the following screen, select your capture card from the 'Device' drop-down menu. If connected properly, your DSLR camera feed should now be visible within OBS Studio.
Troubleshooting Common Issues
Occasionally, connection snags can arise. If you encounter any issues where your camera feed is not visible or OBS fails to recognize your capture card, consider the following troubleshooting steps:
- Ensure all cables are securely connected
- Update your camera and capture card drivers
- Restart both your camera and computer
- Verify that your OBS Studio is updated to the latest version

Maximizing Your OBS and DSLR Setup
After successfully connecting your DSLR camera to OBS, its advantageous to explore the myriad of settings and features that OBS offers. You can adjust your video settings to achieve the desired resolution and frame rate, incorporating various scenes and sourcing audio inputs for a multi-dimensional streaming or recording experience.
Exploring OBS Video Settings
Within OBS, navigate to the 'Settings' menu, and then to the 'Video' section. Here you can select your base (canvas) resolution and output (scaled) resolution. Maintain congruence between your canvas and output resolution to guarantee optimal video quality. Additionally, ensure the frames per second (FPS) choice aligns with your broadcasting plan keeping it to 30 or 60 FPS yields stunningly smooth visuals.
Enhancing Audio Input Quality
Though the focus often falls on visuals, audio quality is equally critical. If your DSLR supports external microphones, it is highly beneficial to integrate a high-quality mic for an enriched audio experience. For example, many professional photographers opt to connect lavalier microphones for crisp sound capture. The configuration within OBS can be achieved by adding a 'Audio Input Capture' source within the 'Sources' panel, enabling these external microphones to function harmoniously with the existing video feed.
FAQs
Can I use any DSLR camera with OBS Studio?
Most modern DSLR cameras with HDMI output are compatible with OBS Studio, though its advisable to verify specific model compatibility with your chosen capture card manufacturer.
Do I need special software for my DSLR to work with OBS?
Primarily, OBS Studio and the capture card's driver/software are enough. However, specific cameras might require additional control software for optimal configuration.
How can I improve my live stream quality?
Improving stream quality involves optimizing both video and audio settings in OBS, using a high-quality capture card, and ensuring a robust internet connection for smooth data transmission.
Related Reads:
- How to set up a DSLR camera
- Turn your iPhone into a DSLR
- Connect mic to DSLR camera
- Buying a DSLR camera
- Why DSLR is better
For further insights into DSLR cameras and settings, check out this guide from Format.com.
As an Amazon Associate, I earn from qualifying purchases.