

How to Light Large Wall Art for Professional Photographers
As a professional photographer, you've likely spent countless hours perfecting the art of capturing and showcasing images. However, another crucial aspect of art presentation is often overlooked: lighting. Mastering how to light large wall art can dramatically enhance the visual impact of your artwork and elevate the aesthetic of any space.
The strategic placement and type of lighting used can make a significant difference in how your large wall art pieces are perceived. A well-lit piece not only highlights the intricate details and colors but also sets the mood of the entire room. This is especially important for professional photographers who wish to showcase their work in galleries, exhibitions, or even client homes.
Why Lighting Matters for Large Wall Art
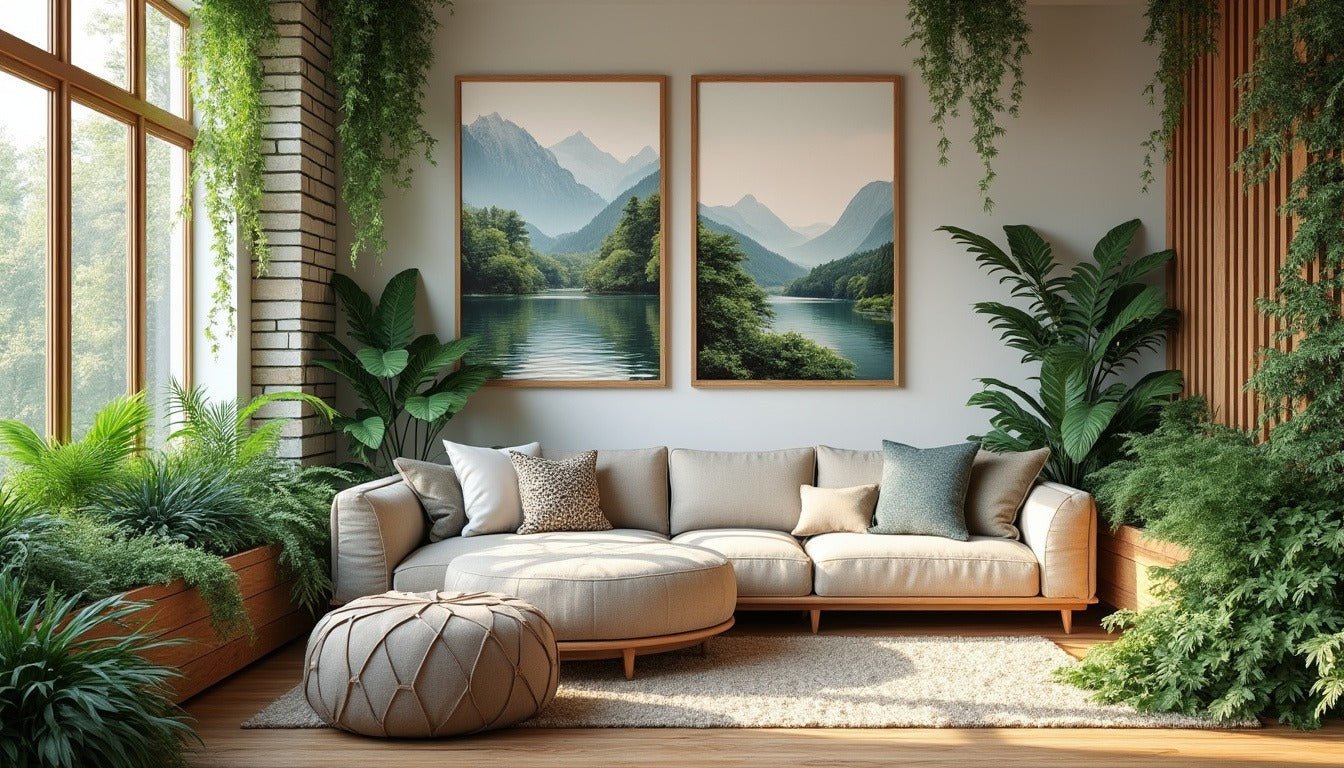
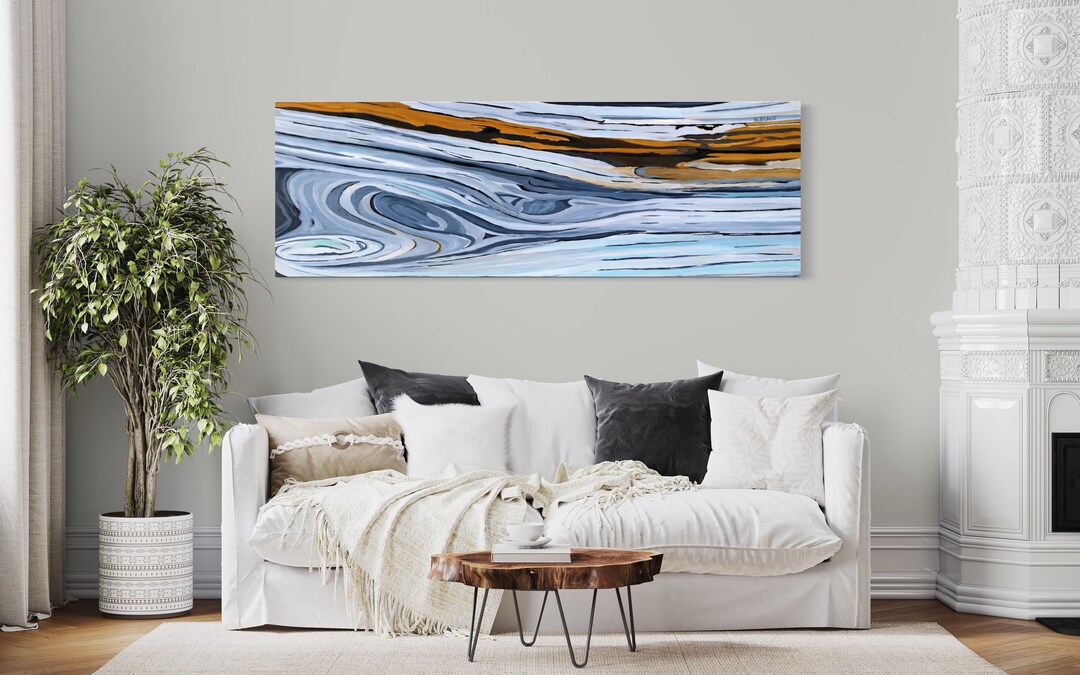
Lighting is a powerful tool in the realm of art presentation. It can transform a simple piece into a captivating focal point. For large wall art, this is particularly crucial as the size of the piece demands attention. Proper lighting ensures that viewers appreciate every detail, from the subtle textures to the vibrant hues.
Moreover, the right lighting can create a sense of depth and dimension, making the artwork feel more lifelike. This is especially important for photographers who want their images to evoke emotions and tell a story. A well-lit photograph can transport viewers to the moment it was captured, allowing them to experience the scene firsthand.
Choosing the Right Type of Lighting
When it comes to lighting large wall art, there are several options to consider. Each type of lighting has its unique characteristics and benefits. Let's explore some of the most popular choices:
- Track Lighting: This versatile option allows you to direct light exactly where you need it, making it perfect for highlighting specific areas of a large piece. The adjustable heads provide flexibility, enabling you to change the focus as needed.
- Wall Washers: Wall washers are designed to spread light evenly across a large area. They are ideal for illuminating expansive artworks, ensuring that every inch is visible and well-lit.
- Picture Lights: These lights are specifically designed for art. They are usually mounted above or below the artwork and provide focused lighting that enhances the piece without overshadowing it.
For a deeper dive into choosing the right lighting for your photo wall displays, check out our lighting tips on our blog.
Positioning Your Lights for Maximum Impact
Once you've selected the appropriate lighting type, the next step is positioning. Proper placement is essential for achieving the desired effect and ensuring that your large wall art is the star of the show.
As a general rule, lights should be placed at a 30-degree angle to the artwork. This angle minimizes glare and shadows while highlighting the piece's details. If the art has a textured surface, such as a canvas or a photo-based painting, adjusting the angle slightly can add depth and interest.
For more insights on positioning and hanging large art pieces, you might find our article on hanging big wall art helpful.
Consider the Color Temperature
The color temperature of your lights can significantly influence the mood and perception of your artwork. Warmer tones (around 2700K to 3000K) create a cozy, inviting atmosphere, while cooler tones (above 4000K) offer a more modern and crisp look.
For photographers, choosing the right color temperature is crucial as it can alter the appearance of the artworks colors. A warmer light might enhance earthy tones in a landscape photograph, while a cooler light could make a modern cityscape pop.
To explore more ways to integrate large art with different elements, consider reading about mixing large art with mirrors.
Common Mistakes to Avoid
While lighting can enhance your large wall art, certain mistakes can detract from its beauty. Here are some common pitfalls to avoid:
- Over-lighting: Excessive lighting can wash out colors and details. It's essential to strike a balance that illuminates without overwhelming.
- Ignoring Glare: Glare can be distracting and diminish the viewing experience. Ensure that lights are positioned to minimize reflections, especially on glossy surfaces.
- Inconsistent Lighting: Ensure that the lighting is even across the entire piece. Uneven lighting can create unwanted shadows and distort the artwork.
Getting Creative with Lighting Techniques
As a professional photographer, you have a keen eye for creativity. Applying this skill to lighting large wall art can lead to stunning results. Consider experimenting with different techniques such as:
- Accent Lighting: Use accent lights to draw attention to specific areas of your artwork. This technique is particularly effective for pieces with intricate details or focal points.
- Layered Lighting: Combine different types of lighting to create a dynamic effect. For example, use track lighting for overall illumination and picture lights for highlighting key areas.
- Colored Lighting: Experiment with colored lights to evoke different moods and atmospheres. This is an excellent way to create a unique display that complements the theme of your artwork.
Conclusion
Learning how to light large wall art effectively is an invaluable skill for professional photographers. By carefully selecting and positioning your lighting, you can enhance the impact of your artwork and create captivating displays that leave a lasting impression.
For more inspiration and ideas on decorating with large wall art, visit this big wall decor review.
FAQs
Q: What type of lighting is best for large wall art? A: Track lighting and wall washers are popular choices as they provide flexibility and even illumination.
Q: How can I minimize glare on my artwork? A: Position your lights at a 30-degree angle to the artwork and avoid placing them directly in front.
Q: Can I use colored lighting for my wall art? A: Yes, colored lighting can be used to create mood and complement the theme of your artwork.