

White Balance and Lighting
Understanding white balance and lighting is essential for anyone aiming to produce accurate, visually appealing photographs. Whether you're shooting cityscapes at dusk or portraits in a studio, the way your camera interprets color temperature and the quality of light can make or break your images. Getting these elements right ensures that whites look truly white, colors are rendered faithfully, and your photos have the intended mood and clarity.
In digital photography, white balance refers to the process of removing unrealistic color casts so that objects that appear white in person are rendered white in your photo. Lighting, on the other hand, shapes the scene, highlights details, and sets the atmosphere. Mastering both gives you creative control and technical precision.
For those interested in exploring how different lighting setups can impact your photography, our article on how to use continuous light provides practical tips for both beginners and advanced photographers.
Why Color Temperature Matters in Photography
Every light source emits a different color temperature, measured in Kelvin (K). Daylight is typically around 5500K, while tungsten bulbs are much warmer, around 3200K. If your camera's white balance setting doesn't match the actual lighting, your images may appear too blue (cool) or too orange (warm). This is why understanding color temperature is a cornerstone of effective white balance and lighting management.
Modern cameras offer various white balance presets—such as daylight, cloudy, tungsten, and fluorescent—to help you quickly adapt to different lighting conditions. However, for the most accurate results, many photographers prefer to set a custom white balance or shoot in RAW format, allowing for precise adjustments during post-processing.
How to Adjust White Balance for Different Lighting Conditions
Correcting white balance is not just about technical accuracy; it's also a creative tool. For example, intentionally using a cooler or warmer white balance can evoke a specific mood. Here are some practical steps to get your color right:
- Use Presets: Most cameras have built-in presets for common lighting situations. These are quick fixes but may not always be perfect.
- Custom White Balance: Set a custom value using a white or gray card in your scene. This tells your camera exactly what should be neutral.
- RAW Shooting: Shooting in RAW gives you the flexibility to fine-tune white balance in post-processing without degrading image quality.
- Manual Kelvin Setting: Some cameras allow you to dial in a specific Kelvin value, giving you granular control over color temperature.
For a deeper dive into how natural light affects your images and how to adapt, check out this comprehensive guide to natural light photography.
Lighting Techniques for Different Scenarios
The quality and direction of light dramatically influence your photos. Soft, diffused light (like on a cloudy day) reduces harsh shadows and is ideal for portraits. Hard, direct light (such as midday sun or a bare bulb) creates strong contrast and can be used for dramatic effects. Understanding how to manipulate these qualities is key to mastering white balance and lighting in your photography.
For example, using reflectors can help bounce light into shadow areas, while rim lighting can create separation between your subject and the background. If you're interested in these techniques, our resources on using reflectors for portraits and rim lighting techniques offer step-by-step guidance.
Balancing Light Sources for Accurate Color
Many real-world scenes contain mixed lighting—think of a room lit by both daylight and tungsten bulbs. This can confuse your camera's sensor, resulting in color casts that are difficult to correct. To manage this:
- Try to use one dominant light source when possible.
- Use gels or filters to match the color temperature of different lights.
- Set a custom white balance for the most accurate results.
For situations involving motion and changing light, our guide on balancing light and motion can help you maintain color accuracy while capturing dynamic scenes.
Creative Uses of White Balance and Lighting
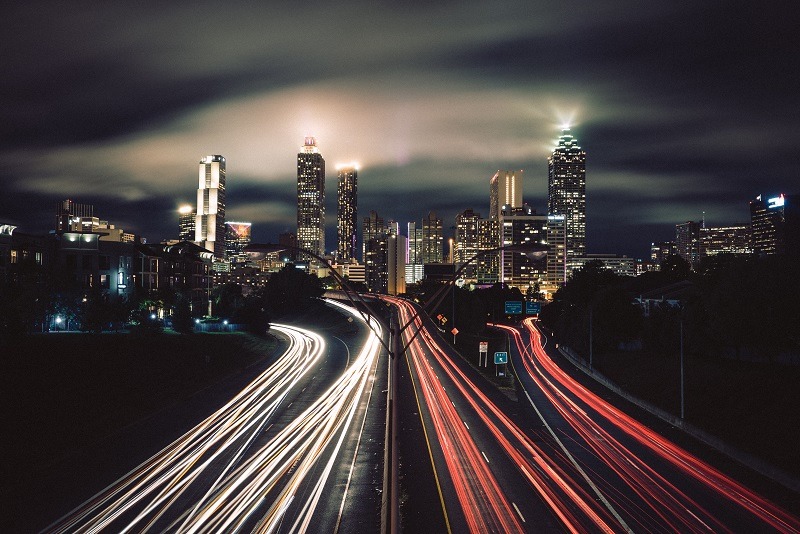
While technical accuracy is important, creative manipulation of color and light can set your work apart. For instance, using a cooler white balance for cityscapes at night can enhance the feeling of twilight, while warming up a portrait can create a cozy, inviting mood. Experimenting with different settings and observing the results is the best way to develop your own style.
Additionally, the direction and quality of light can be used to emphasize textures, create depth, or highlight specific elements in your composition. For more on this, see our article about the direction of light in photography.

Common Mistakes and How to Avoid Them
Even experienced photographers sometimes struggle with color balance and lighting. Here are some frequent pitfalls and how to address them:
- Relying solely on auto white balance: While convenient, auto settings can be fooled by unusual lighting or mixed sources.
- Ignoring the impact of ambient light: Always be aware of how surrounding lights affect your scene, especially in indoor environments.
- Not checking your images on different screens: Colors can shift depending on display calibration. Reviewing your photos on multiple devices helps ensure consistency.
- Over-editing in post: Excessive adjustments can introduce unnatural color casts or noise. Aim for subtle corrections that enhance, rather than overpower, your image.
FAQ
What is the difference between white balance and color correction?
White balance is the process of ensuring that colors, especially whites, appear natural under different lighting conditions. Color correction is a broader term that includes white balance but also involves adjusting contrast, saturation, and other color properties to achieve the desired look.
Can I fix poor white balance in post-processing?
If you shoot in RAW format, you have significant flexibility to adjust white balance after the fact. However, extreme corrections can sometimes degrade image quality or introduce noise, so it's best to get as close as possible in-camera.
How does lighting direction affect my photos?
The direction from which light hits your subject influences shadows, highlights, and overall mood. Side lighting can add depth and texture, while front lighting minimizes shadows. Experimenting with different angles helps you achieve the effect you want.
Are there tools to help with white balance on location?
Yes, using a gray card or a dedicated white balance tool can help you set a custom value quickly and accurately. These tools are especially useful in mixed or challenging lighting situations.