

Understanding Light Sources
Light is fundamental to how we perceive the world and capture images, whether with our eyes or a camera. Gaining a deeper understanding of light sources is essential for anyone interested in photography, design, or visual arts. The way light interacts with subjects, its quality, direction, and color all play a crucial role in shaping the final outcome of an image or scene.
This article explores the different types of light, how they affect visual results, and practical considerations for working with both natural and artificial illumination. If you want to master techniques for dynamic lighting in photography or simply wish to improve your everyday photos, a solid grasp of lighting fundamentals is invaluable.
Types of Light Sources
There are two main categories of light that photographers and visual artists encounter: natural light and artificial light. Each has unique characteristics and applications, making it important to recognize their differences and how to use them effectively.
- Natural Light: Originates from the sun, moon, or stars. It varies throughout the day and is influenced by weather, time, and location. Sunlight can be soft and diffused on a cloudy day or harsh and direct at noon.
- Artificial Light: Produced by man-made sources such as lamps, LEDs, flashes, and studio strobes. These sources offer greater control over intensity, color temperature, and direction.
For a more detailed look at working with man-made illumination, see understanding artificial lighting.
Key Properties of Light
To fully appreciate how different sources influence an image, it’s important to consider several core properties:
- Intensity: Refers to the brightness of the light. Strong light creates sharp shadows and high contrast, while weaker light results in softer, more subtle transitions.
- Color Temperature: Measured in Kelvin (K), this describes whether light appears warm (yellow/orange) or cool (blue). Daylight is typically around 5500K, while tungsten bulbs are warmer at about 3200K.
- Direction: The angle at which light hits the subject affects the mood and dimensionality of an image. Side lighting emphasizes texture, while front lighting flattens features.
- Quality: Hard light comes from small, focused sources and creates crisp shadows. Soft light, from large or diffused sources, produces gentle transitions and flattering results.
Natural Versus Artificial Illumination
Both natural and artificial sources have their advantages and challenges. Natural sunlight is abundant and free, but its variability can make consistency difficult. Artificial lighting, on the other hand, allows for precise control but may require investment in equipment and learning how to balance multiple sources.
Many photographers combine both types to achieve their desired look. For example, using a flash to fill in shadows on a bright day or mixing ambient room light with a studio strobe for creative effects. For more tips on balancing these elements, explore how light works in photography.
How Light Affects Your Images
The source and quality of illumination can dramatically change the mood, clarity, and impact of a photograph. Here are some ways light influences visual outcomes:
- Texture and Detail: Side lighting reveals surface textures, while soft, diffused light minimizes imperfections.
- Color Accuracy: The color temperature of your source affects how colors are rendered. Using the wrong white balance can result in unnatural tints.
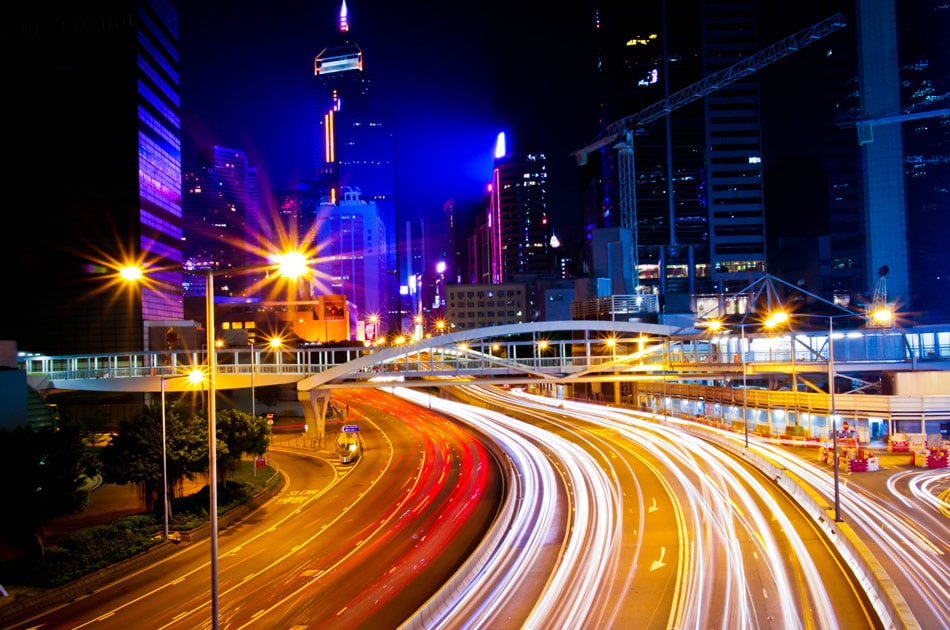
- Motion and Blur: The amount and direction of light influence shutter speed. Low light may require slower shutter speeds, increasing the risk of motion blur. For more on this, see motion photography camera settings.
- Depth and Dimension: Strategic use of shadows and highlights adds a three-dimensional feel to flat images.
Choosing the Right Source for Your Needs
When deciding which type of illumination to use, consider the following:
- Purpose: Are you aiming for a natural, candid look or a highly stylized effect?
- Environment: Is there enough ambient light, or will you need to supplement with flashes or LEDs?
- Control: Do you need to adjust the direction, intensity, or color of your light?
- Subject: Moving subjects may require brighter or more focused sources to freeze motion. Learn more about this in lighting for moving subjects.
Experimenting with different setups is the best way to discover what works for your style and subject matter.

Measuring and Modifying Light
Understanding how to measure and shape illumination is a key skill for photographers and visual creators. Tools like light meters help determine the correct exposure, ensuring your images are neither too dark nor too bright. For a deeper dive into this topic, check out light metering explained.
Modifiers such as reflectors, diffusers, and softboxes allow you to alter the quality and direction of light. By bouncing, softening, or focusing light, you can achieve a wide range of creative effects and solve common problems like harsh shadows or uneven illumination.
Practical Tips for Working with Different Sources
- Observe the Environment: Notice how natural sunlight changes throughout the day and how artificial sources interact with surroundings.
- Mix and Match: Don’t hesitate to combine various types of illumination for balanced or dramatic results.
- Use Modifiers: Experiment with umbrellas, softboxes, or even simple white walls to diffuse or reflect light.
- Adjust White Balance: Set your camera or editing software to match the color temperature of your sources for accurate colors.
- Control Shadows: Position your lights to create or reduce shadows as needed for your subject and mood.
Frequently Asked Questions
What is the difference between hard and soft light?
Hard light comes from a small or focused source and creates sharp, well-defined shadows. Soft light is produced by larger or diffused sources, resulting in gentle transitions and minimal shadows. The choice between them depends on the desired mood and subject matter.
How does color temperature affect my photos?
Color temperature determines whether your images appear warm (yellow/orange) or cool (blue). Matching your camera’s white balance to the source ensures accurate color reproduction. Using mismatched settings can lead to unnatural color casts.
Can I use both natural and artificial light together?
Yes, combining different types of illumination is common in photography and filmmaking. Mixing sunlight with flashes or LEDs allows for creative control and helps balance exposure in challenging conditions.
How do I measure the amount of light in a scene?
Light meters, either handheld or built into cameras, help measure the intensity of illumination. They guide you to the correct exposure settings for your camera, ensuring well-lit images.
Mastering the use of various light sources is an ongoing process. By observing, experimenting, and learning to control both natural and artificial illumination, you can elevate your visual work and achieve consistent, professional results.