How to Use Lighting in Photography for Stunning Effects?
When it comes to photography, mastering lighting is integral to capturing breathtaking images. Understanding how to use lighting in photography can mean the difference between an average shot and a masterpiece. For professional photographers, its not just about having the best camera; its about knowing how to manipulate light to achieve the desired effect.
The use of lighting in photography goes beyond mere aesthetics. It encompasses the atmosphere, mood, and emotion within an image. In this guide, we will delve into various techniques for using lighting that will elevate your photographic skills to the next level. Let's dive into the world of light!

Understanding the Basics of Light
The fundamental elements of lighting in photography are intensity, direction, quality, and color. Recognizing how each of these elements affects your image is crucial to mastering photography.
Intensity
The intensity of the light is essential. High-intensity light creates stark shadows and bright highlights, while low-intensity light softens shadows and reduces contrast. For portrait photography, understanding how different intensities can affect skin tones and textures is vital.
Direction
The direction of light changes how subjects are perceived. Front lighting can flatten a subject and minimize texture, while side lighting emphasizes texture and depth, creating a more dynamic image. It's important for photographers to experiment with different lighting directions.

Different Types of Lighting
Now that we've established the basics, lets discuss the various types of lighting techniques you can utilize. These can include natural light, artificial light, fill light, key light, and more.
Natural Light
Natural light is often unpredictable but incredibly rewarding. Golden hour, which occurs shortly after sunrise and before sunset, can provide exceptionally soft and warm light that many photographers love. Be prepared to manipulate this lighting by using reflectors or diffusers.
Artificial Light
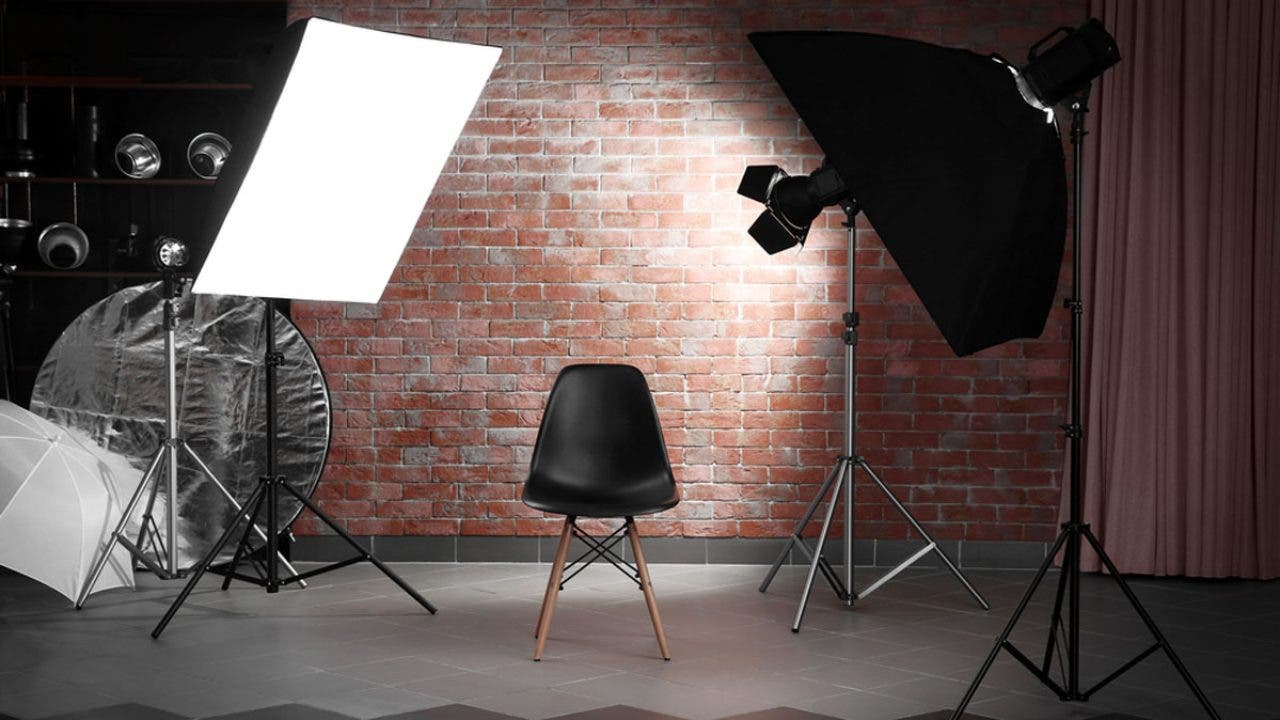
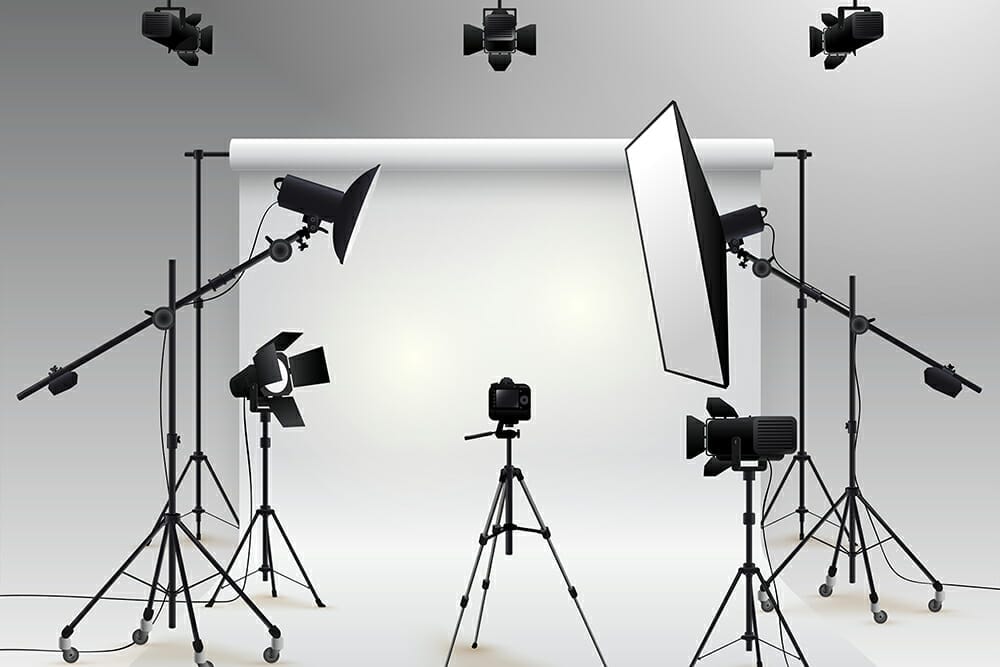
Artificial lighting offers more control over your environment. Different tools such as lights, strobes, and LEDs provide the flexibility to create specific moods and effects. For instance, using a softbox can diffuse harsh lighting, resulting in softer shadows.

Using Reflectors and Diffusers
Understanding how to use lighting in photography also involves tools like reflectors and diffusers. These tools can transform the quality of light you're working with, giving you more creative freedom.
Reflectors
Reflectors help bounce light to fill in shadows and soften the overall effect. You can create a DIY reflector using any white or metallic surface. They are particularly useful during outdoor shoots to manipulate natural light effectively.
Diffusers
Diffusers work by softening the intensity of light. When placed between the light source and the subject, they can prevent harsh shadows and create a more flattering light quality.

Mastering Exposure for Lighting
Adjusting your camera settings accurately is crucial for utilizing different lighting techniques effectively. The primary components you need to manage are ISO, aperture, and shutter speed.
ISO Settings
Lowering your ISO setting can significantly enhance image quality while using bright light. However, if youre in low-light conditions, increasing your ISO can help, but be cautious of introducing noise.
Aperture
The aperture controls the amount of light entering the lens and affects depth of field. A wide aperture (e.g., f/1.8) allows more light and creates a shallow depth of field, perfect for portraits.
Shutter Speed
Shutter speed works in tandem with lightfaster shutter speeds can freeze motion, while slower speeds can create motion blur. Understand when to utilize each to enhance your photography.
Creative Lighting Techniques
Once you master the basics, lets explore some creative techniques you can apply to your photography.
Backlighting
Backlighting can create dramatic silhouettes and unique lighting effects. Position the light source behind your subject, and adjust your exposure settings to highlight the outline.
Rim Lighting
This technique adds depth by highlighting the edges of a subject. Its especially useful for portrait photography to create an ethereal feel.
High Contrast
High-contrast lighting emphasizes differences between the light and the dark elements in a scene. This technique is great for artists wanting to create moodier photographs.
Lighting Setups for Different Photography Genres
Each genre of photography may require a different approach to lighting. Understanding how to adapt will make you a more versatile photographer.
Portrait Photography Lighting
Utilizing soft, diffused light is essential for flattering portraits. Techniques such as using a key light for the main subject and a fill light to reduce shadows can work wonders.
Product Photography Lighting
For product photography, even and consistent lighting is crucial. Many studios opt for softboxes and diffusers to eliminate harsh shadows and create a professional look. For more lighting guides for product photography, see this essential tutorial.
Event Photography Lighting
Fast-paced environments require adaptability. Use on-camera flashes or off-camera lights to create engaging images swiftly.
Post-processing and Lighting
Post-processing tools like Adobe Lightroom or Photoshop can help adjust and refine your lighting choices in the editing stage. Techniques such as dodging and burning can further enhance your photographs.
Fixing Exposure Issues
Sometimes, despite your best efforts, exposure can be off during the shoot. Use post-processing to adjust brightness, contrast, and highlights to improve the final image.
Remaining Challenges and How to Overcome Them
Like any art form, photographic challenges abound. From harsh lighting situations to fluctuating available light, its about how you adapt.
Dealing with Harsh Sunlight
High-noon sunlight can be disastrous. Solutions include using reflectors to soften shadows or finding shaded areas to reduce brightness.
Low-light Situations
Embrace low-light opportunities by utilizing larger apertures, higher ISO settings, and slow shutter speeds carefully. A sturdy tripod may also assist in managing stability.
Summary and Key Takeaways
Mastering how to use lighting in photography is an ongoing journey for professionals. From understanding the essentials of light to using creative techniques, the possibilities are extensive.
Remember, each photo opportunity is unique, and your adaptability with lighting will make all the difference.
Frequently Asked Questions
1. What type of lighting is best for portraits?
Soft, diffused lighting is generally best for portraits as it creates a flattering appearance.
2. How can I improve my lighting skills?
Practice regularly with different lighting setups and take courses on lighting photography techniques.
3. Is natural light better than artificial light?
It depends on the shooting environment and desired outcomes. Both offer unique advantages.
As an Amazon Associate, I earn from qualifying purchases.

