How to Turn Any Bag into a Camera Bag: A Remarkable Guide for Every Photographer
As professional photographers, we understand the importance of having a reliable and functional camera bag. However, there are times when our specialized camera bags just don't suffice, or we need an alternative solution.
Whether you're on a tight budget, seeking a unique style, or simply want to make use of an existing bag, learning how to turn any bag into a camera bag can be a game-changer.

Why Transform an Ordinary Bag?
Finding the right camera bag can often be a daunting task. Professional camera bags can be expensive, and sometimes, they might not match your style, comfort, or requirements. Additionally, having this skill allows for a level of customization that is often not available in pre-made options.
Cost-Effective
Transforming an existing bag can save you money. Investing in a few camera inserts is often far cheaper than buying a professional camera bag.
Customization and Personalization
With this approach, you can design a bag that perfectly fits your gear and your needs. This level of personalization leads to better organization and quicker access to your equipment.

Step-by-Step Guide to Converting Any Bag
Select the Right Bag
First, choose a bag that will be the base for your transformation. This could be a backpack, messenger bag, or even a tote bag. Ensure it's sturdy and has enough space for your camera gear.
Choosing a Suitable Bag Type
- Backpacks: Ideal for those who prefer to distribute weight evenly across their shoulders.
- Messenger Bags: Suitable for quick access to gear while on the move.
- Tote Bags: Great for casual shoots or photographers who don't travel with a lot of gear.
Gather Your Materials
Heres a list of what you might need:
- Camera inserts
- Velcro strips
- Padding material
- Shock-absorbing materials
- Dividers
Install Camera Inserts
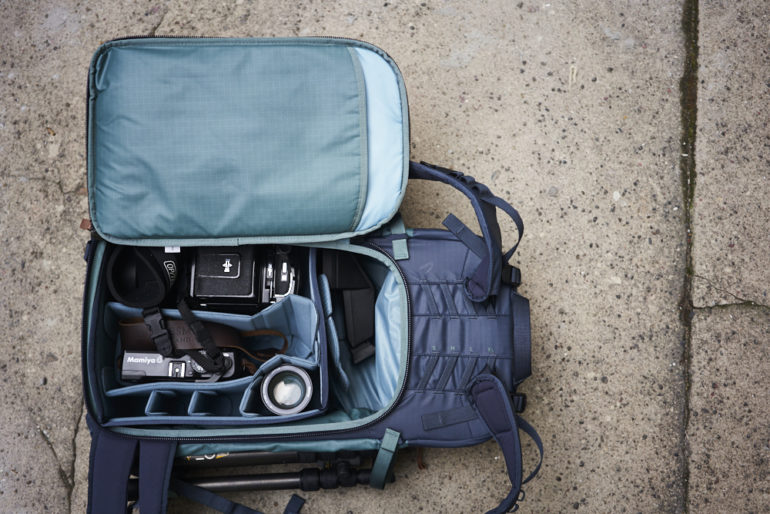
Camera inserts are padded compartments that keep your gear safe. You can place these inside the bag, creating a makeshift camera compartment. Ensure that these inserts are snug and secure.
For more detailed instructions, check out this guide on setting up camera inserts.
Add Padding and Dividers
Add extra padding to ensure that your camera and lenses are protected. You can use foam, shock-absorbing materials, or even bubble wrap. Arrange dividers to create segments for different pieces of your equipment.
Securing Your Equipment
Ensure that all gear is tightly secured to avoid any movement during transport. Velcro strips can help in holding dividers and inserts in place.

Extra Tips for Professional Photographers
Weather-Proofing
Make sure your bag has some level of water resistance. If not, consider using a rain cover or waterproof lining.
Accessibility
Quick access to your gear is crucial. Organize your setup so that frequently used items are easily reachable.
Maintenance and Care
Regularly check and maintain the padding and inserts to ensure they are in good condition.
FAQ
Can any bag be turned into a camera bag?
Yes, most bags can be converted into camera bags with the right materials and planning.
What type of padding material should I use?
High-density foam and shock-absorbing materials are recommended for the best protection.
Is it cheaper to convert a regular bag into a camera bag?
Usually, it is. Camera inserts and padding materials are generally less expensive than buying a specialized camera bag.
As an Amazon Associate, I earn from qualifying purchases.

