

How to turn a messenger bag into a versatile camera bag solution
For professional photographers, having the right gear on hand can make all the difference. One essential piece of equipment is a reliable camera bag. But what if you could turn an ordinary messenger bag into a custom camera bag that meets all your specific needs? This article will provide an in-depth guide on how to turn a messenger bag into a camera bag, tailored to professional photographers.

Why Choose a Messenger Bag?
Before diving into the DIY process, let's discuss why a messenger bag is a good candidate for conversion into a camera bag. Messenger bags are typically spacious, durable, and stylish. They offer easy access to contents through a top flap and are often more comfortable to carry than traditional backpacks.
Cost-Effective Solution
Professional camera bags can be expensive. Conversely, repurposing an existing messenger bag can be a cost-effective solution. Additionally, you have the freedom to customize it to fit your unique equipment needs.
Stylish Alternative
Messenger bags often come in various designs, allowing photographers to maintain a professional and stylish appearance. This can be particularly advantageous when working at events or in corporate settings.
Essential Supplies for the Transformation
To successfully turn your messenger bag into a camera bag, you'll need a few essential supplies:
- Adjustable Dividers: Designed to keep your camera and lenses secure
- Foam Inserts: Provide additional padding and protection
- Velcro Strips: For easy attachment and adjustments
- Fabric: To line the interior for a polished finish
- Sewing Kit: Necessary for attaching fabric and Velcro strips
- Measuring Tape: For accurate dimensions
Step-by-Step Guide: Transforming Your Messenger Bag
1. Clean and Prepare the Bag
Before starting any modifications, ensure your messenger bag is clean. Remove any unnecessary items and wipe down the interior and exterior with a damp cloth.
2. Measure and Cut Foam Inserts
Use a measuring tape to determine the dimensions of the bag's interior. Cut the foam inserts to match these measurements, ensuring they fit snugly within the bag. These will provide padding for your camera and lenses.
3. Prepare the Dividers
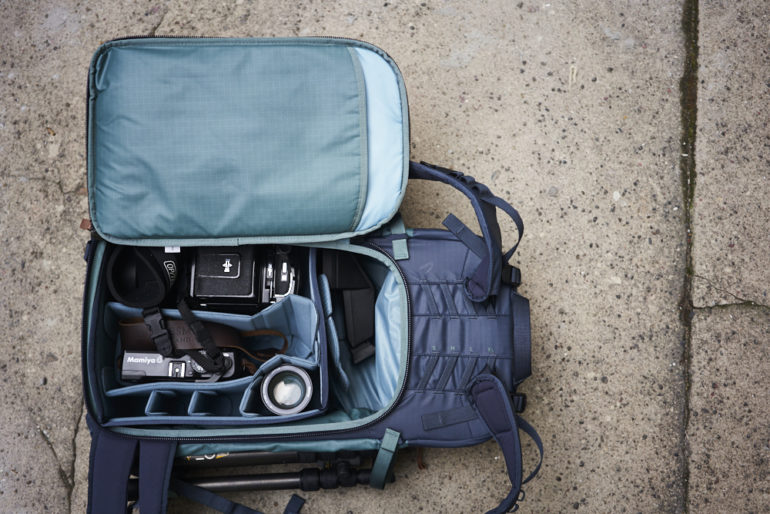
For maximum flexibility, use adjustable dividers with Velcro strips. Measure and cut the dividers to fit within the foam inserts. Attach Velcro to both the dividers and the interior of the bag, allowing you to customize the layout based on your equipment.
4. Attach Fabric Lining
Using your sewing kit, attach fabric to the foam inserts for a clean and professional finish. This step provides an added layer of protection and gives the bag a polished appearance.
5. Arrange and Insert Equipment
With the dividers and foam inserts ready, arrange your equipment within the bag. Ensure the camera and lenses are secure and separated by padded dividers to prevent damage during transport.

Additional Tips for Optimization
Here are some extra tips to ensure your converted messenger bag meets all your professional needs:
- Use small pouches: For organizing memory cards, batteries, and other small accessories
- Waterproof Spray: To make your bag more resistant to weather conditions
- Comfort Enhancements: Add extra padding to the shoulder strap for long shoots
Make the Most of Extra Space
One benefit of using a messenger bag is the extra pockets and compartments. Use these to store non-photographic essentials such as a notebook, pens, or even snacks.
FAQs
Can I use any messenger bag for this conversion?
While most messenger bags can be converted, choosing a bag that is durable and spacious enough to hold your camera gear is advisable.
How much does it cost to transform a messenger bag into a camera bag?
The cost varies based on the materials used. However, it is generally more affordable than purchasing a professional camera bag.
How long does the transformation process take?
This depends on your skill level and attention to detail but typically takes a few hours.
For additional guidance on customizing camera bags, check out this blog post. If you're looking for high-quality camera bags, consider visiting Billingham.
As an Amazon Associate, I earn from qualifying purchases.