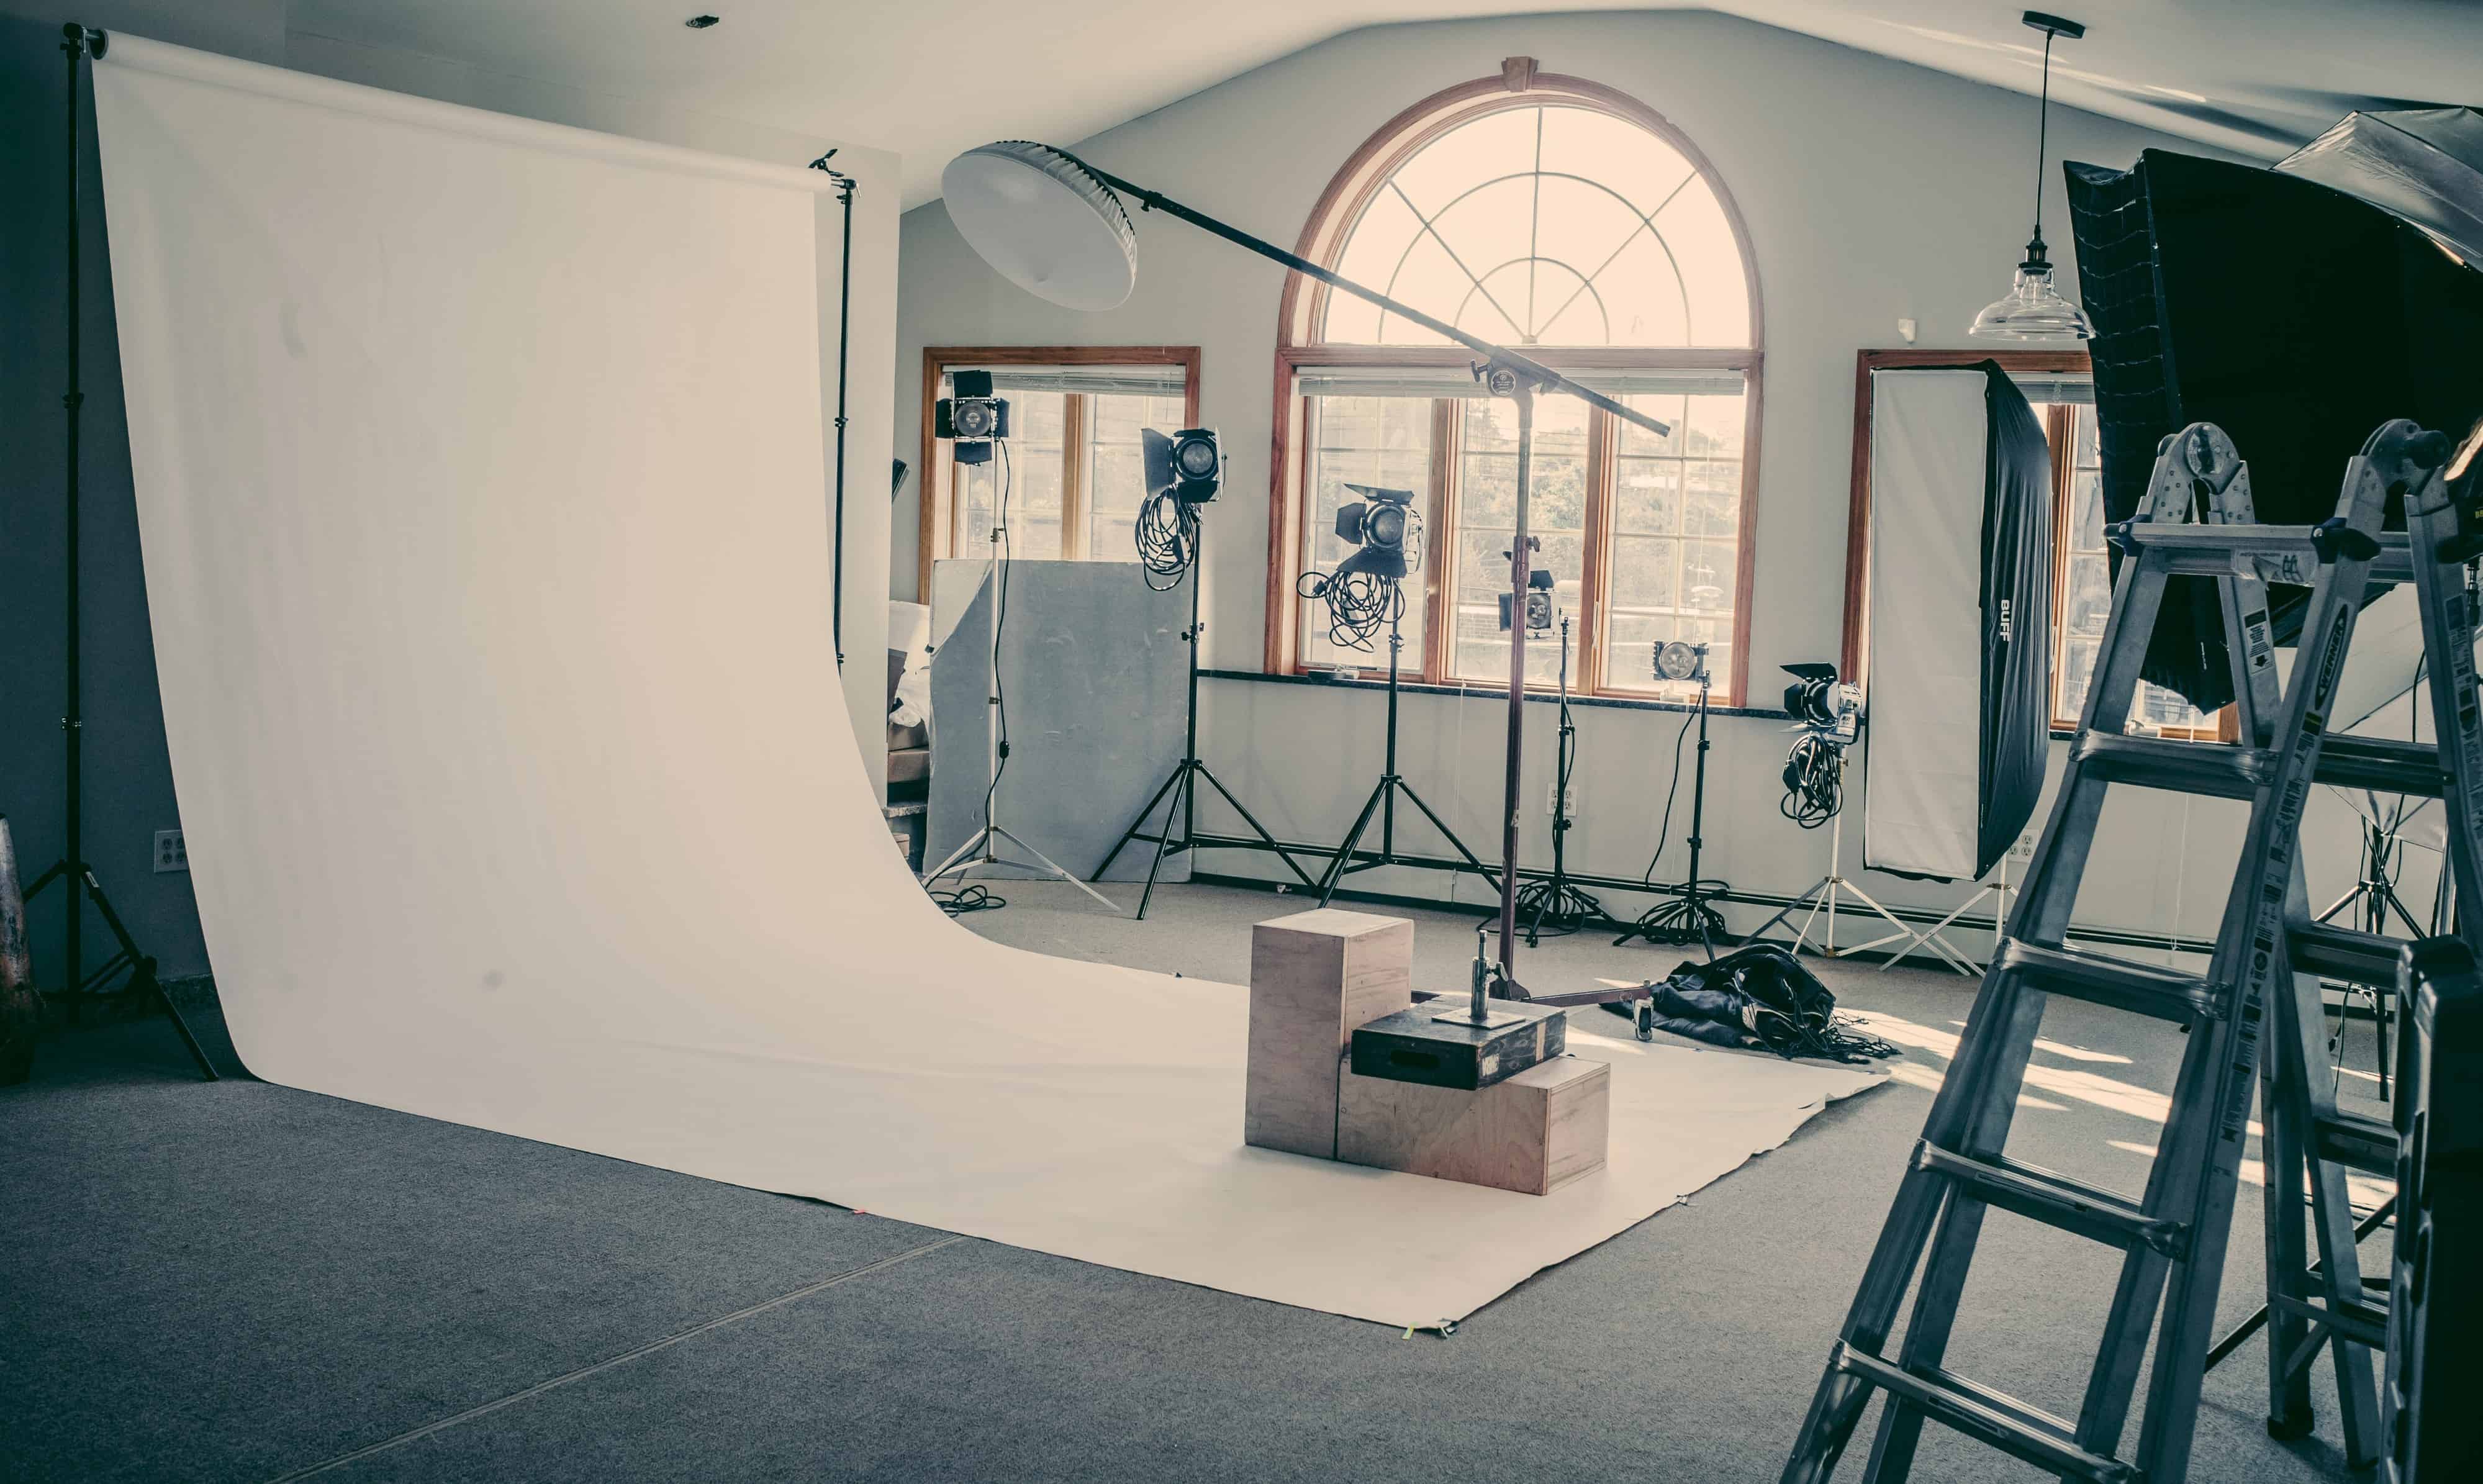
Shocking Techniques Revealed: How To Set Up Umbrella Lighting?
For professional photographers, mastering lighting techniques can be the pivotal difference between a bland photo and an exceptional one. Today, we will delve into how to set up umbrella lighting for photography, a versatile technique that can dramatically enhance your work. Umbrella lighting is simple yet powerful and can transform a scene from average to stunning in no time.
When you understand the fundamentals, this technique is easy to execute. In this article, we will cover everything from basic materials to advanced strategies, ensuring you have the necessary tools at your disposal to create remarkable images.

Understanding Umbrella Lighting
Before we dive into the setup process, its vital to comprehend what umbrella lighting is. An umbrella is a type of modifier that diffuses and reflects light produced by a flash or continuous light source. The primary types include shoot-through umbrellas and reflective umbrellas. The choice depends on your specific needs and creative vision.
Each umbrella type affects your lighting setup in unique ways:
- Shoot-through umbrellas allow light to pass through them, creating a soft, diffused look.
- Reflective umbrellas bounce the light back on the subject, providing a more focused illumination.

Necessary Equipment for Your Lighting Setup
1. **Umbrella**: Choose the type of umbrella that best fits your desired outcome.
2. **Light Source**: This could be an external flash or continuous light, depending on your preference.
3. **Light Stand**: Provides the support required for holding the umbrella.
4. **Trigger System**: If using an external flash, you may require triggers to fire your flash remotely.
By gathering these essentials, you're setting yourself up for success.

Step-by-Step: How to Set Up Umbrella Lighting
Step 1: Position Your Light Source
Start by finding the right location for your light source. Position the stand with the light approximately 45 degrees from the subject. This positioning allows the light to cast a natural shadow while illuminating the subject appropriately.
Step 2: Attach the Umbrella
Once the light is securely mounted on the stand, attach your umbrella. If you're using a reflective umbrella, ensure the reflective side is facing the subject. Conversely, for shoot-through umbrellas, direct it so that the light passes through.
Step 3: Adjust Height and Angle
Adjusting the height and angle of your light source is crucial. Ideally, the light should be slightly above the subject's eye level to mimic natural sunlight. Make sure to angle it down towards the subject to achieve a flattering light effect.
Step 4: Test and Modify
Take some test shots and evaluate the light. If it seems too harsh or soft, modify the distance or angle of the light. Remember, lighting can easily be adjusted by moving the umbrella closer or further away from the subject.

Advanced Techniques for Professional Quality
As you gain confidence in your skills, you can experiment with more advanced techniques:
- Multiple Umbrellas: Using multiple light sources can create depth and dimension in your photos.
- Layering Light: Incorporate background lights to add interest and separation in the frame.
- Color Gels: Experiment with color gels to create artistic moods and enhance the overall aesthetic of your images.
Common Mistakes to Avoid
Even experienced photographers can make mistakes when setting up umbrella lighting. Here are a few common pitfalls to watch out for:
- Inadequate Distance: Placing the light too close can cause harsh shadows.
- Improper Angle: Not angling the light correctly can create unflattering highlights.
- Forgetting the Background: Pay attention to how your light affects the background to avoid distractions.
Why Lighting is Crucial in Photography
For further insights on the importance of lighting, visit Why Lighting Matters.
Conclusion: Mastering Umbrella Lighting for Impactful Photography
Umbrella lighting is a game-changer in the realm of photography. You can create stunning portraits and evocative scenes with the right setup and techniques. So, follow these guidelines on how to set up umbrella lighting for photography, and elevate your craft to new heights.
FAQs
- Can I use umbrella lighting for outdoor photography? Yes, umbrella lighting can be beneficial, especially during overcast days.
- How do I prevent shadows when using umbrella lighting? Adjust the umbrella position and light angle to minimize shadows.
- What types of umbrellas are best for portraits? Shoot-through umbrellas are often recommended for softer, flattering light.
As an Amazon Associate, I earn from qualifying purchases.

