

How to Set Up Lighting for Photography Like a Pro?
Setting up the right lighting for photography can be a game changer for any professional photographer. Understandably, every genre of photography demands its own unique lighting techniques. In this guide, we will delve deeply into how to set up lighting for photography and enhance your photographic artistry.
The ability to control lighting can distinguish between an ordinary photograph and a breathtaking image. Good lighting can enhance textures, create drama, and highlight the subject dramatically. Here, we will provide you with comprehensive insights into how to get the best light for your shots.

Understanding the Basics of Lighting
Before diving into specific setups, its crucial to grasp some of the foundational concepts concerning light:
Types of Light Sources
Youll predominantly find two types of light sources used in photography:
- Natural Light: This includes sunlight or ambient light found in a space. It can often be unpredictable but offers beautiful, soft light.
- Artificial Light: Light created through various equipment such as flash, lamps, and LED lights. It affords you complete control over your lighting setup.
Lighting Quality
The quality of light can dramatically affect your photographs. It includes:
- Hard Light: This type casts sharp shadows and creates high contrast. Good for fashion or portrait photography.
- Soft Light: Diffused light that produces soft, gentle shadows is ideal for portraits and product photography.
Step-by-Step Guide to Setting Up Lighting
Step 1: Choose Your Lighting Type
Deciding between natural or artificial light is crucial for your setup. Each has its own advantages. While natural light can create beautiful, organic photos, artificial light can give you precise control and consistency.
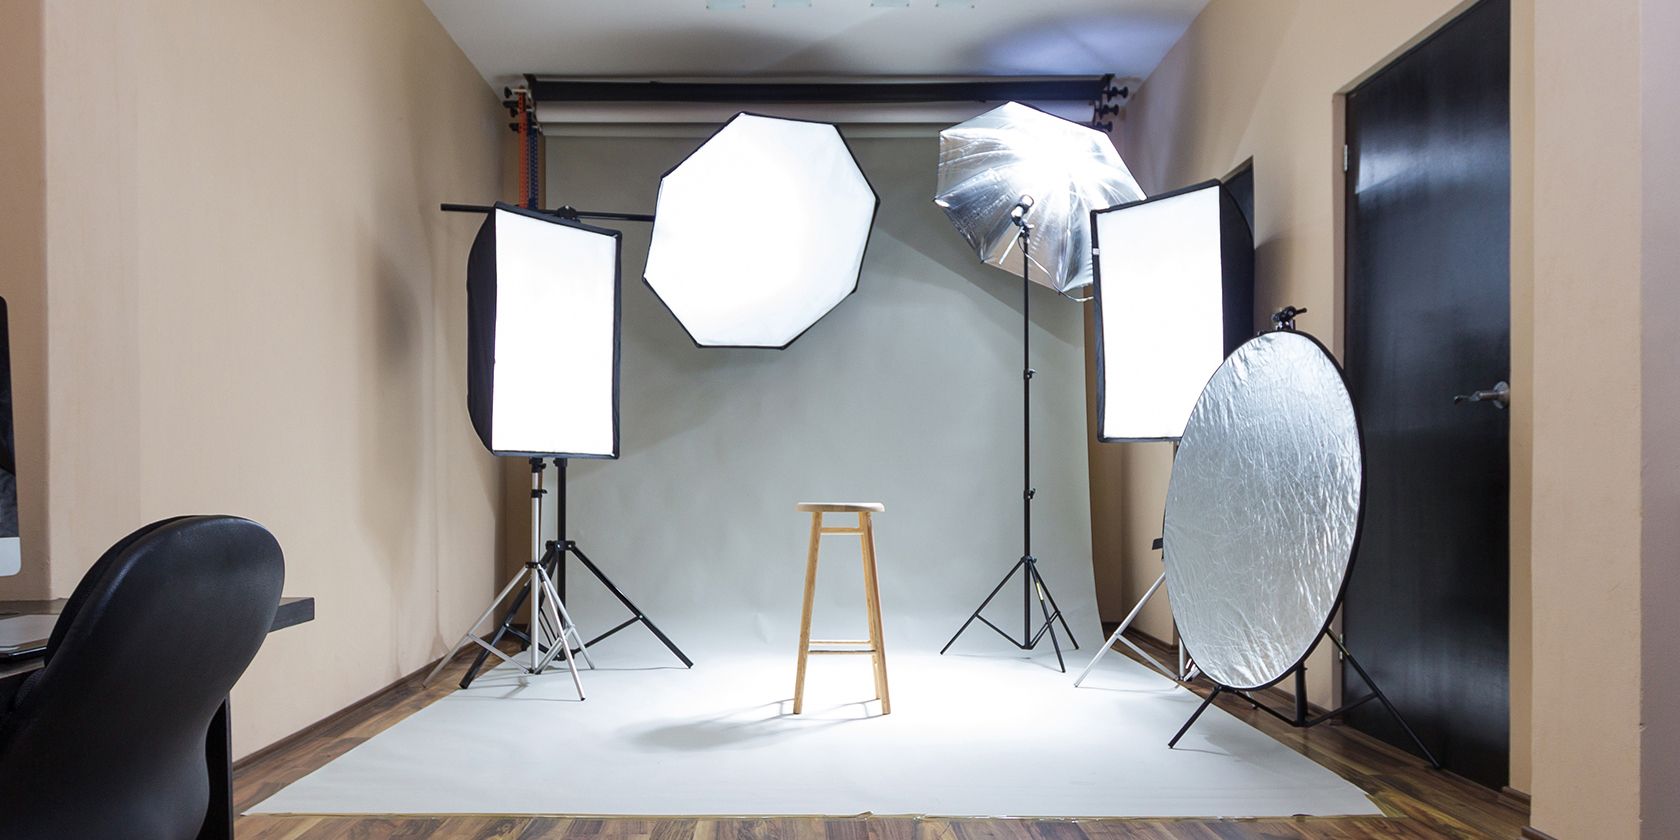
Step 2: Lighting Placement
Positioning is essential when discussing how to set up lighting for photography. Here are common placements:
- Key Light: This is your primary light source, usually positioned at a 45-degree angle.
- Fill Light: It helps to soften shadows created by the key light and can be placed on the opposite side.
- Back Light: Placing a light behind your subject can create an exciting rim lighting effect.
Step 3: Adjusting Light Intensity
Whether you're using natural or artificial light, its essential to adjust the intensity. You can accomplish this by:
- Moving the light closer or further away from the subject.
- Using modifiers such as softboxes, umbrellas, or reflectors to diffuse light.
Step 4: Experimentation
Every scenario is unique, and experimenting is a key part of the process. Try out different angles, distances, and modifiers. This will help you learn what works best for your particular style and lighting conditions.
Lighting Setups for Different Photography Styles
Portrait Photography Lighting
For portraits, the essential objective is to highlight your subject without harsh shadows. A common setup is:
- Key Light: Positioned slightly above and to one side for natural shadows.
- Fill Light: Positioned on the opposite side to soften shadows.
Product Photography Lighting
In product photography, light must highlight the products features. Use a setup including:
- Softbox: To create even lighting over the product.
- Reflectors: To bounce light back onto the product, highlighting any details.
Event Photography Lighting
Lighting at events like weddings or parties often needs to be flexible. Consider:
- On-Camera Flash: For quick, portable lighting.
- Off-Camera Flash: To create more dynamic compositions.
Common Mistakes to Avoid
When it comes to setting up lighting for photography, there are numerous pitfalls. Avoid:
- Overexposure: Ensure your highlights arent blown out.
- Underexposure: Make sure the shadows still reveal important details.
- Inadequate Modification: Softening hard light is crucial for flattering portraits.
Final Thoughts
Mastering how to set up lighting for photography is a skill every professional photographer must cultivate. Success comes from understanding lights qualities, experimenting with various settings, and adapting to different situations. Continual practice will enhance your ability to creatively harness lighting in all your photography.
Frequently Asked Questions
1. What is the best lighting for photography?
The best lighting will depend on your specific needs, but a combination of soft light with any necessary modifiers often yields good results.
2. How can I create soft light in my photos?
You can create softer light by using diffusers or softboxes to scatter light over a larger area.
3. Should I use natural or artificial lights for outdoor portraits?
Using a combination of natural light complemented by reflectors or fill lights often provides the best results for outdoor portraits.
As an Amazon Associate, I earn from qualifying purchases.