

How Professional Photographers Mount Action Cameras on Helmets
As a professional photographer, you strive for the perfect shot in every condition. Whether you are capturing the rush of a downhill mountain biking trail or the serene landscape from a motorcycle ride, knowing how to mount action camera on helmet is essential. In this guide, we dissect the best techniques and equipment for achieving stellar footage, ensuring you never miss a moment.

The Importance of Helmet Mounting
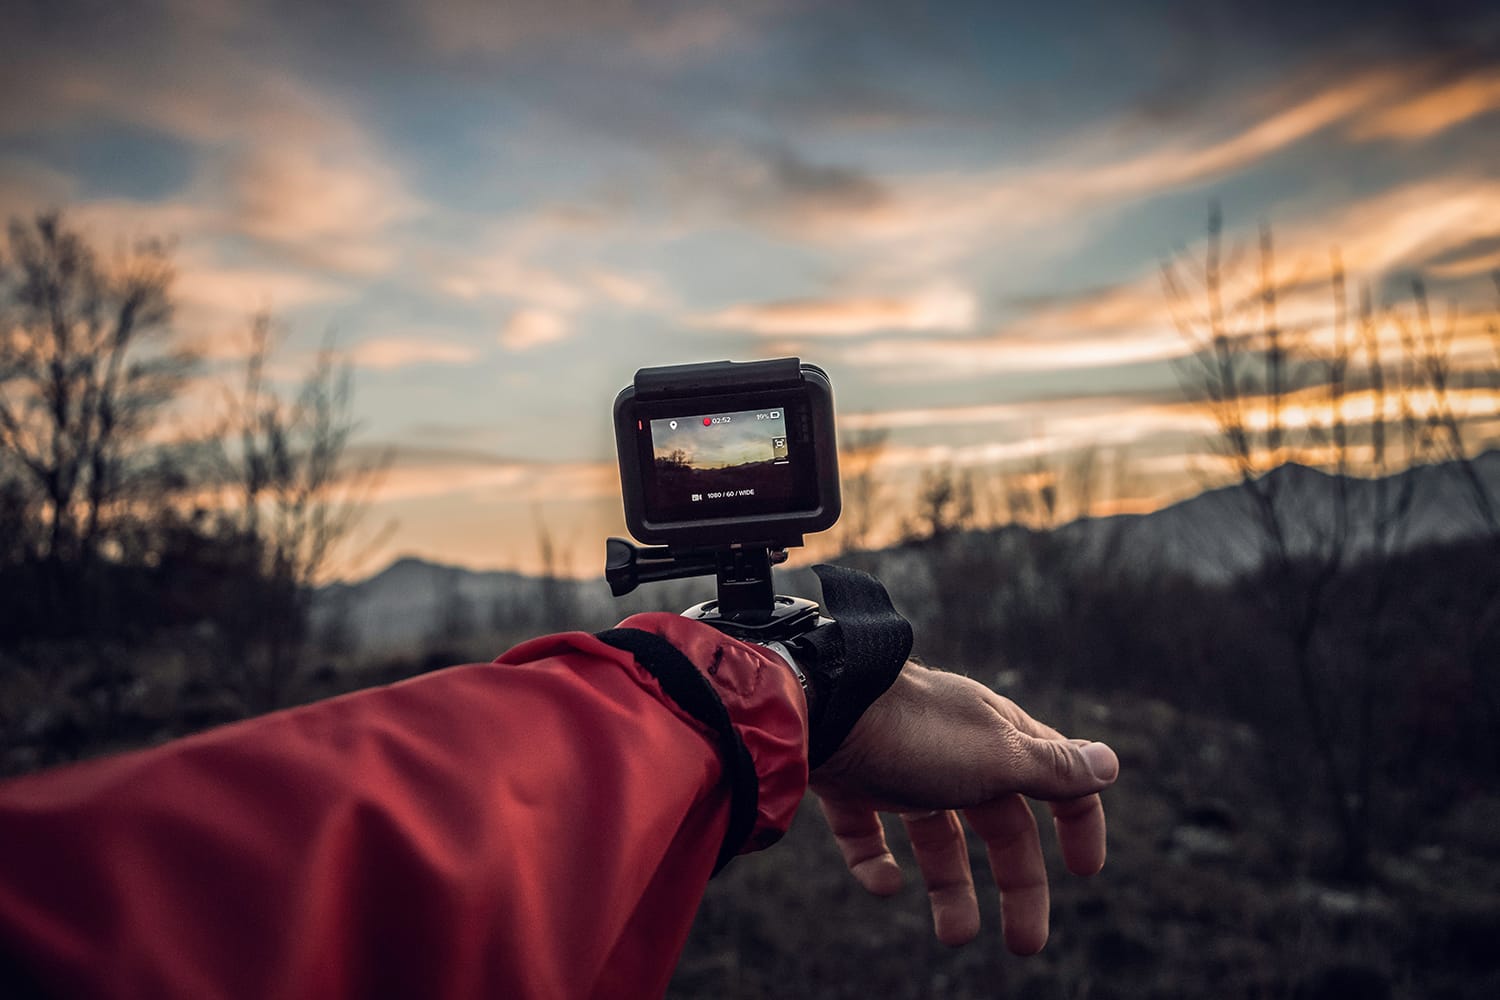
Strategically mounting your action camera on your helmet can capture a first-person perspective that's unparalleled. This can be particularly beneficial when documenting action sports, adventure travel, or unique documentaries. A securely mounted camera not only offers stability but also guarantees your equipment's safety during high-impact activities.
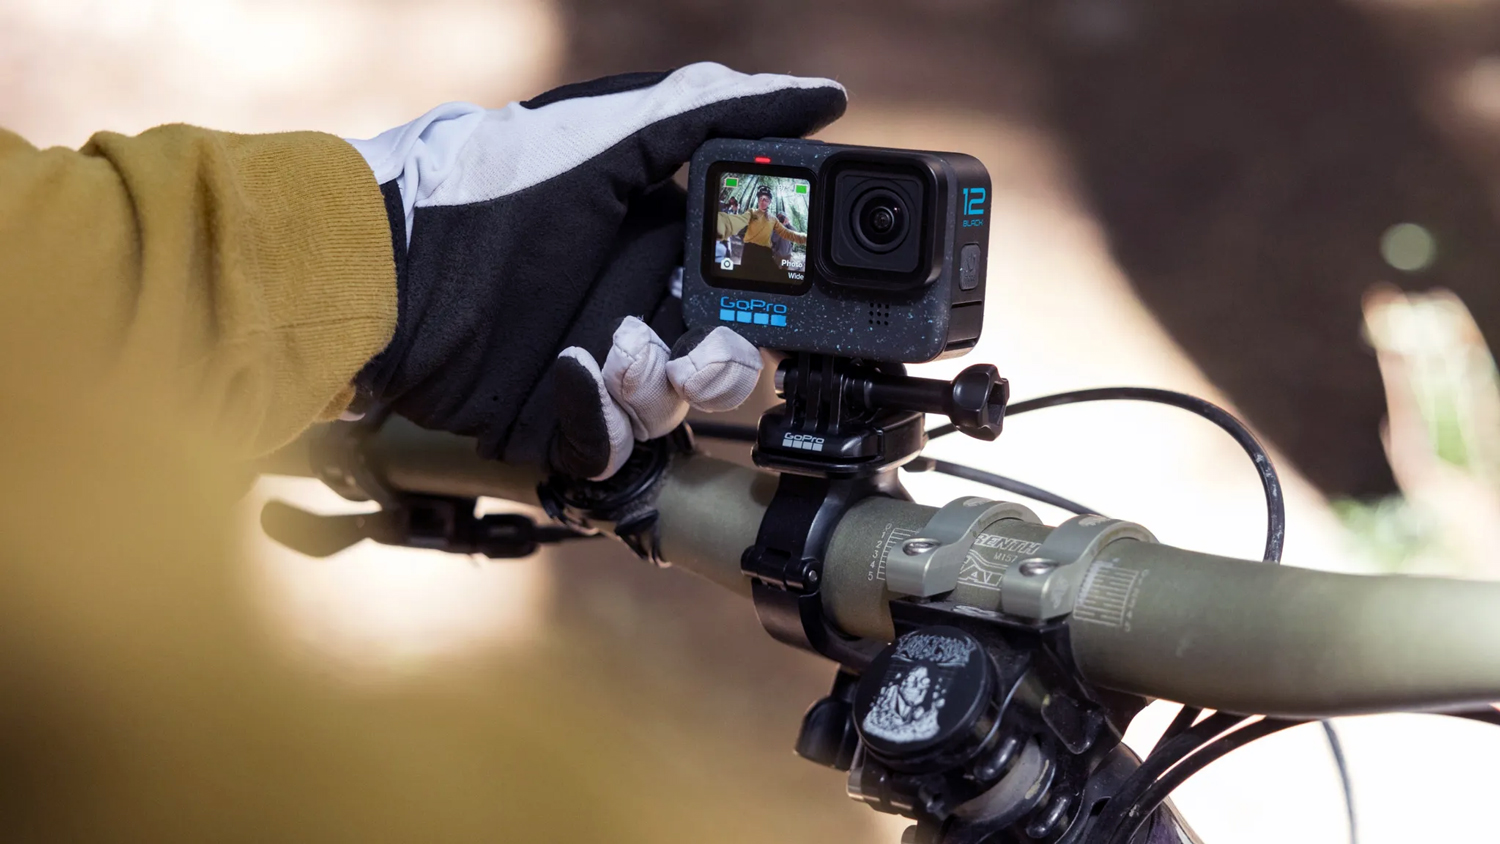
Different Types of Mounts
Before we get into the nitty-gritty of how to mount action camera on helmet, it's important to understand the different types of mounts available. Options generally include:
- Adhesive mounts
- Strap mounts
- Clip mounts
Each type has its own set of benefits and ideal use cases. Your choice will depend on the activity you are engaging in and the kind of footage you aim to capture. Bridge Camera vs DSLR
Choosing the Right Helmet
Your helmet type can greatly influence the quality of the footage. Consider helmets with flat or slightly curved surfaces for the adhesive mounts. For other mounting types, ensure your helmet has enough room for secure attachment. Also, check if the helmet's material allows for a firm grip without risking damage to both the helmet and the camera.
Preparing Your Gear
Before actually mounting the camera, make sure all components are clean and free from dust or moisture. This ensures better adhesion and reduces the risk of the mount failing during use. Read up on What is a Bridge Camera vs DSLR for more gear insights.
Step-by-Step Guide on Mounting an Action Camera
Step 1: Choosing the Spot
Choose a spot that offers the best field of view and stability. Typically, the top or side of the helmet works best. Use a marker to identify the exact spot where you plan to place the mount.
Step 2: Cleaning the Surface
Clean the spot using alcohol wipes to remove any dirt or grease. This helps in improving the adhesive quality, ensuring that the mount sticks firmly.
Step 3: Positioning the Mount
Remove the adhesive cover and carefully place the mount on the chosen spot. Press firmly for a few minutes to ensure a secure fit. Let it sit for a few hours, if possible, for the adhesive to fully bond.
Step 4: Attaching the Camera
Once the mount is set, attach the camera. Use any additional securing straps or clips to make sure the camera doesn't wiggle or shake. Check the camera's stability by moving your helmet around vigorously.

Testing and Calibration
Before heading out, take some test shots to ensure the camera angle is right and the footage is stable. Make any necessary adjustments. Use software tools if needed for real-time monitoring and calibration.
Safety Considerations
Safety is paramount. Always check your camera and mount before starting any activity. A loose camera can become a hazard. Make sure all gears are securely fastened to avoid any accidents.
Utilizing Software for Post-Processing
Once you've captured the footage, high-quality post-processing software will help enhance the visuals. Tools like Adobe Premiere Pro and Final Cut Pro offer features specifically designed for action camera footage, such as stabilization and fisheye correction.
FAQ Section
What types of mounts are best for action cameras?
The best mounts for action cameras vary depending on the activity. Adhesive mounts are often the most versatile, while strap and clip mounts offer unique advantages for different scenarios.
Can I use any helmet for mounting an action camera?
It's best to use helmets with smooth, flat, or slightly curved surfaces. Make sure the material allows for secure attachment without compromising safety or damaging the camera and helmet.
How do I ensure the mount doesnt fail during an activity?
Always clean the surface and make sure the adhesive has properly bonded. Use additional straps or clips for extra stability, and regularly check your gear before embarking on any high-impact activities.
For further insights on maintaining your action camera, check out 6 Action Camera Tips.
As an Amazon Associate, I earn from qualifying purchases.