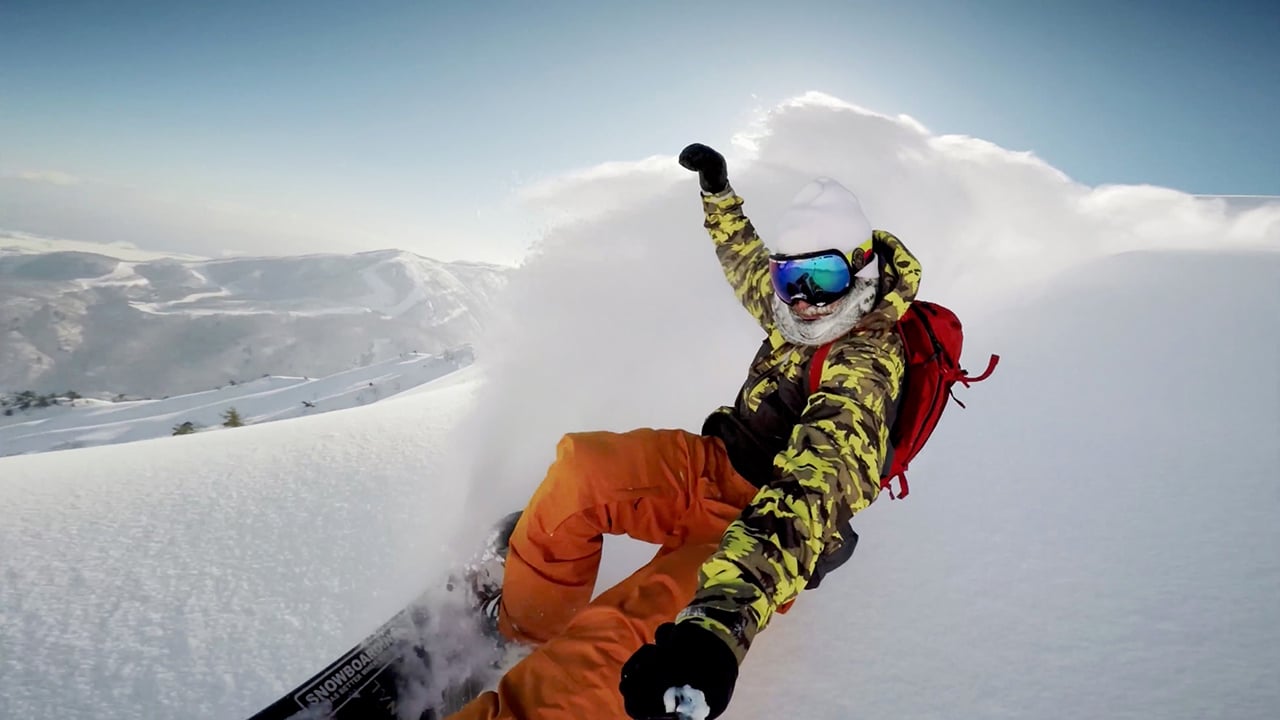
How to mount action camera on bicycle helmet: A detailed guide
As a professional photographer, capturing new perspectives and unique shots is imperative. One incredible way to achieve this is by mounting an action camera on your bicycle helmet. This guide will cover all you need to know about how to mount action camera on bicycle helmet, ensuring you get the best possible footage.

Why Mounting an Action Camera on a Bicycle Helmet is Beneficial
In the world of professional photography, unique angles and perspectives can set you apart. By mounting an action camera on your helmet, you can capture immersive and dynamic shots that are otherwise impossible to get with traditional camera setups. This technique allows for a hands-free operation, letting you focus on the ride while capturing the true essence of the journey.

Choosing the Right Action Camera
Before getting into the mechanics of mounting, its essential to select the appropriate action camera. Factors to consider include weight, resolution, durability, and compatibility with various mounts. Popular choices among professionals include the GoPro series and DJI Osmo Action, known for their high-quality footage and robust build.
Understanding Mount Types
When it comes to how to mount action camera on bicycle helmet, there are various mount types to consider:
- Adhesive Mounts: These are the most common and are designed to stick firmly to the helmet.
- Strap Mounts: These use adjustable straps to secure the camera.
- Chin Mounts: These provide a lower, more stable angle.
- Top Mounts: These offer a higher, more centered perspective.

Step-by-Step Guide to Mounting Your Action Camera
Preparation
Clean the helmet surface to ensure there's no dust or grease, which can affect the adhesive strength. Use a gentle cleaner and allow it to dry completely.
Positioning
Experiment with different positions to determine the ideal angle. This might take a few tries, but its crucial for the best shot. A pro tip: consider the camera's field of view and adjust accordingly.
Mount Installation
For adhesive mounts, peel off the backing and press the mount firmly onto the helmet. Hold it for a few minutes to ensure a strong bond. If youre using a strap mount, thread the straps through the helmets vents and secure them tightly.
Securing the Camera
Attach the camera to the mount and ensure its locked in place. Double-check all connections, as a loose camera can result in shaky footage or, worse, a lost device.

Troubleshooting Common Issues
Even with the best setup, you might face some issues:
- Shaky Footage: Ensure all mounts are tight and consider using stabilization features available in your camera.
- Water Damage: Make use of protective casings for your action camera.
- Battery Life: Always carry extra batteries, especially on long shoots.
Pro Tips for Superior Footage
For professional photographers, here are some advanced tips:
- Use an external microphone for better audio quality.
- Experiment with various resolution settings to find the best balance between quality and storage.
- Utilize slow-motion settings for dramatic effects.
Maintenance and Care
Regular maintenance is vital for the longevity of your action camera. Clean the lens after each use and store the camera in a protective case. For more tips on camera care, check out Action Camera Maintenance and Care.
Additional Resources
For further reading, you might find these links useful:
FAQ Section
Can any action camera be mounted on a bicycle helmet?
Most action cameras can be mounted, but its essential to ensure compatibility with the mount you choose.
How do I ensure the camera stays secure?
Make sure all connections are tightly secured and regularly check during rides.
Whats the best positioning for the camera?
This depends on the desired angle, but top and chin mounts are commonly recommended for a balanced perspective.
As an Amazon Associate, I earn from qualifying purchases.

