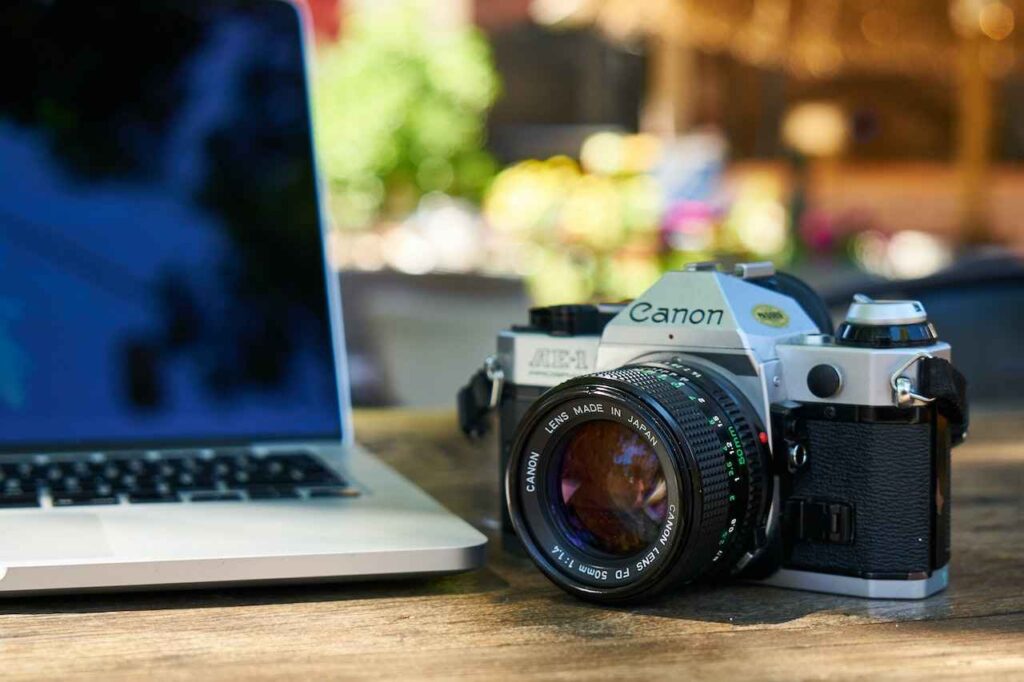
How to Connect Your DSLR Camera to Laptop: A Pro Guide
For professional photographers, knowing how to connect a DSLR camera to a laptop is crucial. Whether you're looking to offload your high-resolution images quickly or utilize tethered shooting software, understanding this process can be a game-changer. This article will walk you through the details you need to connect your DSLR to your laptop effectively.

Why Connect Your DSLR to Your Laptop?
Connecting your DSLR to your laptop opens up a world of possibilities. First, it allows you to transfer images seamlessly for post-production. Second, it enables tethered shooting, which means you can see your shots in real-time on a larger screen. This feature is invaluable for studio photography or when you need to showcase images immediately to a client.
What You Need to Get Started
Before we proceed, let's gather the essentials you'll need.
- DSLR Camera
- USB Cable
- Software (Camera-specific or third-party like Adobe Lightroom)
- Laptop with compatible ports and sufficient storage

Connecting Through USB Cable
The most straightforward way to connect your DSLR to your laptop is through a USB cable. This method is easy, fast, and reliable.
Step-by-Step Instructions
- Turn off your DSLR camera.
- Connect the camera to the laptop using the USB cable.
- Turn on your camera.
- Your laptop should recognize the camera, and you can transfer photos using the camera's memory card folder appearing on your screen.

Using Wi-Fi Connection
Many modern DSLR cameras come with built-in Wi-Fi, making the connection process even more convenient.
Step-by-Step Instructions
- Enable Wi-Fi on your DSLR camera.
- On your laptop, connect to the same Wi-Fi network as your camera.
- Use the camera's companion app to establish the connection or access the camera from your laptop's file explorer.

Tethered Shooting with Software
Tethered shooting allows you to see the images on your laptop as soon as they are taken.
Popular Software Choices
- Adobe Lightroom
- Capture One
- Sony Remote Camera Control
Step-by-Step Instructions for Tethered Shooting
- Install the tethering software on your laptop.
- Connect the DSLR camera to the laptop using a USB cable.
- Open the software, and follow the prompts to recognize the connected camera.
- Start shooting, and see your photos pop up on the laptop screen in real-time.
Common Problems and Troubleshooting
Connection Failures
If you face any issues while connecting your DSLR to your laptop, here are a few tips:
- Ensure both devices are charged, or connect them to a power source.
- Update your camera and laptop's firmware and software.
- Try a different USB port or cable.
Compatibility Issues
Ensure that your camera and laptop are compatible. For instance, not all software supports every camera model out of the box.
Safety Tips
Handling expensive equipment requires care. Here are some safety tips to ensure a secure connection:
- Always turn off the camera before connecting or disconnecting it.
- Use high-quality cables to prevent short circuits.
- Keep your workspace clean to avoid accidents and damage.
FAQ
Can I connect any DSLR camera to my laptop?
Most modern DSLR cameras can be connected to laptops either through USB, Wi-Fi, or via a tethering software. However, older models may lack these capabilities.
Do I need special software to connect my DSLR to my laptop?
While special software is not required for simply transferring photos, it is highly recommended for tethered shooting and managing large files.
What should I do if my laptop doesn't recognize my DSLR?
Try updating your camera and laptops firmware, use a different USB cable or port, and ensure the camera is in the correct mode for connectivity.
For more insights on DSLR cameras, visit this page.
For further reading on related topics, check out these articles: Carry DSLR, Canon Rebel T7, iPhone vs DSLR.
As an Amazon Associate, I earn from qualifying purchases.

