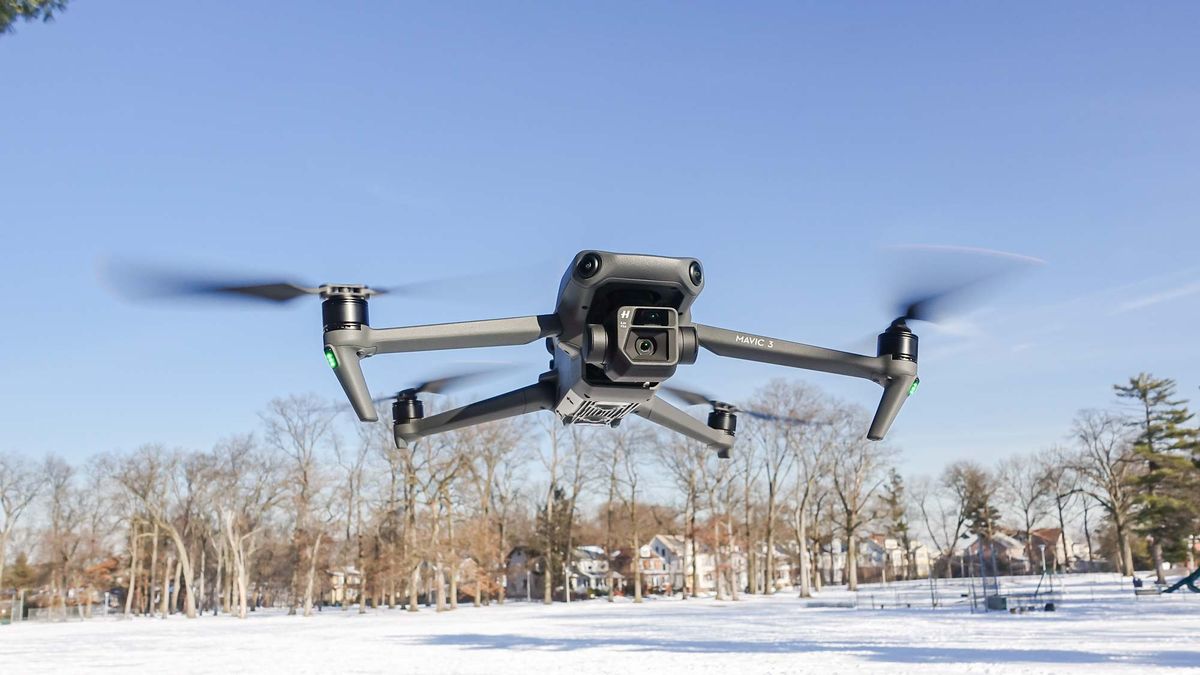
How to Build a Drone from Scratch for Photographers?
Building a drone from scratch can seem like a daunting task, especially for professional photographers who are eager to capture stunning aerial imagery. However, with the right knowledge and tools, you can easily create a custom drone that meets your photography requirements. This article will guide you through the steps on how to build a drone from scratch and what considerations to keep in mind for optimal results.

Understanding the Basics of Drones
Drones come in various shapes and sizes, and understanding their components is essential for building your own. The primary components include:
- Frame: The structure that holds all other components together.
- Motors: Used for lifting the drone off the ground.
- Propellers: Generate thrust and control flight.
- Flight Controller: The brain of the drone that interprets sensor data.
- Battery: Provides power, typically lithium polymer (LiPo).
- Camera: Essential for photographers, select one that meets your needs.

Gathering the Required Materials
Before you start building, gather all necessary materials:
- Frame Kit: Choose one that suits your desired drone size.
- Motors and Propellers: Match them accordingly for efficiency.
- Flight Controller: Look for features that support photography.
- GPS Module: Essential for stability and precise takeoff.
- Camera: Use a lightweight, high-resolution camera for amazing shots.
- Batteries: Invest in high-capacity batteries for extended flight time.

Step-by-Step Guide to Building Your Drone
Step 1: Assemble the Frame
Begin by assembling the frame according to the provided instructions. Ensure that it is stable and well-structured to support the weight of other components.
Step 2: Install the Motors
Attach the motors to the frame. Its crucial to verify that they are mounted securely and oriented correctly. The propeller rotation direction is also essential to ensure proper flight.
Step 3: Connect the Flight Controller
Install the flight controller in the center of the frame. Connect it to the motors and GPS module following the wiring diagrams provided by the manufacturer.
Step 4: Add the Battery and Camera
Secure the battery in an easily accessible location while keeping the center of gravity balanced. Attach your camera, ensuring it's firmly fixed and positioned correctly for effective photography.
Step 5: Calibration and Testing
Before your first flight, calibrate the flight controller and all sensors. Conduct a test on the ground to ensure that everything is functioning as expected.

Photography Tips for Drone Use
Once your drone is built, youll want to explore the best practices for capturing stunning images:
- Use the rule of thirds for composition.
- Experiment with different elevations for unique perspectives.
- Take advantage of natural lighting conditions for better images.
Regulations and Safety Considerations
Before flying your drone, familiarize yourself with the FAA regulations. It's crucial to ensure that you comply with local laws to avoid penalties. Additionally, here are some safety tips:
- Always fly below 400 feet.
- Keep your drone within line of sight.
- Avoid flying near airports or crowded areas.
Helpful Resources
For more in-depth information, consider checking these resources:
Frequently Asked Questions
1. Can I customize my drone's camera?
Absolutely! You can tailor the camera to suit your photography needs, as long as it fits the weight and dimensions of the drone.
2. What are the best cameras for drones?
Some popular options include GoPro cameras and mirrorless cameras that are lightweight and offer excellent image quality.
3. Do I need a license to fly my drone?
In many jurisdictions, commercial drone pilots must have a Part 107 certification from the FAA. Check with local authorities for specific requirements.
As an Amazon Associate, I earn from qualifying purchases.

