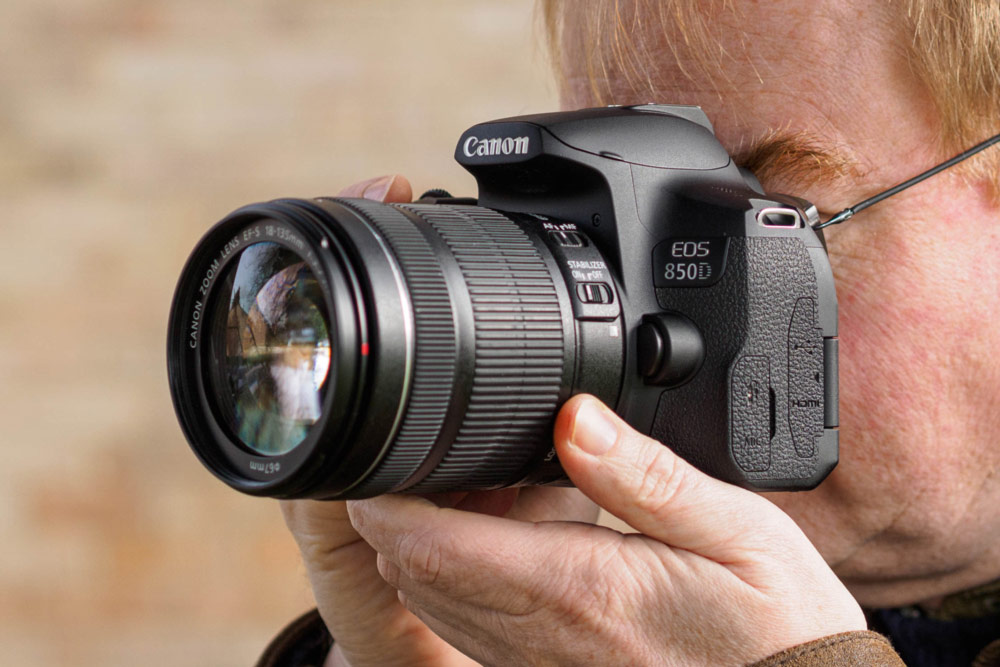
Mastering DSLR Assembly: How to Assemble a DSLR Camera
Introduction to Assembling a DSLR Camera
For professional photographers, understanding how to assemble a DSLR camera is a fundamental skill. Whether you're setting up a new camera or reassembling after maintenance, this guide will provide you with the expertise you need.
Assembling a DSLR camera involves several meticulous steps, each contributing to the overall performance and functionality of your gear. Let's dive into the specifics and optimize your setup for the best photography experience.

Unboxing Your DSLR Camera
Your journey begins with unboxing. Carefully removing each component from its packaging can prevent damage and ensure that you have all necessary parts. Typically, the box will contain the camera body, lens, battery, charger, memory card, and various cables. Double-check the manual to ensure nothing is missing.

Attaching the Lens
One of the most critical steps is attaching the lens to the camera body. Remove the body cap from the camera and the rear lens cap. Align the white or red dots on both the camera and lens, then gently twist the lens clockwise until it clicks into place. This part requires precision, so proceed carefully.
For those interested in further understanding camera lenses, consider checking out this detailed article on how DSLR camera lenses work.

Inserting the Battery
The battery is the powerhouse of your DSLR. Open the battery compartment, usually located at the bottom of the camera, and insert the battery with the contacts facing inward. Ensure it clicks securely in place. Close the compartment door and double-check for a secure fit.

Inserting the Memory Card
The memory card is where your captured images are stored. Open the memory card slot, typically located on the side of the camera. Insert the card with the label facing outward until it clicks into position. Close the card slot cover securely.
Powering On and Initial Setup
Turn on your camera using the power switch. Follow the on-screen instructions to set up the date, time, and other preferences. This initial setup is crucial as it impacts the accuracy of your metadata and overall shooting experience.
Adjusting Settings and Customization
Now that your camera is assembled, it's time to adjust the settings. For professional photographers, customizing settings such as ISO, shutter speed, and aperture according to shooting needs is vital. These settings allow for greater control and creativity in your photography.
Calibration and Testing
Before heading out for a shoot, it's essential to calibrate your camera and perform tests. Take a few test shots to ensure that the lens is correctly attached, the memory card is functioning, and the battery is fully charged. Calibration helps in verifying that all parts of your camera are working harmoniously.
Useful Tips for DSLR Maintenance
Proper maintenance is key to ensuring the longevity and performance of your DSLR camera. Regular cleaning, careful handling of the lens, and routine battery checks are essential practices. Curious about waterproofing your camera? Check out this guide on how to waterproof a DSLR camera.
Safety Precautions
When assembling and handling your DSLR camera, always adhere to safety precautions. Avoid exposing the camera to extreme temperatures, and be cautious when attaching or detaching the lens to prevent dust and debris from entering the camera body.
For more comprehensive tips on DSLR usage and maintenance, visit SLR Photography Guide.
Frequently Asked Questions
How do I know if my lens is securely attached?
Your lens is securely attached if you hear a click sound when you twist it onto the camera body. Always double-check by gently trying to twist the lens counterclockwise; it should not move.
Can I use third-party lenses with my DSLR?
Yes, you can use third-party lenses with your DSLR, but ensure they are compatible with your camera model to avoid any issues.
What should I do if my camera fails to power on?
If your camera fails to power on, check the battery to ensure it's fully charged and correctly inserted. If the problem persists, consult your camera manual or a professional technician.
As an Amazon Associate, I earn from qualifying purchases.

