

How Do You Set Up Your DSLR Camera for a Stop Motion? Tremendous Guide!
For the skilled and passionate professional photographer looking to answer the question, 'how do you set up your DSLR camera for a stop motion?', this article provides a comprehensive guide to mastering the setup. Whether you are capturing a series of still frames to create fluid motion or embarking on a new creative project, the right setup is crucial for achieving exceptional results. In this detailed article, we will explore each step necessary to ready your DSLR camera for stunning stop-motion photography.

Essential Equipment for Stop Motion
Before diving into the camera setup, it's important to gather all the necessary equipment. A reliable DSLR camera, a sturdy tripod, a shutter release remote, proper lighting, and an animation software are paramount. Having the right gear will enhance your workflow and result in smoother animations. Be sure also to have a large enough SD card or external storage, as stop-motion projects can consume significant space.
Choosing the Right DSLR
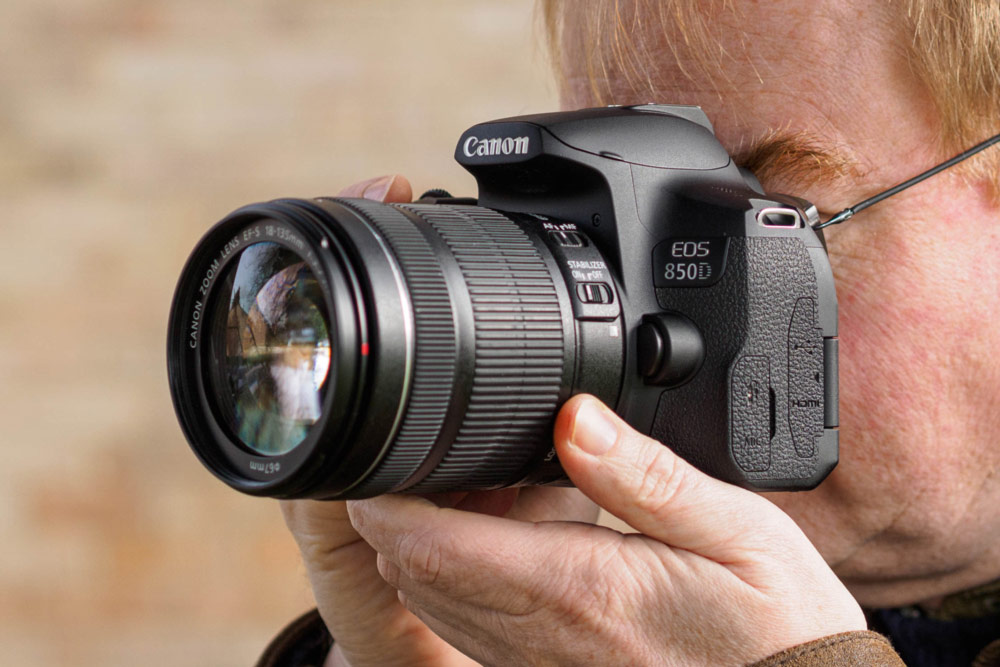
When deciding on a DSLR camera for stop motion, consider factors such as resolution, manual settings, and lens compatibility. Models like Canon EOS Rebel series or Nikon D series are popular choices among professionals. For more detailed guidance on choosing the perfect DSLR, you can refer to this guide.
Setting Up Your Camera
Setting up your DSLR camera correctly is the backbone of successful stop-motion photography. Here's a step-by-step process to ensure your camera is optimized for capturing each frame with precision.
Stabilize Your Camera
Mount your DSLR securely on a sturdy tripod to prevent any unwanted movement. Consistent framing is crucial in stop-motion, and any slight shift can result in jarring inconsistencies. Tighten all knobs and stabilize the tripod legs to achieve a firm setup.
Adjust Camera Settings
Switch your DSLR to manual mode. Automatic settings may lead to unwanted exposure changes between frames. Adjust the ISO, aperture, and shutter speed to maintain consistency in lighting and focus. An ISO setting of 100-200 usually works well in controlled lighting environments.
Additionally, using a small aperture (high f-stop number) will ensure a greater depth of field, keeping your entire scene in focus. Set the white balance manually to avoid color shifts across frames.
Use Live View Mode
Enabling the Live View mode on your DSLR can greatly assist in framing and focusing each shot. It provides a real-time preview of your scene on the camera's display, helping you make necessary adjustments before capturing each frame. For more on Live View, check out this article.
Manual Focus
Auto-focus can lead to small variations in focus points, resulting in a distracting flicker in your final animation. Switch to manual focus and adjust it carefully to ensure consistency across all frames.

Lighting Setup
Proper lighting is critical in stop-motion photography. Consistent, high-quality lighting will prevent flickering and shadows, giving your animation a smooth and professional look.
Continuous Lighting
Use continuous lighting sources rather than flash. LED panels or softboxes are ideal for creating a uniform light spread. Position your lights to eliminate harsh shadows and ensure even illumination across the scene.
Control Ambient Light
Block out natural light and rely solely on your artificial lighting setup. This prevents any changes in light levels that could occur due to external factors like weather, ensuring consistent lighting across all frames.

Advanced Techniques
Beyond the basics, there are several advanced techniques that can elevate your stop-motion project. Experimenting with these methods can lead to a more polished and creative final product.
Frame Rate
The frame rate you choose will significantly impact the smoothness of your animation. Higher frame rates, like 24 or 30 frames per second (fps), will result in smoother motion. However, they also require more frames, which means more work in production. Balancing frame rate with available time and resources is key.
Onion Skinning
Many professional animation software options offer onion skinning, a feature that displays the previous and next frames as semi-transparent overlays. This tool helps in aligning and adjusting objects consistently between frames, making the animation process more seamless.
Editing and Post-Production
After capturing your frames, the editing phase is where you bring your animation to life. Software like Dragonframe or Adobe After Effects can be used to sequence the frames, adjust timing, and add any necessary effects or transitions. For additional tips on editing your DSLR footage, visit this resource.
Conclusion
Mastering how to set up your DSLR camera for stop motion involves a blend of meticulous preparation, precise settings, and creative techniques. By following this guide, professional photographers can achieve remarkable stop-motion animations, showcasing their talents and pushing the boundaries of visual storytelling. Remember, practice and experimentation are essential to refine your skills and develop a unique style.
FAQ
Q: How do I prevent flickering in my stop-motion animation?
A: Ensure consistent lighting and camera settings, and avoid using auto-focus and auto-white balance. Manual control is crucial for preventing flickering between frames.
Q: What frame rate is best for stop motion?
A: While 24 fps is standard for smooth animation, you can experiment with lower or higher frame rates depending on the desired effect. Higher fps provides smoother motion but requires more frames.
Q: Can I use any DSLR for stop motion?
A: Most DSLRs with manual settings and live view capabilities are suitable for stop motion. It's essential to use a camera that allows precise control over settings to maintain consistency.
As an Amazon Associate, I earn from qualifying purchases.