

How to Attach Your Nikon DSLR Camera to Your Telescope: A Photographer's Guide
Are you a professional photographer looking to expand your creative horizons by delving into the world of astrophotography? One of the first steps in this exciting journey is learning how to attach your Nikon DSLR camera to your telescope. This article will provide a comprehensive, step-by-step guide to help you navigate this process with ease. By the end of this guide, you'll be well-equipped to capture breathtaking images of the night sky with your Nikon DSLR and telescope setup.

Why Attach a Nikon DSLR to a Telescope?
Before we dive into the technical details, let's explore why you might want to attach your Nikon DSLR camera to your telescope. Astrophotography offers a unique opportunity to capture stunning images of celestial objects like stars, planets, and galaxies. By combining the power of your DSLR camera with the precision of a telescope, you can achieve remarkable clarity and detail in your astrophotography.
Gathering the Necessary Equipment
To get started, you'll need a few essential pieces of equipment:
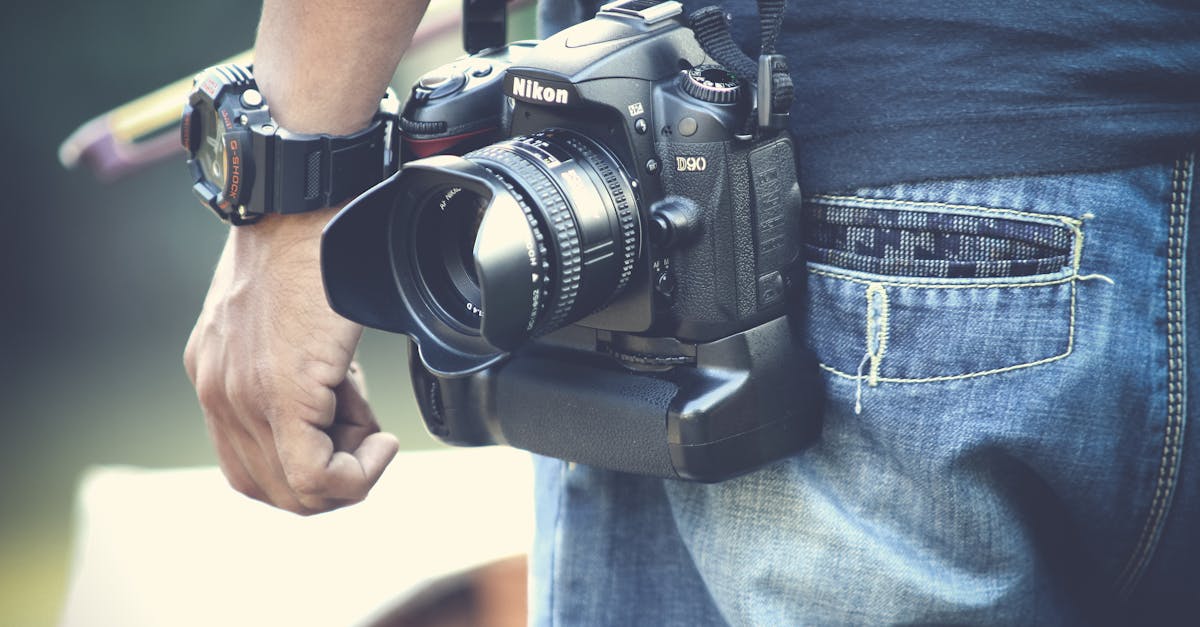
- Nikon DSLR Camera: Ensure your camera has manual settings for easy adjustments.
- Telescope: A sturdy telescope with good optics is crucial.
- T-Ring Adapter: This adapter connects your DSLR camera to the telescope.
- T-Adapter: Depending on your telescope, you might need a T-Adapter to attach the T-Ring.
- Dust Blower: To keep your equipment free from dust and debris.
Choosing the Right Telescope
Your choice of telescope plays a significant role in the quality of your astrophotography. Reflector telescopes, refractor telescopes, and compound telescopes each have their strengths and weaknesses. Reflectors are great for deep-sky objects, refractors excel in clarity and sharpness, and compound telescopes offer a balance of both.

Step-by-Step Guide to Attaching Your Nikon DSLR to Your Telescope
Step 1: Preparing Your Equipment
Before you begin, ensure your Nikon DSLR camera and telescope are both clean and free of dust. Use a dust blower to clean the lenses and the camera sensor. A clean setup guarantees better image quality and reduces the risk of damage to your equipment.
Step 2: Attaching the T-Ring to Your Nikon DSLR
The T-Ring adapter is a critical component that connects your camera to the telescope. Follow these steps:
- Remove the lens from your Nikon DSLR camera.
- Attach the T-Ring to the camera by aligning it with the camera's lens mount and twisting it into place.
Step 3: Connecting the T-Adapter (if needed)
Depending on your telescope, you may need to connect a T-Adapter to the T-Ring. This step involves attaching the T-Adapter to the telescope's focuser or eyepiece holder.
Step 4: Mounting Your DSLR to the Telescope
With the T-Ring (and T-Adapter, if needed) securely attached, it's time to mount your Nikon DSLR onto the telescope. Gently insert the T-Ring or T-Adapter into the telescope's focuser or eyepiece holder. Tighten any locking screws to ensure a stable connection.
Step 5: Achieving Focus
Focusing is a critical step in astrophotography. Use the telescope's focus knobs to achieve a sharp focus on your desired celestial object. You can also use the live view mode on your Nikon DSLR for precise focusing.

Tips for Capturing Stunning Astrophotography
Once your equipment is set up, it's time to start capturing stunning images of the night sky. Here are some additional tips to enhance your astrophotography experience:
- Use a Remote Shutter Release: To minimize camera shake and ensure sharp images, use a remote shutter release or the camera's built-in timer.
- Experiment with Exposure Settings: Astrophotography often requires longer exposure times. Start with a low ISO and gradually increase it to capture more details without introducing noise.
- Location Matters: Seek out dark sky locations away from city lights for the best results.
- Post-Processing: Use software like Adobe Lightroom or Photoshop to enhance and fine-tune your astrophotographs.
Additional Resources
If you're looking to further expand your knowledge and skills, consider these additional resources:
- Why is my DSLR camera not focusing?
- How to use a Canon DSLR camera
- DSLR camera settings guide
- How to hold a DSLR camera
- Learning how to use your first DSLR
Frequently Asked Questions
Q1: What type of T-Ring do I need for my Nikon DSLR?
A: Make sure to purchase a T-Ring specifically designed for Nikon DSLRs to ensure proper fit and functionality.
Q2: Can I use this setup for other types of photography?
A: While this setup is primarily designed for astrophotography, you can experiment with other types of long-exposure photography, such as landscape or macro photography.
Q3: How do I prevent camera shake during long exposures?
A: Use a remote shutter release, the camera's built-in timer, or a sturdy tripod to minimize camera shake and ensure sharp images.
Conclusion
Attaching your Nikon DSLR camera to your telescope opens up a world of creative possibilities in astrophotography. By following the steps outlined in this guide and experimenting with various techniques, you can capture breathtaking images of the night sky. Remember to stay patient, as mastering astrophotography takes time and practice.
As an Amazon Associate, I earn from qualifying purchases.