

Tips for Arranging Graduation Photo Walls for Impact
Graduation is a remarkable milestone that deserves to be celebrated with flair. As a professional photographer, your role in capturing these moments is pivotal. But beyond capturing them, theres an art to presenting these memories in a way that truly resonates. This article will delve into key tips for arranging graduation photo walls that not only showcase your photographic skills but also provide a lasting impact for your clients.
Understanding the Importance of Photo Walls
Photo walls are not just a collection of images; they are a narrative. They tell the story of the graduates journey, highlighting achievements, memories, and the joy of the occasion. For photographers, arranging a graduation photo wall is an opportunity to create a visually stunning display that reflects the client's personality and the essence of the event.
Before diving into the arrangement, it's crucial to understand the client's vision. Is there a specific theme or color scheme they prefer? Are there particular moments or people they want highlighted? By gaining clarity on these points, you can tailor the photo wall to meet their expectations and deliver a memorable visual experience.
Strategic Planning for Photo Walls
Effective planning is the backbone of a successful photo wall. Start by selecting a central theme. This could be the colors of the graduate's school, a timeline of their educational journey, or even a specific motif that holds personal significance. Once the theme is established, you can begin selecting the photos that best fit this narrative.
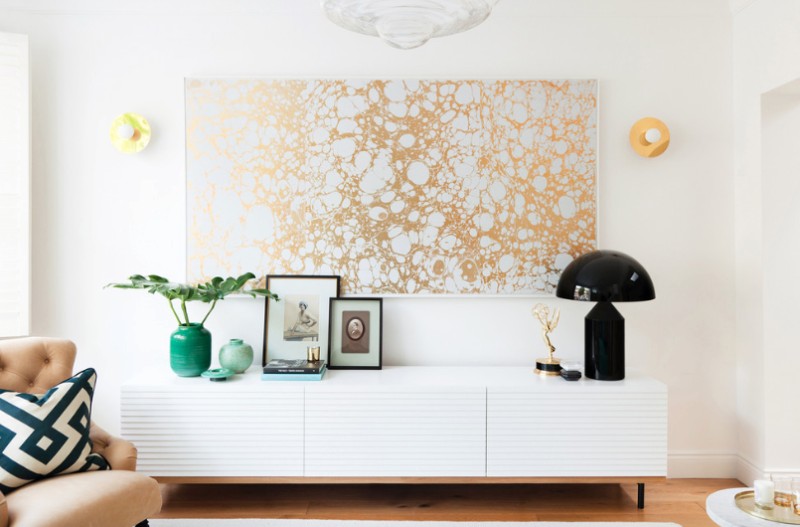
The arrangement of photos should be deliberate. Consider the size and shape of the wall space available. Larger prints can serve as focal points, drawing the eye and anchoring the entire display. Surround these with smaller, complementary images to create a cohesive and balanced look. For more on creating cohesive displays, you can explore combining digital prints with photo walls.
Choosing the Right Frames and Materials
Frames and materials play a significant role in the overall aesthetic of the photo wall. Opt for frames that complement the photos and the theme. For a modern and sleek look, consider thin metal frames. For a more traditional feel, wooden frames with intricate details might be more suitable. Additionally, consider the material of the wall itself. For instance, a brick wall might pair beautifully with rustic wooden frames, enhancing the visual appeal.
Its also beneficial to consider the use of non-traditional materials such as canvas prints or acrylic mounts. These can add depth and texture to the display, making it more dynamic. For inspiration on using diverse materials, check out turning old letters and photos into art.
Lighting and Positioning
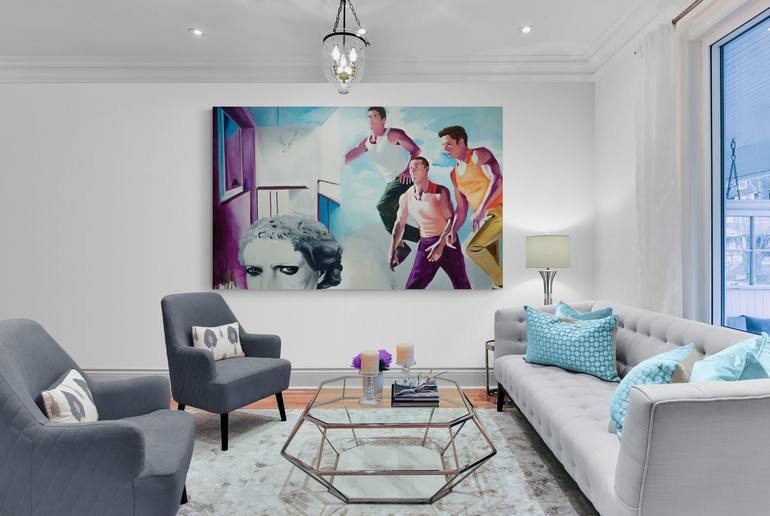
Lighting can significantly influence the impact of a photo wall. Proper lighting not only highlights the photos but also adds an element of sophistication to the overall arrangement. Use adjustable track lighting to focus on key areas of the wall, or incorporate ambient lighting to create a warm and inviting atmosphere.
Positioning is equally important. The height at which the photos are hung can affect how they are perceived. A general rule of thumb is to hang photos at eye level, ensuring that they are easily viewable by all. However, dont be afraid to play with different heights and angles to add interest and variety to the display.
Utilizing Technology and Digital Elements
Incorporating technology can elevate a traditional photo wall into a modern masterpiece. Digital photo frames or screens can display a rotating selection of images, adding movement and life to the arrangement. This is particularly effective for showcasing a large number of photos without overcrowding the wall. For more on modern photo display techniques, explore photo-based painting exhibition tips.
Final Touches and Personalization
Personalization is key to making a photo wall truly special. Encourage your clients to include personal mementos or keepsakes that can be interspersed with the photos. This could include graduation caps, tassels, or even small plaques with meaningful quotes. These elements add a personal touch and make the display unique to the graduate.
Ensure that the final arrangement is not only aesthetically pleasing but also meaningful. Take the time to review the layout with your clients, making any necessary adjustments to align with their vision. For additional ideas on creating inspirational photo walls, you can visit creating inspirational photo walls for classrooms.
Conclusion
Arranging graduation photo walls requires a blend of creativity, strategic planning, and attention to detail. By understanding your clients desires, selecting the right materials, and incorporating personal touches, you can create a photo wall that not only showcases your photography skills but also leaves a lasting impression. As a professional photographer, mastering this art will undoubtedly enhance your portfolio and delight your clients.
FAQs
Q1: What size should the photos be for a graduation photo wall?
A1: The size of the photos depends on the wall space and the desired focal points. Larger prints can serve as focal points, while smaller prints can complement them. A mix of sizes often works best.
Q2: How can I incorporate digital elements into a photo wall?
A2: Digital elements like rotating digital photo frames or screens can be used to display a selection of images, adding movement and modernity to the arrangement.
Q3: What lighting is best for highlighting photo walls?
A3: Adjustable track lighting is ideal for focusing on key areas, while ambient lighting can create a warm atmosphere. The choice of lighting will depend on the desired effect and the space available.
For more wall decor ideas, you can visit art wall decor.