

Crafting a Stunning Photo Collage Wall: Your Ultimate Creative Guide
Are you a passionate photographer eager to showcase your work in a distinctive and artistic way? Designing a photo collage wall is a fantastic approach to exhibit your creativity while adding a personal flair to any space. In this guide, we will lead you through the steps necessary to create a breathtaking collage that will capture the attention of anyone who lays eyes on it. Let's explore how to craft a photo collage wall that not only enhances your living environment but also highlights your photographic artistry.
Grasping the Essentials of a Photo Collage Wall
Before diving into the arrangement of your photos, it's important to understand the concept behind a photo collage wall. This decorative element enables you to narrate a story or express a message through a series of images. It goes beyond simply placing pictures on your wall; it's about curating a visual experience that resonates with viewers.
Finding the Perfect Space
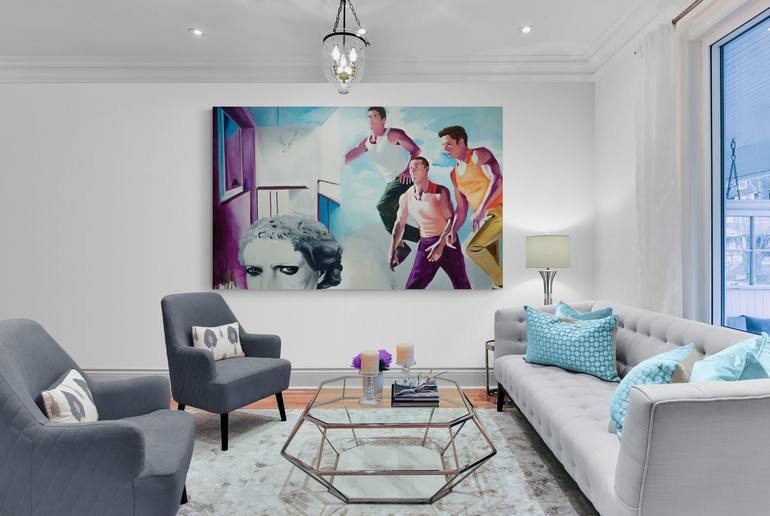
The initial step in designing a photo collage wall is selecting an appropriate area in your home or studio. Look for spots that naturally draw the eye, such as living room walls, corridors, or even your creative workspace. Your choice of location should harmonize with the room's overall look and provide ample space for your intended collage size.
Curating Your Photos
As a professional photographer, you have an abundance of images to choose from. When picking your photos for the collage, consider the theme or narrative you wish to convey. Are you focusing on a specific event, subject, or emotion? Ensure that the images you select share a cohesive style and color palette to create a unified visual impact.
Designing Your Photo Collage
With your photos selected, it's time to plan the layout for your photo collage wall. This part of the process involves arranging your images in a manner that is not only visually stunning but also meaningful.
Layout and Arrangement
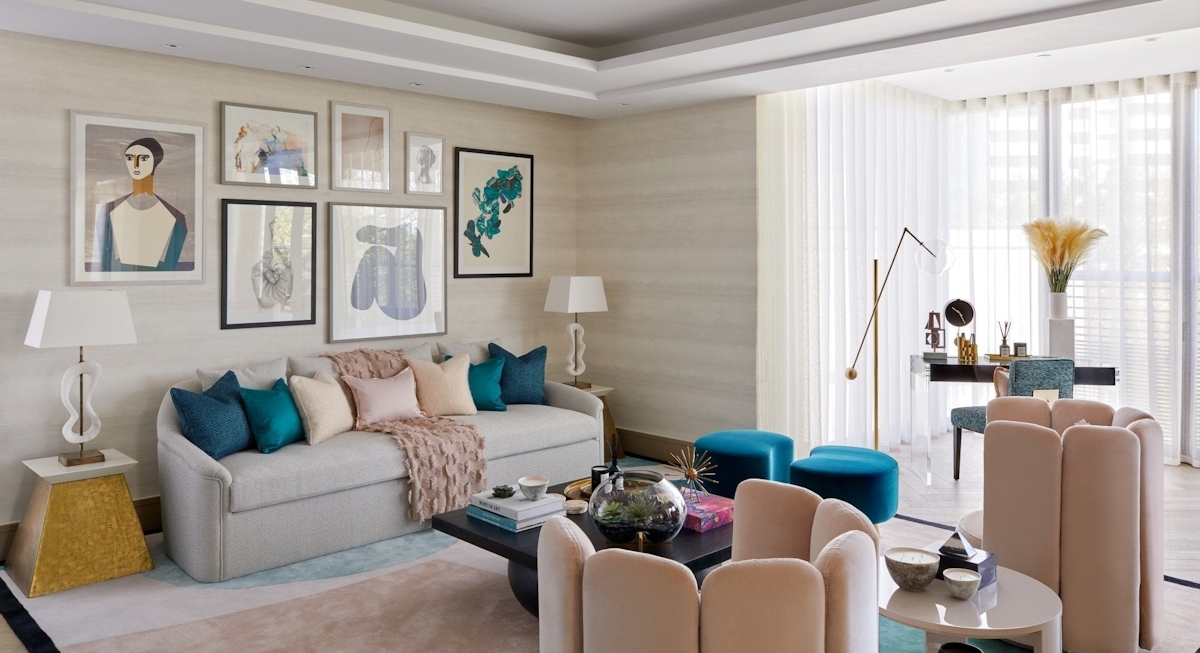
Explore different layout possibilities, such as grid, asymmetrical, or even a heart shape. Each design offers a unique vibe and can highlight different elements of your photography. Pay attention to balance and symmetry as you position your photos to ensure a refined appearance. For more ideas, check out this photo-based painting guide.
Selecting Appropriate Frames
Frames significantly impact the overall look of your photo collage wall. Choose frames that enhance both your images and the room's decor. You can create an eclectic feel by mixing various frame styles or opt for a consistent style for a more unified display.
Bringing Your Vision to Life
Once you've finalized your design and selected frames, its time to actualize your vision. This phase entails physically arranging and hanging your photos on the wall.
Gathering Tools and Materials
Collect the necessary tools like a level, measuring tape, hammer, nails, or adhesive hooks. Be mindful that depending on the type of wall youre working with, you might require different materials, so prepare accordingly.
Hanging Your Photos
Begin by laying out your design on the floor to visualize how it will translate to the wall. Once youre pleased, start to move the arrangement to the wall, beginning from the center and moving outward. Utilize a level to ensure each frame is straight and spaced evenly.
Adding Personal Elements
To make your photo collage wall uniquely yours, think about incorporating personal touches like decorative accents, meaningful quotes, or small artworks. These elements can enhance the narrative youre conveying, making the collage more engaging.
Introducing Texture and Dimension
Consider integrating elements like string lights, fabric, or small sculptures to introduce texture and depth to your collage. These additions create a dynamic and interactive display that pulls viewers in.
Utilizing Color Thoughtfully
Color plays a crucial role in setting the mood of your photo collage wall. Use color strategically to accentuate certain images or to establish a specific ambiance. For more ideas, refer to this unique wall decor inspiration.
Maintaining Your Photo Collage Wall
After completing your collage, its vital to keep it looking fresh and vibrant. Regularly dust the frames and clean the glass to prevent any build-up that might obscure your images.
Refreshing Your Collage
As your photographic style evolves, you may feel the need to update your photo collage wall with new images. Refreshing the wall periodically allows it to reflect your current artistic vision.
Engaging with Your Audience
Invite friends, family, or clients to experience your photo collage wall. Showcasing your work in this visually pleasing format can spark meaningful discussions and offer insight into your artistic journey.
Conclusion
Creating a photo collage wall is a fulfilling project that enables you to exhibit your photography in an innovative and personal manner. By following these steps, you can design a collage that not only beautifies your space but also narrates a captivating story through your lens. For further inspiration on crafting gallery walls, take a look at this gallery wall resource.
FAQ
What is the ideal location for a photo collage wall?
The best location for a photo collage wall is an area that naturally attracts attention, such as a living room, hallway, or workspace, where it can complement the overall decor.
How do I choose the right frames for my collage?
Select frames that enhance your images and align with the rooms aesthetic. You can opt for a blend of different styles for an eclectic appearance or maintain a uniform style for a cohesive presentation.
How frequently should I update my photo collage wall?
Consider updating your photo collage wall on a regular basis to reflect your evolving style and creative journey. Keeping it fresh ensures continued engagement from viewers.