

Highlighting Memories with Layered Photo Walls: Enhance Your Photography Artistry
In today's digital age, where the power of photography is more accessible than ever, the art of displaying those captured moments has evolved. As a professional photographer, you understand the profound impact of preserving and showcasing memories. One of the most captivating ways to do this is through layered photo walls. This technique not only transforms ordinary spaces but also tells stories in a visually compelling manner.
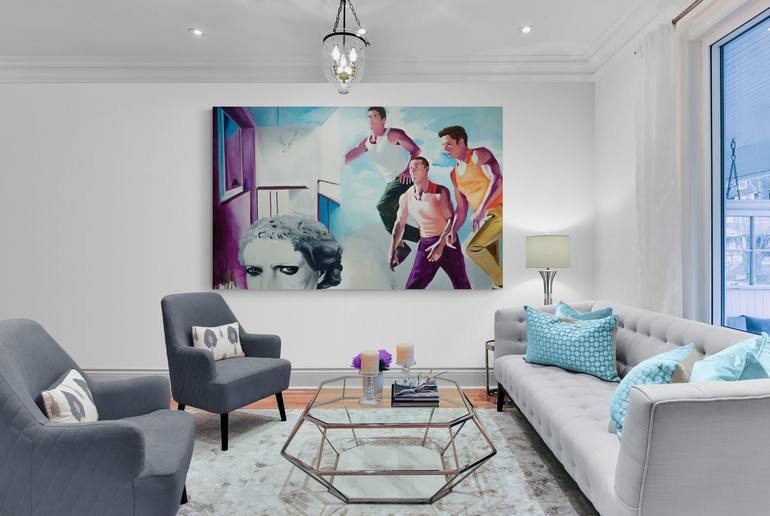
Embracing the concept of highlighting memories with layered photo walls allows you to showcase your work in a dynamic way that engages viewers on multiple levels. This approach not only highlights the beauty of each photograph but also creates an interactive experience that invites exploration and appreciation.

The Art of Layering: Techniques and Tips
Layering photos is an art form that requires a keen eye for detail and a deep understanding of composition. As a professional photographer, you have the skills to turn a simple wall into a stunning gallery that captures the essence of your work.
Choosing the Right Theme
The first step in creating a layered photo wall is selecting a theme that resonates with your style and the story you want to tell. Whether it's a collection of family moments, nature-inspired scenes, or an artistic exploration, having a central theme helps in creating a cohesive display.
Mixing Sizes and Formats
To add depth and interest, consider mixing different sizes and formats. Using a combination of large, medium, and small frames can create a sense of balance and harmony. Experiment with 3D elements to add an extra layer of dimension and intrigue.
Strategic Placement
Placement is key to a successful layered photo wall. Begin by laying out your photos on the floor to experiment with different arrangements. Consider the flow of the story you want to tell and how each photo interacts with the others. Remember, the goal is to create a seamless narrative that draws the viewer's eye naturally across the wall.
Materials Matter: Choosing the Best Frames and Backdrops
The choice of frames and backdrops plays a crucial role in the overall aesthetic of your layered photo wall. Opt for frames that complement the style of your photographs. Wooden frames can add warmth and a rustic feel, while sleek metal frames offer a modern touch.
Using Textures and Colors
Incorporate different textures and colors in your backdrop to enhance the visual appeal. Use materials like fabric, wallpaper, or paint to create contrast and make your photos pop. This can be particularly effective when highlighting seasonal themes, as seen in seasonal updates.
Lighting: The Unsung Hero
Lighting is an often overlooked element that can significantly impact the presentation of your layered photo wall. Proper lighting can highlight the details and enhance the colors of your photos, elevating the overall experience.
Natural vs. Artificial Light
Decide whether to use natural or artificial light based on the location of your wall. Natural light can create a warm and inviting atmosphere, but it's essential to consider how the light changes throughout the day. Artificial lighting, such as spotlights or LED strips, can provide consistent illumination and accentuate specific elements of your display.
Conclusion: Capturing and Celebrating Memories
As a professional photographer, your work is a celebration of moments frozen in time. By embracing the art of highlighting memories with layered photo walls, you have the opportunity to showcase your artistry in a way that captivates and inspires. Whether you're creating a personal gallery at home or a professional display in a studio, this approach allows you to connect with your audience on a deeper level, turning each photograph into a cherished memory.
For more ideas on creating stunning wall displays, check out unique wall decor ideas.
FAQ Section
Q1: What is the best way to start creating a layered photo wall?
A1: Begin by choosing a theme that resonates with your style and arranging your photos on the floor to experiment with different layouts before committing to a final arrangement.
Q2: How can I ensure my photo wall looks cohesive?
A2: Maintain balance by using a mix of sizes and formats, and choose frames and backdrops that complement each other to create a unified look.
Q3: What lighting is best for photo walls?
A3: It depends on the location and desired effect. Natural light offers warmth, while artificial light provides consistency and can highlight specific elements.