

Designing Photo Walls for Small Apartments: Creative Tips
In the world of professional photography, the ability to transform small spaces into visually captivating environments is a valuable skill. Designing photo walls for small apartments not only showcases your artistic prowess but also challenges your creativity in maximizing limited spaces. This article explores ingenious ways to design photo walls that add character and depth to compact living areas.

Understanding the Space
Before diving into the specifics of designing photo walls, its crucial to understand the space you're working with. Small apartments often have unique layouts and dimensions, making it essential to assess the available wall space. Consider the height, width, and any architectural features that could influence your design choices.
Choosing the Right Photos
The selection of photos is a fundamental aspect of creating an impactful photo wall. As a professional photographer, your portfolio is likely filled with stunning images that can be used to tell a story. Opt for a mix of portrait, landscape, and abstract shots to add variety and interest. For those interested in exploring more about personal storytelling through photography, check out this personal storytelling guide.
Layout and Composition
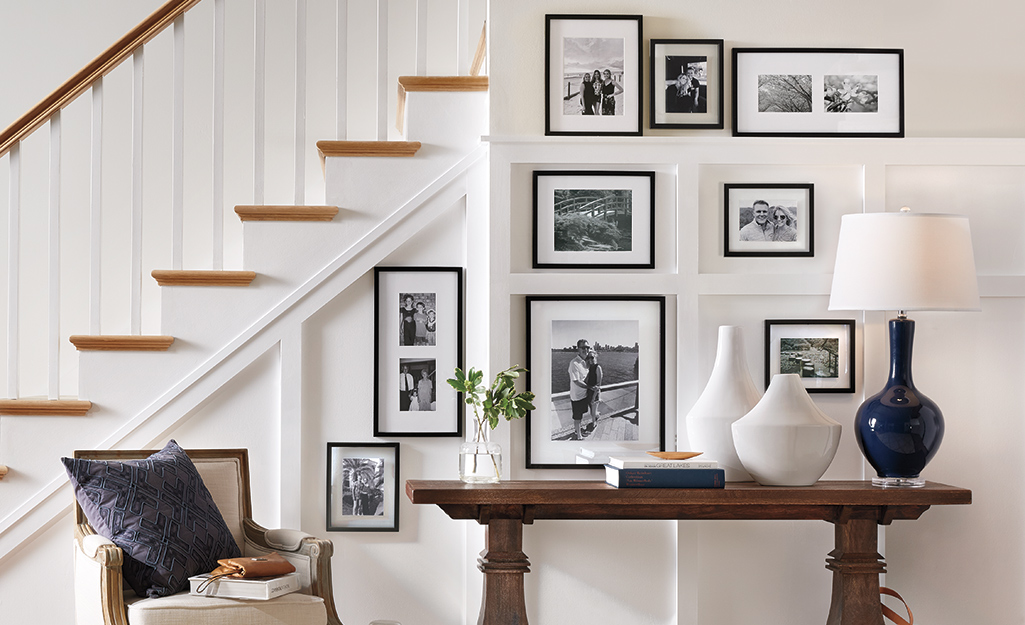
Once you have an idea of the photos you want to use, the next step is deciding on the layout and composition. Symmetrical grids can provide a clean and organized look, while an eclectic, asymmetrical arrangement can create a more dynamic and artistic feel. Use a combination of different frame sizes and styles to add depth and dimension. For inspiration on artistic photo wall backdrops, visit this resource.
Utilizing Vertical Space
In small apartments, utilizing vertical space is key. Floor-to-ceiling photo walls not only make a bold statement but also draw the eye upward, giving the illusion of a larger space. Consider using narrow wall sections, such as those beside doors or windows, to extend your photo wall vertically. Storytelling through photo-based painting can also provide unique ideas for vertical arrangements.
Incorporating Other Elements
While the photos themselves are the centerpiece, incorporating other elements can enhance the overall aesthetic. Consider adding mirrors, shelves, or small pieces of art to complement the photos. This not only diversifies the display but also adds functionality. Read more about the health benefits of wall art to understand its impact on living spaces.
Lighting and Color Scheme
Lighting plays a significant role in highlighting your photo wall. Use spotlights or picture lights to draw attention to key pieces. Additionally, consider the color scheme of both the photographs and the surrounding decor to ensure a cohesive look. Warm tones can create a cozy atmosphere, while cooler tones can add a modern touch.
Final Touches and Adjustments
Once your photo wall is in place, step back and assess the overall effect. Make any necessary adjustments to ensure balance and harmony. Encourage feedback from peers or clients to refine the display further. For more innovative wall decor ideas, explore this gallery wall inspiration.
Conclusion
Designing photo walls for small apartments is an art form that requires a blend of creativity, precision, and understanding of space. For professional photographers, its an opportunity to showcase their work in a way that captivates and inspires. By considering factors such as layout, lighting, and integration of other elements, you can transform a small apartment into a personalized gallery that reflects both your artistic vision and the homeowners personality.
FAQs
What type of photos work best for small apartment walls?
A mix of portrait, landscape, and abstract shots often works well. Consider the overall theme and style of the apartment when selecting photos.
How can I make my photo wall look cohesive?
Use a consistent color scheme and complementary frames to create a unified look. Additionally, consider the spacing between photos to maintain balance.
Are there any specific tools required for creating photo walls?
Basic tools include a measuring tape, level, and picture hanging kit. For more complex installations, you might need a drill or other tools depending on the wall material.