How to Use Continuous Lighting in Photography Like a Pro?
As a professional photographer, understanding the nuances of lighting is essential to capturing stunning images. Among the myriad lighting options available, continuous lighting stands out for its versatility. But how to use continuous lighting in photography? Let's delve into the details.
Continuous lighting provides a steady source of illumination, making it easier for photographers to see how light interacts with their subjects. This article aims to give you a comprehensive understanding of continuous lighting, practical tips, and techniques to elevate your photography to the next level.

What is Continuous Lighting?
Continuous lighting refers to lighting setups where the light is always on, allowing photographers to visualize their shots as they would appear in the final image. Unlike flash lighting, which only provides illumination for a fraction of a second, continuous lighting enables full control over shadows, highlights, and color balance.
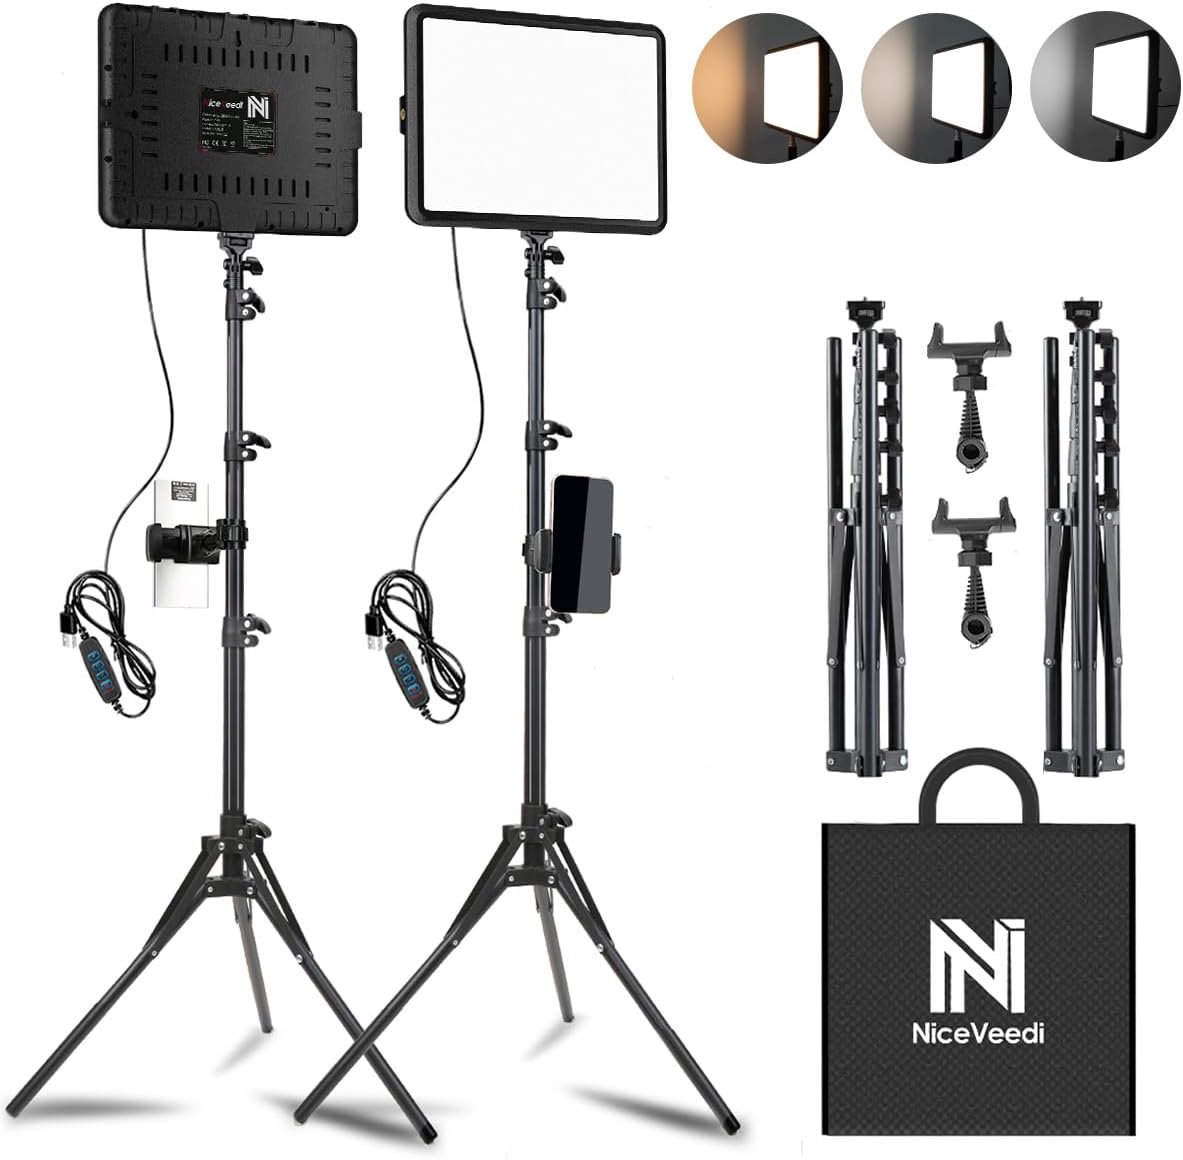
Many types of continuous lighting sources exist, such as LED lights, fluorescent bulbs, and tungsten lights. They vary in color temperature, power output, and heat emission, so choosing the right type is crucial depending on the nature of the shoot.

The Benefits of Using Continuous Lighting
Several advantages make continuous lighting a favorite among professionals:
- Consistency: The light remains constant, eliminating the guesswork during shoots.
- Simplicity: Setting up continuous lights is generally straightforward, allowing for quick adjustments.
- Creativity: The consistent nature of this lighting lets you experiment with angles and shadows.
- Easier Subject Interaction: Subjects can be better directed in the lighting setup.

Choosing the Right Continuous Lighting Setup
When selecting your continuous lighting setup, consider the following aspects:
1. Types of Continuous Lights
As touched upon earlier, the main types of continuous lights include:
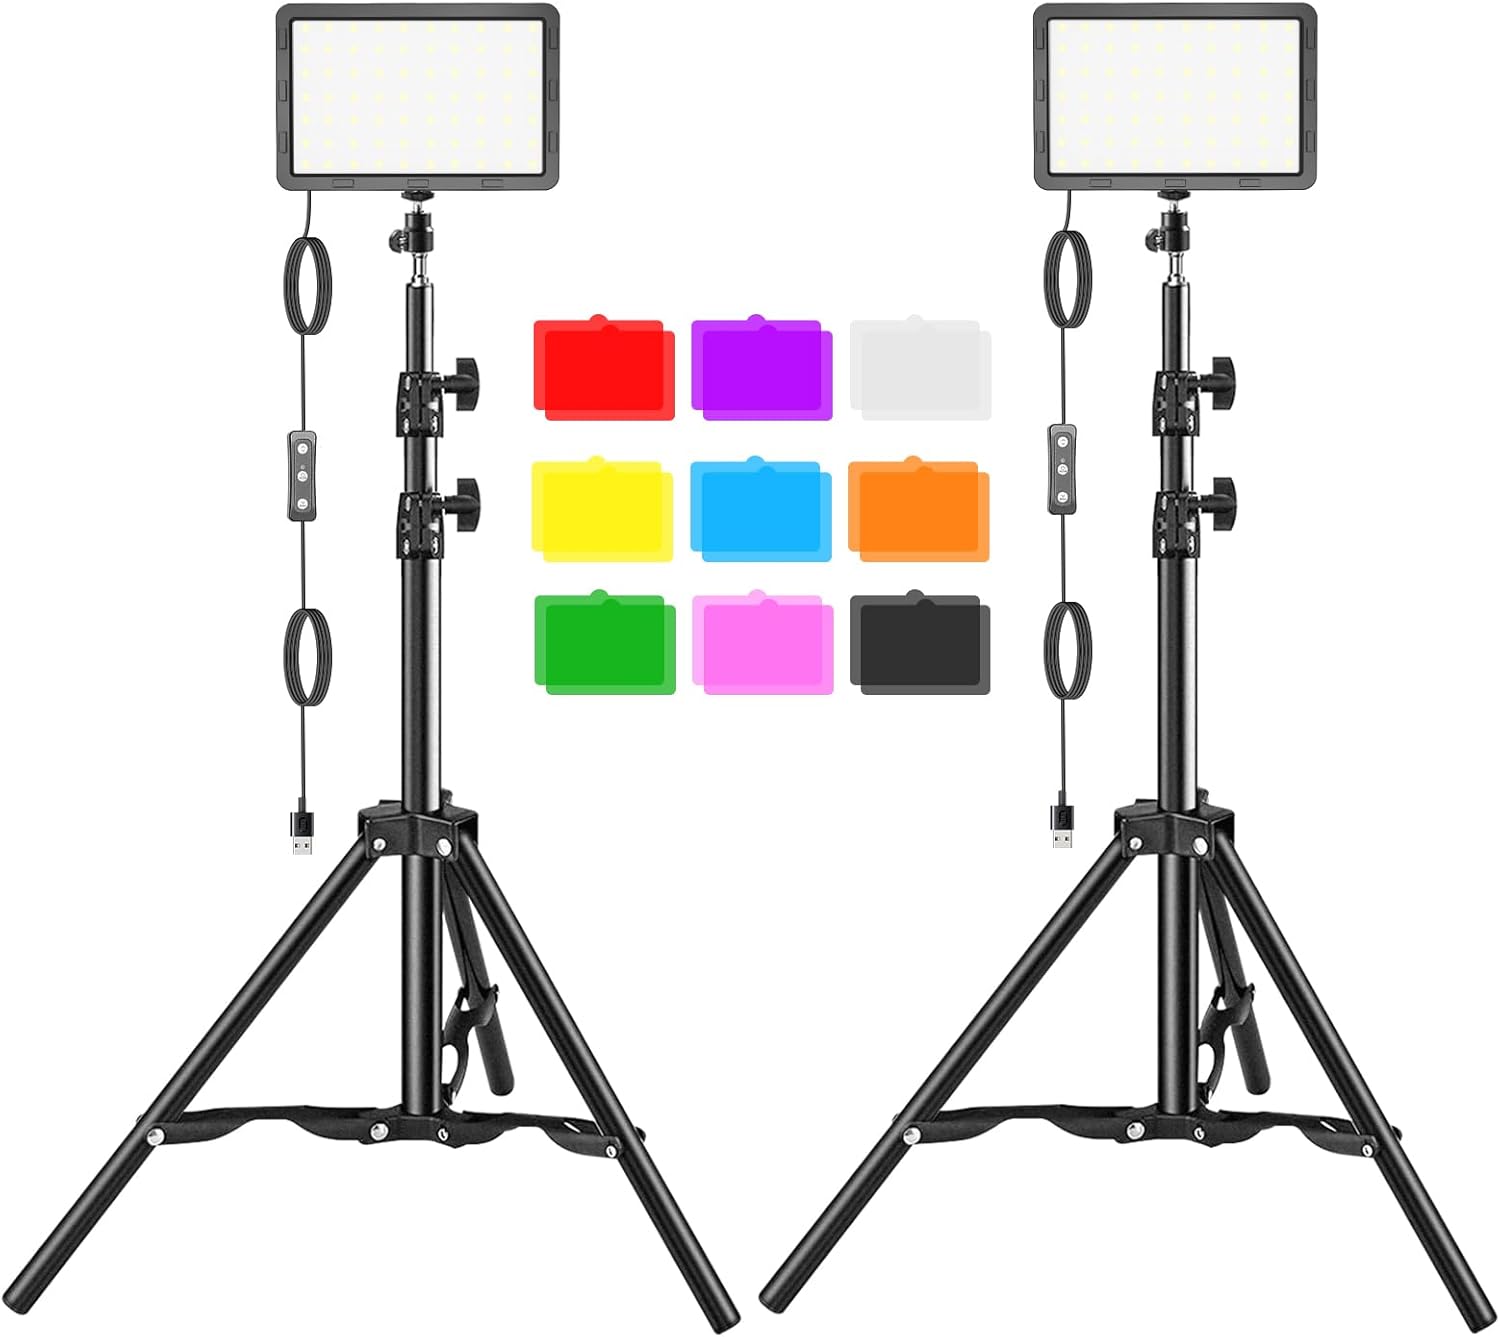
- LED Lights: Energy-efficient and cool-running, these lights can last long while maintaining color consistency.
- Fluorescent Bulbs: Ideal for soft lighting, creating a gentle glow perfect for portraits and product shots.
- Tungsten Lights: Known for their warm color output, they are excellent for creating mood but generate more heat.
2. Light Modifiers
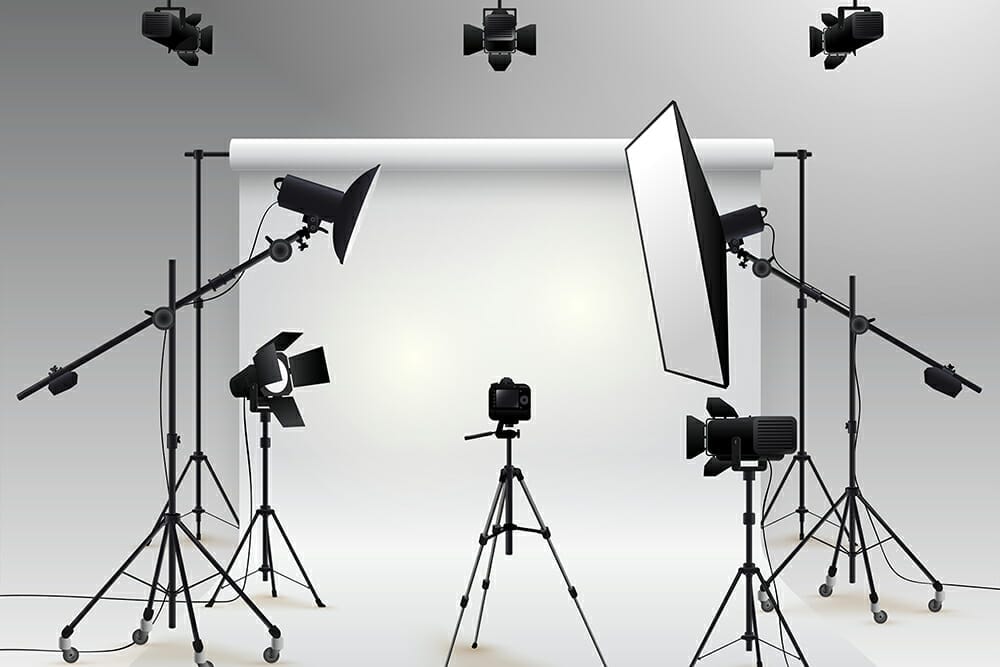
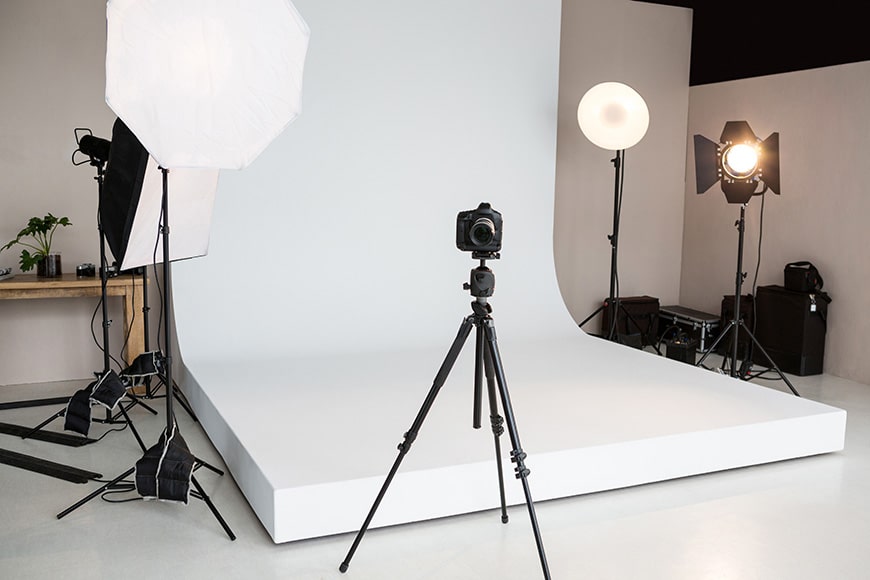
Light modifiers such as softboxes, reflectors, and umbrellas can help shape and soften the output of your continuous lights. Using these accessories will allow you to manipulate the light to fit your artistic vision better.
For instance, a softbox can diffuse the light, softening shadows and creating a more flattering look for portraits. For additional guidance, you may also want to read about lighting for clothing photography.
3. Power Source
Evaluate your needs regarding power availability. Continuous lights can run off wall sockets or batteries. For studio settings, AC-powered lights offer consistent performance. On the other hand, battery-operated lights are advantageous for on-site shoots.

Techniques for Mastering Continuous Lighting
Once you've set up your continuous lighting, various techniques can help you maximize its effectiveness:
1. Utilizing Three-Point Lighting
This classic lighting technique involves using three light sources: key light, fill light, and back light. The key light is the primary light source that illuminates your subject, while the fill light softens shadows created by the key light. The back light adds depth by separating the subject from the background. To learn more about lighting directions, check out this resource on directional lighting.
2. Adjusting White Balance
Different types of continuous lights have varying color temperatures, so adjusting your cameras white balance is crucial to maintaining consistent colors in your shots. An incorrect white balance can lead to tinted images, which is particularly problematic for product photography. For a detailed examination, consider this guide on studio lighting.
3. Experimenting with Shadows
Not every photo needs to be brightly lit. Experiment with shadows to create dramatic effects or emphasize the texture of a subject. This can make your images more compelling and engaging.
Common Mistakes to Avoid with Continuous Lighting
Even seasoned photographers can falter. Here are some common pitfalls:
- Overexposure: Continuous lights can produce a lot of output, making it easy to blow out highlights if not monitored properly. Always keep an eye on your exposure settings.
- Ignoring Color Balance: Different lights have different color temperatures. Always ensure that your white balance is set according to the lighting in your environment.
- Neglecting Positioning: The placement of your lights is just as important as their type. Experiment with different angles to see how they affect highlights and shadows.
Conclusion
Incorporating continuous lighting into your photography repertoire can significantly enhance your work. The key is to practice, experiment, and make adjustments according to your subjects and environments. Now that we've discussed how to use continuous lighting in photography, get out there and start implementing these techniques! Remember, every seasoned professional was once a beginner.
FAQs
1. What are the best types of continuous lights for beginners?
LED lights are often recommended for beginners due to their versatility, energy efficiency, and cool operation.
2. How do I control shadows when using continuous lighting?
Experimenting with light angles and modifiers like softboxes can help manipulate shadows effectively.
3. Is continuous lighting suitable for outdoor photography?
While it can be used outdoors, its best utilized in studio settings or controlled environments.
As an Amazon Associate, I earn from qualifying purchases.

