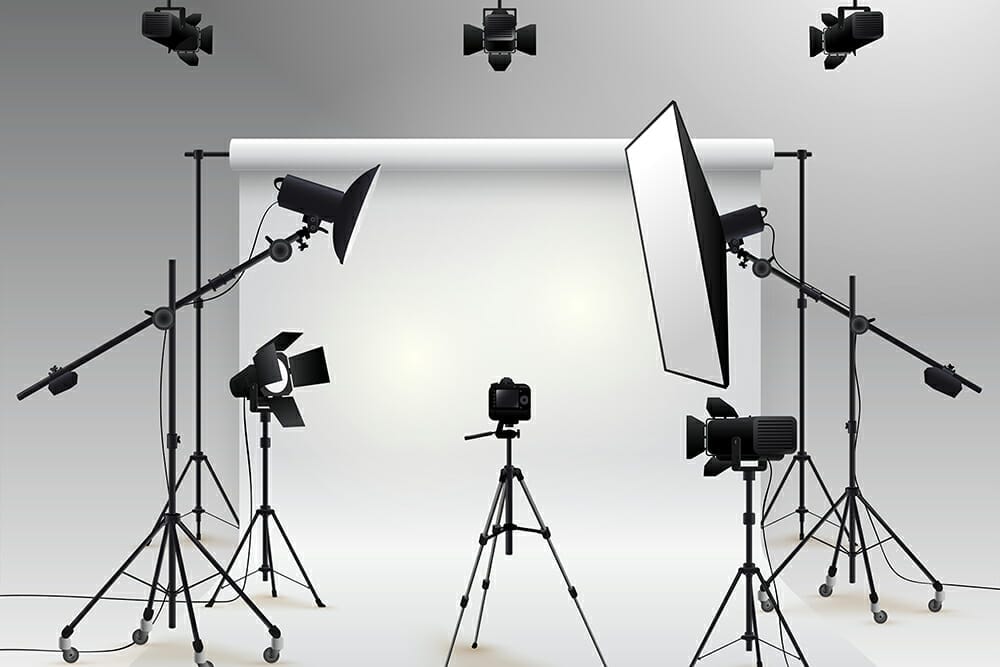
How to Set Up Lighting in a Photography Studio Effectively?
Setting the right lighting in a photography studio is pivotal for capturing stunning images. As a professional photographer, you often hear the mantra, 'Its all about the light.' But the question arises, how to set up lighting in a photography studio? In this comprehensive guide, we will break down the essential aspects of studio lighting that every photographer should know.
The world of photography is deeply intertwined with the art of lighting. It's the delicate balance between shadows and highlights that defines your image's mood, texture, and clarity. This article aims to clarify not just the basics, but also advanced techniques to elevate your photography game. We will explore various lighting setups, the use of diffusers, and the importance of color temperature, ensuring you have all the tools at your disposal for your next shoot.

Understanding Lighting Basics
Before diving into setting up the lighting, it's crucial to understand the basic types of lights available for studio use. Professional photographers can choose between:
- Continuous Lighting - This type offers a consistent stream of light, allowing you to see how shadows and highlights are formed in real time.
- Flash Lighting - Generating brief bursts of light, flash equipment is perfect for freezing motion and provides intense illumination for short periods.
- Natural Light - Utilizing sunlight can create stunning effects, but its often less controllable compared to artificial sources.
Each type plays a unique role in a studio setup. Many photographers will mix and match these sources to achieve their desired look. Understanding how to manipulate light will set you apart in this competitive field.

Choosing the Right Equipment
Investing in the right lighting equipment can make a world of difference. Here are some essential items to consider:
- Softboxes - These diffuse light and soften shadows, perfect for portraits.
- Umbrellas - Convenient for adding bounce to your lighting, umbrellas can create a wide spread of soft light.
- Light Stands - A good sturdy stand is necessary for stability. Adjustable options allow for varied height settings.
- Reflectors - Essential for bouncing light back onto your subject, adding fill light to shadowed areas.
- Flash Units - These are critical for situations requiring quick bursts of light.
Finding quality gear can be daunting, but sources like DPS offer excellent tutorials and suggestions for equipment that aligns with your photography style.

Setting Up Your Studio Lighting
Once you have your equipment, its time to set up the lighting:
- Identify Your Focus - Determine the subject of your shoot. Is it a portrait, product, or perhaps a still life? Your subject will guide your lighting decisions.
- Key Light - This is your main light source. Position it at a 45-degree angle from your subject to create depth and dimension. Adjust the height and distance to control the softness and intensity.
- Fill Light - This complements your key light by filling in shadows. A softbox can work wonders here, placed opposite the key light.
- Back Light - Dont forget about the background! A backlight creates separation between your subject and the background, making your subject pop.
- Test and Adjust - Take practice shots and tweak as necessary. Lighting is about trial and error, so dont hesitate to play around.

Utilizing Diffusers and Reflectors
Diffusers help soften the light, which is especially beneficial when working with harsh sources like flashes. They can reduce glare and help create a natural look. Reflectors are another tool worth mentioning. By bouncing light back onto your subject, they can fill in shadows and produce a more balanced lit image.
For more on how diffusers can change the lighting setup, check out this post on diffused lighting.
The Role of Color Temperature
Understanding color temperature is crucial when working with studio lighting. The Kelvin scale determines the warmth or coolness of your light. Daylight is around 5500K, while tungsten bulbs can be around 3200K. Keeping your light temperature consistent is key to achieving uniformity in your shots, particularly in post-production.
You can learn more about how different lighting affects mood in photography on this insightful blog about mood.
Experimenting with Light
As a professional photographer, your personal style will shine through in how you set up and manipulate lighting. Experiment with various light placements, modifiers, and colors to create unique shots that speak to your vision. Remember, every session is an opportunity to learn something new.
For tips on using gels and color with lighting setups, refer to the article on gel lighting.
Conclusion
The art of lighting is a skill that takes time and practice to master. By understanding the foundation of setting up lighting in your studio, embracing the right equipment, and continually experimenting, you can offer captivating images that resonate with your audience.
FAQs
What is the best lighting setup for portraits?
A classic three-light setup, including key, fill, and backlights, is ideal for portraits. Experiment with positioning to achieve your desired look.
Should I use continuous or flash lighting?
It depends on your needs. Continuous lights are great for beginners as they provide a visual guide. Flash lighting is better for capturing motion or for intense lighting during short bursts.
How can I improve my lighting setup?
Always test and adjust. Understanding your equipment and being open to experimentation will improve your lighting setup over time.
As an Amazon Associate, I earn from qualifying purchases.

