

How to Set Up Lighting for Photography at Home: A Guide
For professional photographers, how to set up lighting for photography at home is a crucial skill that can transform your images from average to stunning. Setting up the right lighting in your home can be a game-changer, whether youre capturing portraits, products, or creative still life. In this guide, we will explore essential techniques and tips for creating the perfect lighting setup right at home, ensuring that your work always shines.
The art of lighting is not just about the tools you use but also about understanding how light interacts with your subjects. Knowing how to set up lighting for photography at home can unlock new creative potentials, allowing you to control the mood, texture, and depth of your images.

The Importance of Lighting in Photography
Lighting is the backbone of great photography. The way light falls, reflects, and shadows are cast can drastically alter the aesthetic of a shot. Good lighting can enhance colors, improve clarity, and showcase details you might miss otherwise. If youre a professional photographer, understanding light is non-negotiable.
Types of Lighting Equipment
For home photography setups, there are several types of lighting equipment you can consider:
Continuous Lights
Continuous lighting offers a consistent source of illumination, making it easier to visualize how your final images will look. These lights come in various forms such as LEDs, fluorescent, and tungsten. Each type has its unique qualities that can impact your photography style.
Flash and Strobe Lighting
Flashes and strobes provide a powerful burst of light, which can help freeze motion and create beautiful, crisp images. They are particularly useful for high-speed photography and achieving dramatic effects. Understanding the importance of light is essential when working with these tools.
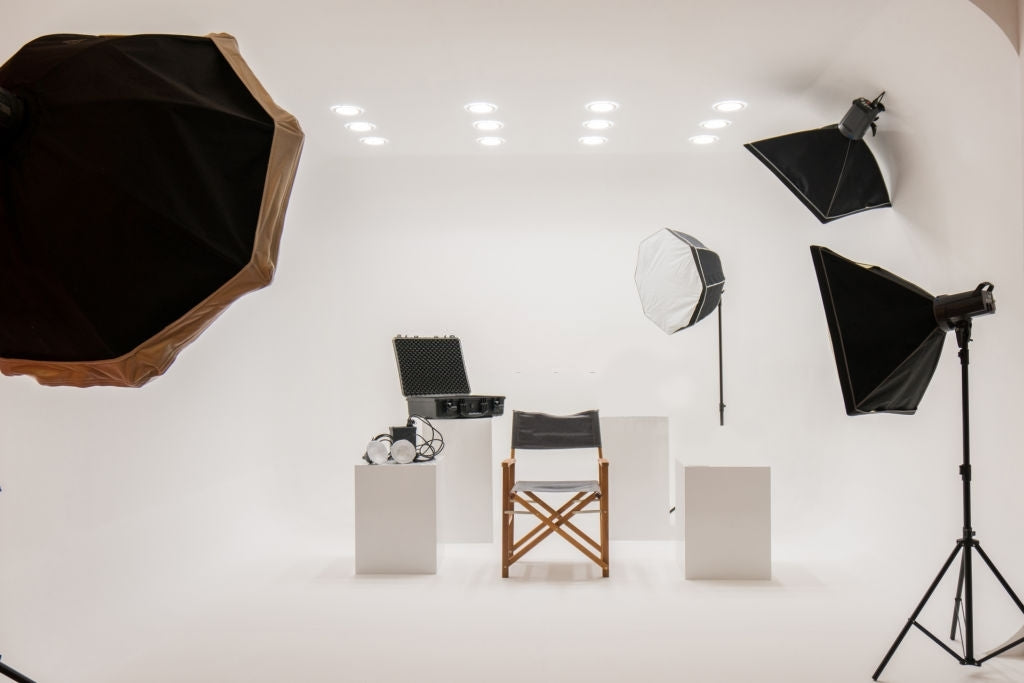
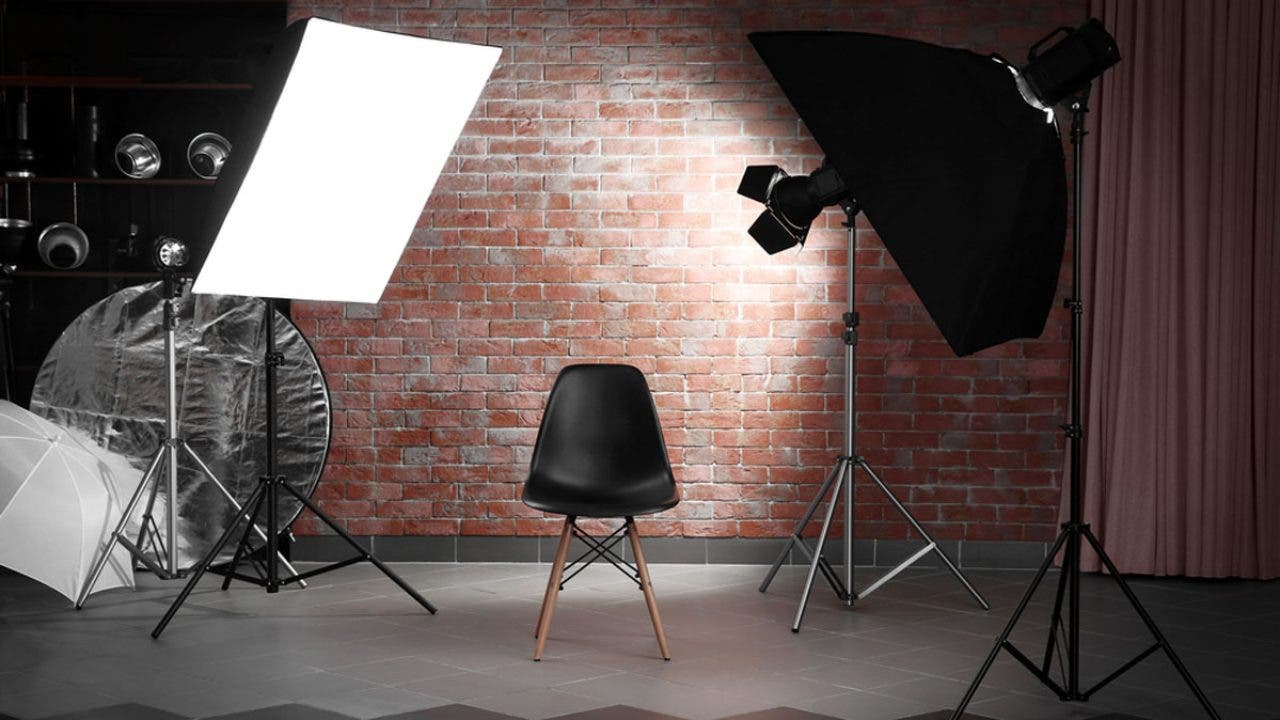
Setting Up Your Home Photography Studio
Your home photography studio doesn't need to be elaborate, but it should be functional. Here are steps to effectively set up your lighting:
1. Choose a Suitable Space
The first step in your lighting setup is choosing the right location. Look for a space within your home that has minimal distractions and good control over light exposure, such as a spare room or a well-decorated corner of your living area.
2. Utilize Natural Light
Natural light is one of the best resources in photography. Position your setup near windows to take advantage of daylight. Experiment with different times of the day to see how sunlight can accentuate your subjects.
3. Invest in Essential Lighting Gear
While using natural light is effective, investing in state-of-the-art equipment can take your photography to the next level. Essential gear may include:
- Light Stands: These are crucial for positioning your light sources effectively.
- Softboxes: They diffuse light, softening hard shadows and creating a more flattering light effect.
- Reflectors: Use reflectors to bounce light back onto your subject, enhancing highlights and reducing shadows.
Lighting Techniques for Different Photography Styles
Each photography style has specific lighting needs. Heres how to adapt your lighting setup:
1. Portrait Photography
For portraits, aim for soft, diffused lighting. Position your light source at a 45-degree angle to minimize harsh shadows. Use a large softbox or umbrella to create a gentle glow on your subjects face.
2. Product Photography
When photographing products, clarity and detail are key. Use two diffused light sources on either side to avoid reflections and harsh shadows. A light tent can also be beneficial for even lighting.
3. Still Life Photography
Still life setups allow for more creativity. You can experiment with harder light sources to create strong contrasts, or use diffused light to emphasize texture.
Common Mistakes to Avoid
While setting up your lighting at home, here are a few common pitfalls to avoid:
1. Overexposure
Be careful with your lighting intensity. Overexposing your subjects can wash out details and color. Utilize your cameras histogram to monitor exposure levels accurately.
2. Neglecting Backgrounds
Ensure that your backgrounds are not only clean but also lit correctly. A well-lit background can complement your subject beautifully.
3. Ignoring Color Temperature
The color temperature of your lights can dramatically impact the mood of your photography. Stay consistent with your lightings color temperature throughout your shoot to avoid unappealing color casts.
Tips for Advanced Techniques
Once youve mastered the basics, consider delving into advanced lighting techniques:
1. Rembrandt Lighting
For a classic portrait look, try Rembrandt lighting. Position your main light source at a 45-degree angle above and to the side of your subject, allowing for soft shadows that create depth.
2. High Key and Low Key Lighting
The high key lighting technique is bright and airy, suitable for cheerful, vibrant subjects. Conversely, low key lighting involves darker settings that evoke drama and emotion.
3. Backlighting
Backlighting can create a stunning silhouette effect. Place your light source behind the subject and adjust as necessary.
Experiment and Practice
Ultimately, the key to mastering your home lighting setup is experimentation. Try different light angles, materials, and intensities. Continuously practice until you discover the perfect setup that aligns with your vision.
Frequently Asked Questions
1. What equipment do I need to set up home photography lighting?
You will at least need some continuous lights or flashes, light stands, softboxes or diffusers, and reflectors.
2. Can I use outdoor lighting for indoor photography?
Yes, natural light from windows works superbly when shooting indoors. Try different times of the day for varied effects.
3. How do I avoid shadows while photographing?
To minimize shadows, position your light source at the right angles and consider using multiple light sources to fill in shadows.
As an Amazon Associate, I earn from qualifying purchases.