How to Set Timer on DSLR Camera: Expert Tips for Precision Shots
For professional photographers, understanding camera settings is crucial for capturing the perfect shot. One often-overlooked feature is the camera timer. Learning how to set a timer on a DSLR camera can be a game-changer for creating stunning and precise images.

Why Use a Camera Timer?
The camera timer is an essential tool for various situations. Whether it's for eliminating camera shake or getting yourself into the picture, the timer can help you achieve sharper and more consistent results.

Step-by-Step Guide to Setting Timer on DSLR
Step 1: Access the Timer Settings
First, navigate to your camera's menu. Look for settings related to self-timer or drive mode. These options vary by brand and model but are usually found under the shooting or exposure menu.
Step 2: Choose the Timer Duration
Once you've located the timer settings, you can select the duration. Most DSLR cameras offer multiple options, commonly ranging from 2 to 10 seconds. Choose a longer duration if you need more time to get into position.
Step 3: Compose Your Shot
After setting the timer, frame your shot as you usually would. Make sure everything is in focus and properly exposed.

Advanced Timer Techniques for Professional Photographers
Beyond basic timer settings, there are various techniques professionals use to maximize this feature's potential.
Bracketed Shots
Use the timer to take a series of bracketed shots. This is particularly useful for HDR photography, allowing you to capture multiple exposures without touching the camera.
Long-Exposure Photography
For night or long-exposure photography, using a timer can minimize camera movement. This ensures sharper images free from the blur caused by pressing the shutter button.

Timer Settings on Different DSLR Brands
Canon
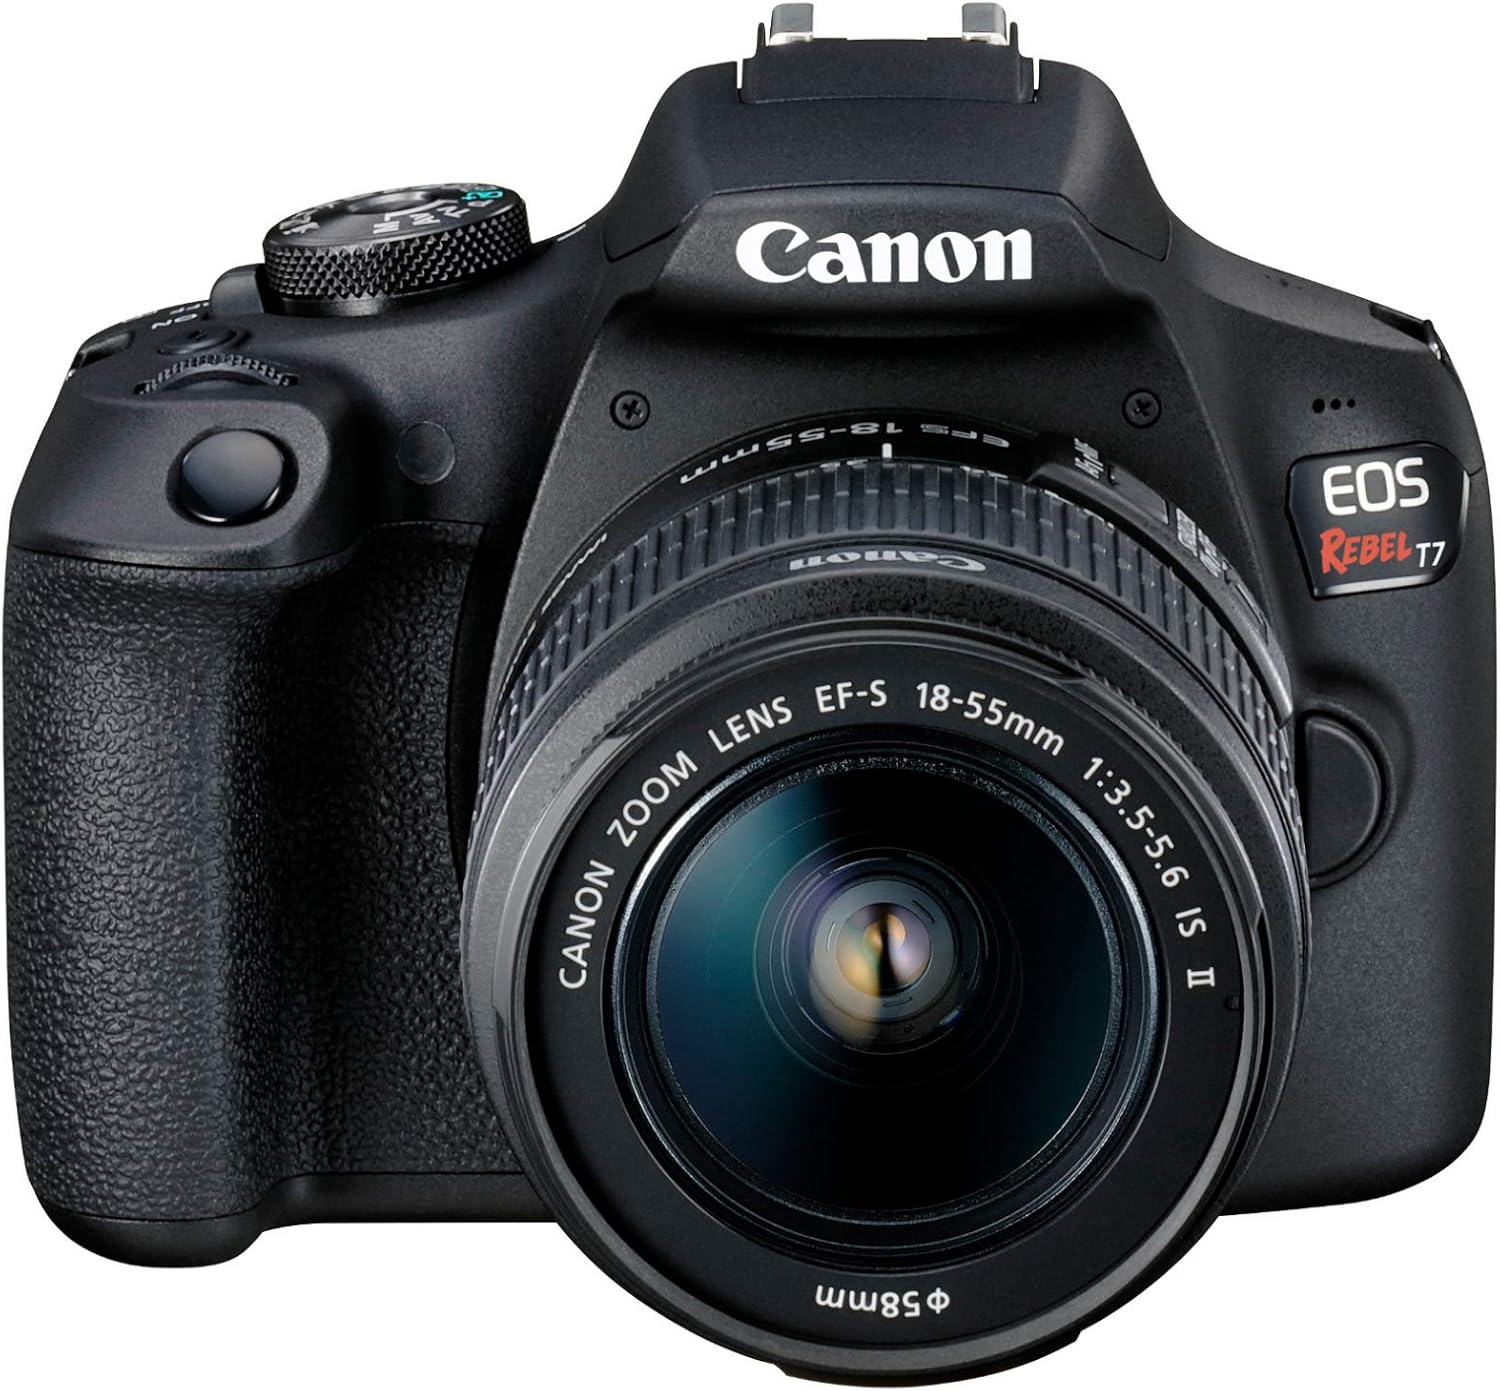
On Canon DSLRs, the self-timer is found in the Drive mode menu. You can choose between a 2-second and a 10-second delay. Additionally, some Canon models offer a remote control option that can be used in conjunction with the timer.
Nikon
Nikon cameras generally have a dedicated self-timer button, usually marked with a clock icon. Once accessed, you can select the timer duration and even the number of shots to be taken sequentially.
Sony
Sony DSLRs and mirrorless cameras usually house the timer settings within the camera menu under the Drive mode or Shooting mode options. You can adjust the delay as well as other parameters like the number of shots.
FAQs
Can I set a timer for multiple shots?
Yes, most DSLRs allow you to set a timer for multiple exposures. This can be handy for situations like group photos or HDR imaging.
Do I need a remote for using the timer?
While a remote isn't necessary, it can provide additional flexibility. Some DSLR models even offer smartphone apps as remote triggers.
Why are my timed shots still blurry?
Blurriness could be due to other factors like focus or camera settings. Make sure everything is properly adjusted before using the timer.
Additional Resources
For further reading on DSLR camera settings, check out this manual guide. Also, visit how to setup DSLR camera for advanced insights.
As an Amazon Associate, I earn from qualifying purchases.

