

How to Position Lighting for Photography: Big Tips and Tricks?
A key element in creating stunning photographs is knowing how to position lighting for photography. The way light interacts with a subject can make or break an image. For a professional photographer, understanding the nuances of lighting is essential for delivering remarkable results. This article explores the techniques, tips, and considerations in effectively positioning lighting for stunning photography.

The Importance of Lighting in Photography
Lighting is often described as the soul of photography. Mastering it can elevate images from ordinary to extraordinary. The **type** of lighting you choose, whether natural or artificial, plays a significant role in setting the tone of your photography. If you are a professional photographer looking to refine your skills, focusing on lighting can be a game-changer.
Understanding Different Types of Lighting
There are two primary types of lighting in photography: natural and artificial. Natural light is what you get from the sun or moon, while artificial lighting comes from various sources like strobe lights or LED panels. Each type works uniquely with your subject matter and background.
Additionally, understanding how each light source manipulates color, texture, and shadows is critical in determining the mood of your photograph. For instance, harsh lighting can create strong shadows, while diffused light results in softer shadows, enhancing features.
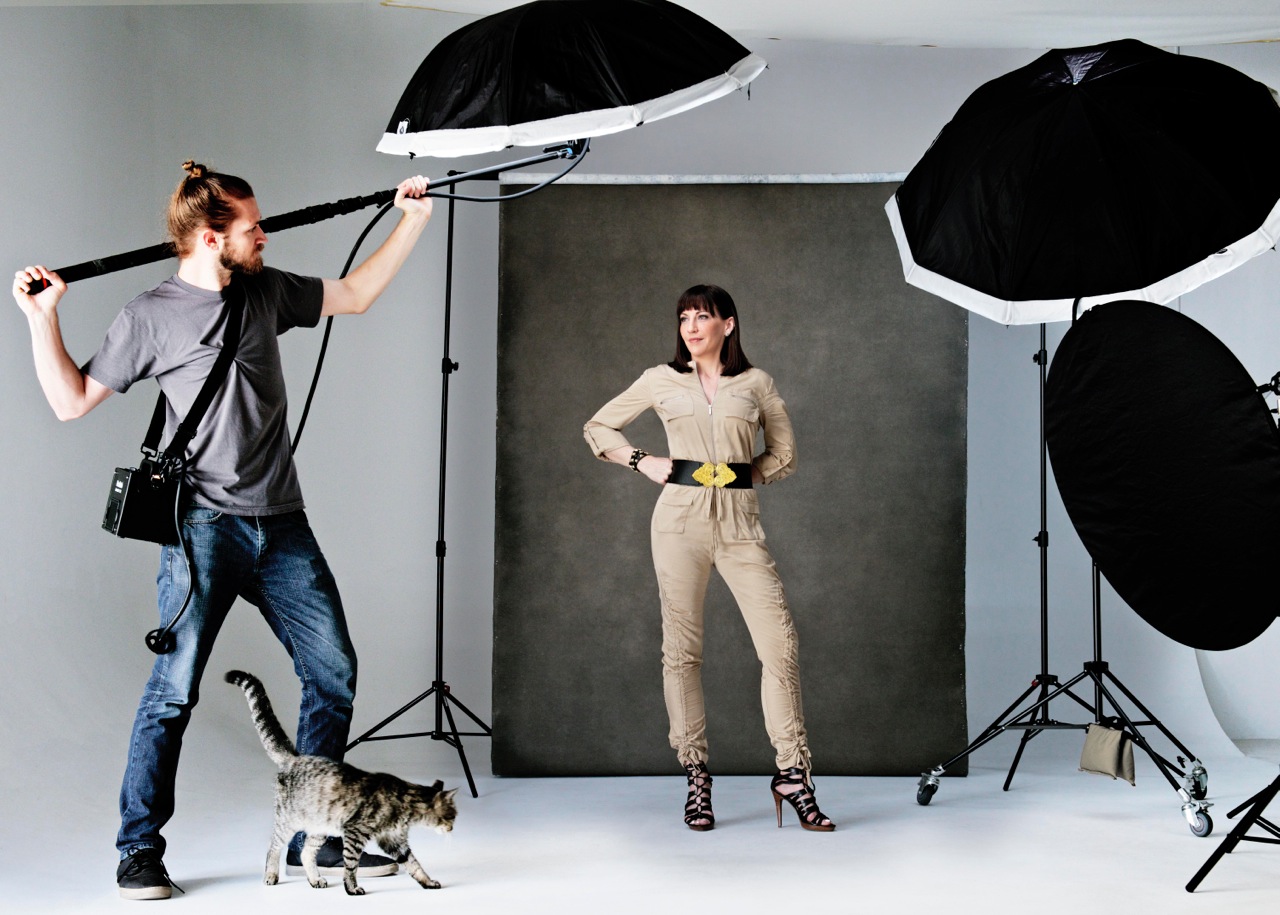
Positioning Your Lights
Positioning your lights effectively can make a substantial difference. Here are some tips to help you achieve the perfect setup:
- Key Light: Position your key light about 45 degrees from your subject. This placement ensures the best highlights and shadows.
- Fill Light: Fill lights should be adjusted based on the intensity of your key light. Place it opposite to the key light to soften shadows without overwhelming the image.
- Backlight: Backlights serve to create depth and highlight details in your subject. Position them directly behind to give the subject a glowing effect.
- Side Lighting: For dramatic effects, use side lighting to accentuate textures and create breathtaking depth.
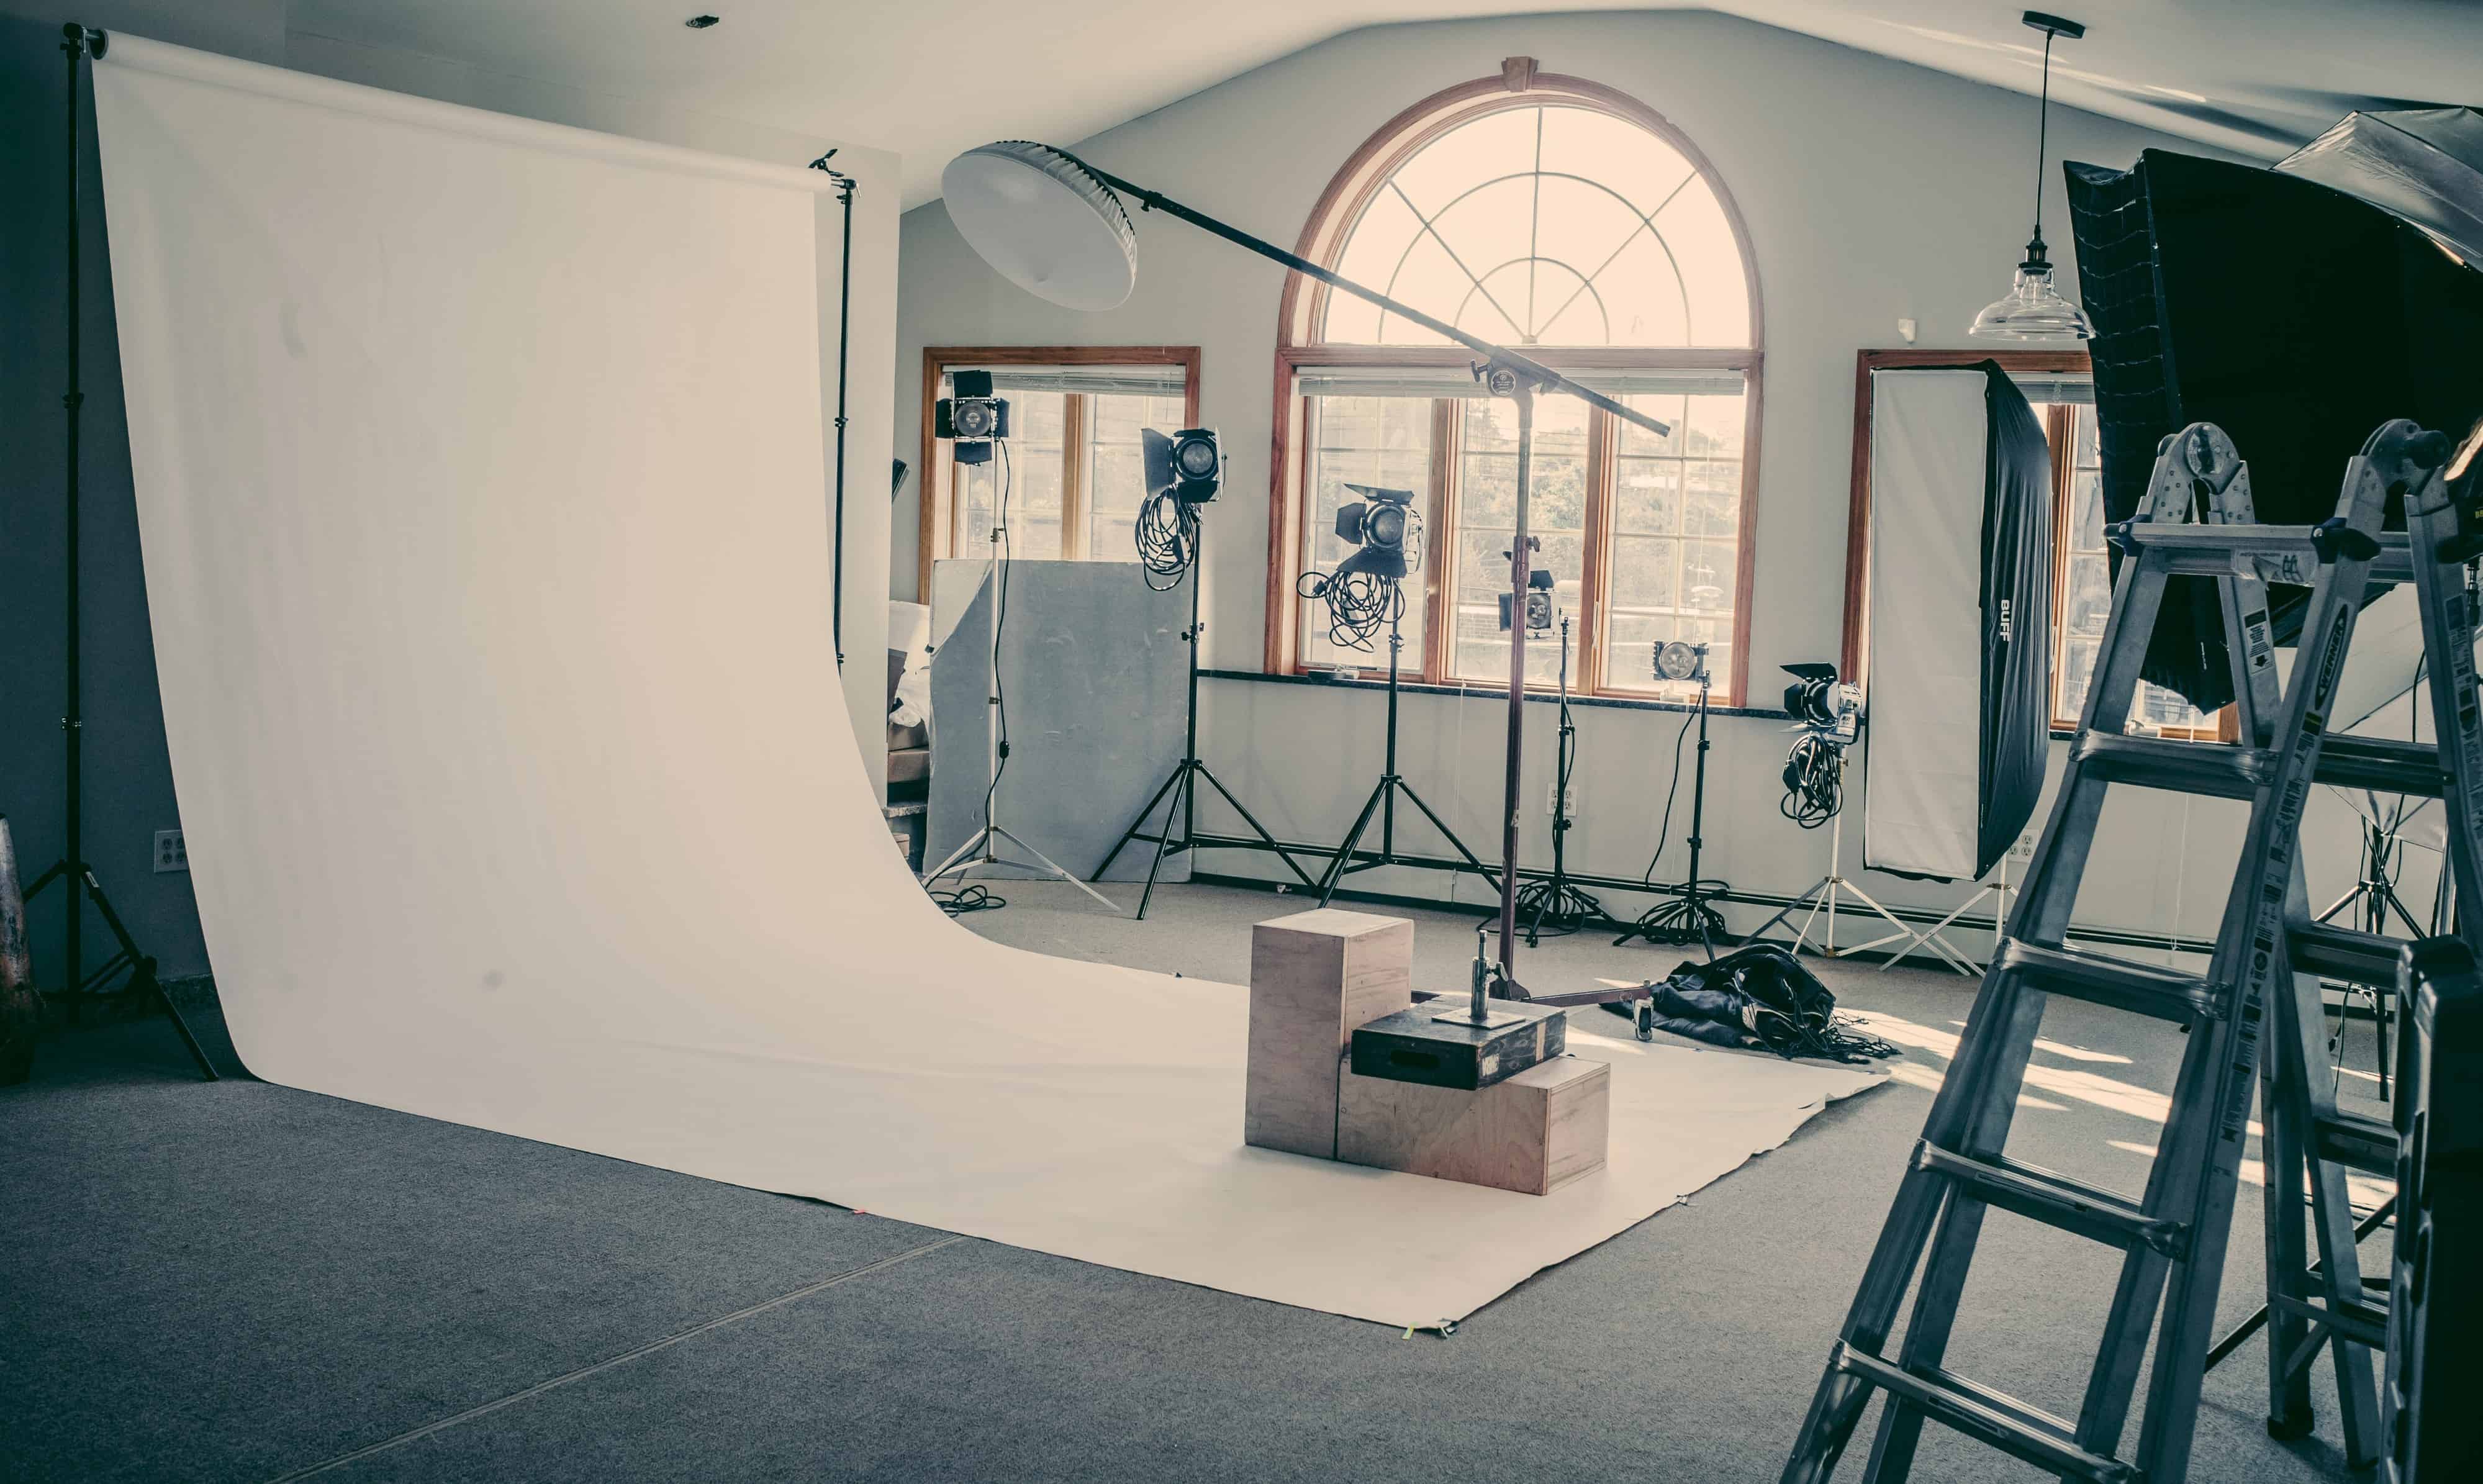
Using Flags and Gobos to Control Light
For many professionals, light control is crucial. Flags can block unwanted light, while gobos can shape the light in specific ways. Utilize these tools to focus your light on desired areas, giving your images a clean and polished look.
Understanding Light Quality
Light quality involves the characteristics of the light, such as its color temperature, harshness, and direction. Understanding how these aspects influence your images is essential:
- Harsh Light: Perfect for creating dramatic shadows and contrast.
- Soft Light: Ideal for portraits, this quality creates a gentle halo effect around the subject.
- Color Temperature: Adjust your balance accordingly to ensure your subject has the true color rendition.
Balancing Natural and Artificial Light
Combining natural and artificial light can produce unique effects in photography. When positioning the lights, take note of the natural light direction and adjust your artificial lights to complement it. This technique is especially useful during dusk or dawn when natural light creates beautiful gradients in the sky.
Experimenting with Angles
Dont be afraid to move around your subject and test various angles. Each angle offers a new perspective and can drastically change how the light falls on your composition. Why not experiment with these angles when learning light shaping techniques? It could lead to discovering a new favorite shot.
Utilizing Reflectors and Diffusers
Reflectors bounce light back onto your subject, while diffusers soften the impact of harsh light. These tools are essential for fine-tuning your lighting setup. Position reflectors opposite your key light to fill in shadows and create a more balanced look. You can read more about essential shaping techniques here.

Case Studies: Real-World Lighting Scenarios
Understanding how to position lighting is often best learned through real-world applications. Consider a few examples:
- Outdoor Portraits: Use soft reflectors to adjust natural light.
- Product Photography: Use a combination of key and fill lights to highlight features of the product.
By analyzing these scenarios, you can grasp how effective lighting positioning can enhance quality.
Post-Processing Considerations
Understanding how to position lighting for photography doesnt end in shooting; it extends into post-processing. Using software like Adobe Lightroom or Photoshop can enhance light elements in your image. Adjust the highlights, shadows, and contrast to fine-tune the lighting effects created.
Common Pitfalls to Avoid
As with any skill, there are mistakes that photographers often make. Here are a few common pitfalls to avoid:
- Static Positioning: Always pay attention to your lighting setup, as static positions might not yield the best results.
- Ignoring Ambient Light: Consider the ambient light in your environment and adjust your artificial lights accordingly.
Conclusion
Mastering how to position lighting for photography is integral for delivering high-quality images. By experimenting, adjusting, and controlling your light, you can achieve remarkable results that resonate with clients and audiences alike.
For additional insights, check out this studio lighting guide.
FAQ
1. What are the best lights for outdoor photography?
The best lights for outdoor photography often include soft diffused lights that can enhance the beauty of natural light.
2. How does the color temperature affect photography?
Color temperature dramatically influences the mood and feel of the image, affecting shadows and highlights.
3. Should I invest in artificial lights over natural light?
Investing in artificial lights can provide you with control and flexibility, especially in varying light conditions.
As an Amazon Associate, I earn from qualifying purchases.