

How to Create Good Lighting for Photography at Home?
Good lighting is the cornerstone of stunning photography, whether you're snapping stunning portraits or capturing mesmerizing still life. For professional photographers, understanding how to create good lighting for photography at home not only enhances the quality of their work, but also allows for more flexibility, creativity, and convenience without relying heavily on studio space.
Creating the right lighting can often seem daunting, especially if you've always worked in professional studios. However, even at home, with the right knowledge and tools, you can produce incredible results. In this article, well break down detailed methods along with tips, techniques, and practical options to help you establish the perfect lighting for your needs.

Understanding the Basics of Lighting
Before diving into practical setups, its essential to understand the fundamentals of lighting in photography. Light shapes how your subject appears, influencing contrast, mood, and even texture. Here are some crucial concepts:
- Direction: The direction from which light hits a subject affects shadow placement and depth. Experimenting with angles can create vastly different outcomes.
- Quality: Light can be hard (direct) or soft (diffused). Soft light generally reduces shadows, while hard light enhances details.
- Color Temperature: Light has an associated temperature, with warmer lights appearing yellowish and cooler ones appearing bluish. White balance adjustments in-camera can correct mismatched color temperatures.
Utilizing Natural Light for Home Photography
One of the most accessible forms of lighting photographers can utilize at home is natural light. Its inexpensive, versatile, and can produce stunning results.
- Window Light: Position your subject near a window but avoid direct sunlight to minimize harsh shadows. The ideal time for shooting is during the golden houran hour after sunrise or before sunsetto capture warm, soft light.
- Reflectors: If light is uneven, you can use reflectors (even a simple white board can suffice) to bounce light back onto your subject, softening shadows.
- Diffusers: Use sheer curtains over your windows to diffuse harsh sunlight, creating soft, natural light ideal for portraits.
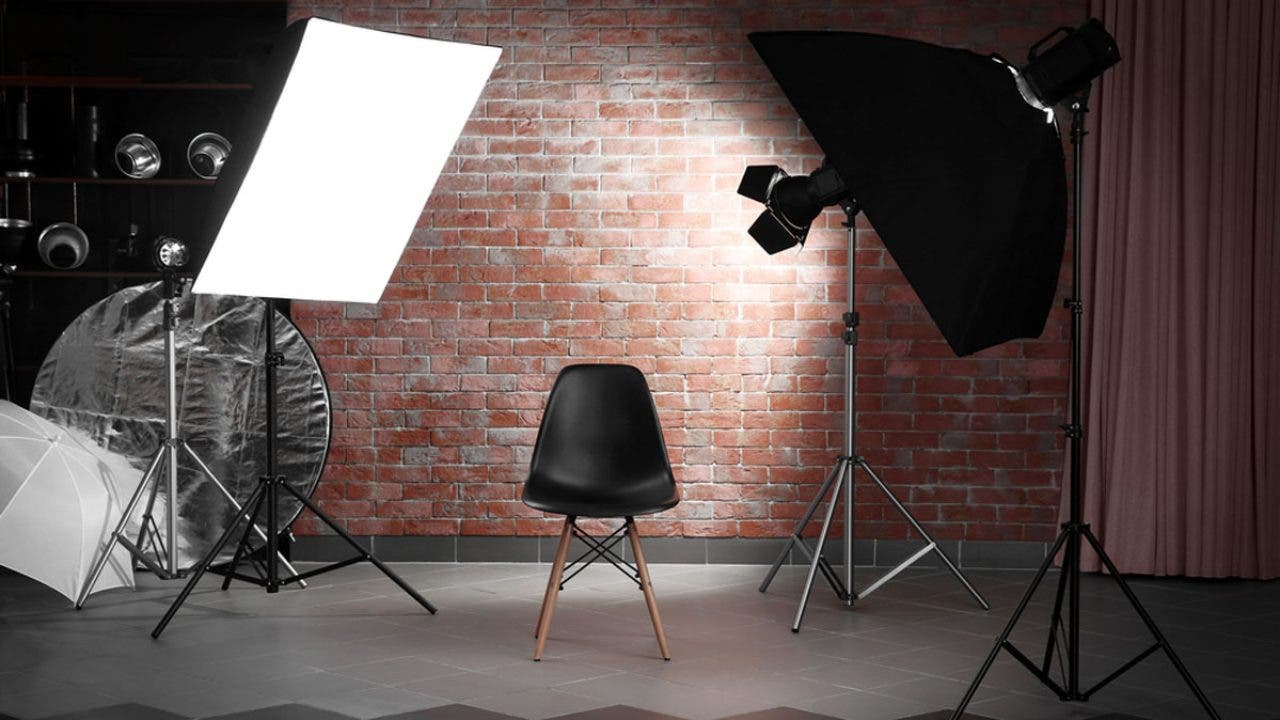
Lighting Setups at Home
When natural light isnt sufficient, setting up the right lighting fixtures can make all the difference. Here are some setups to consider:
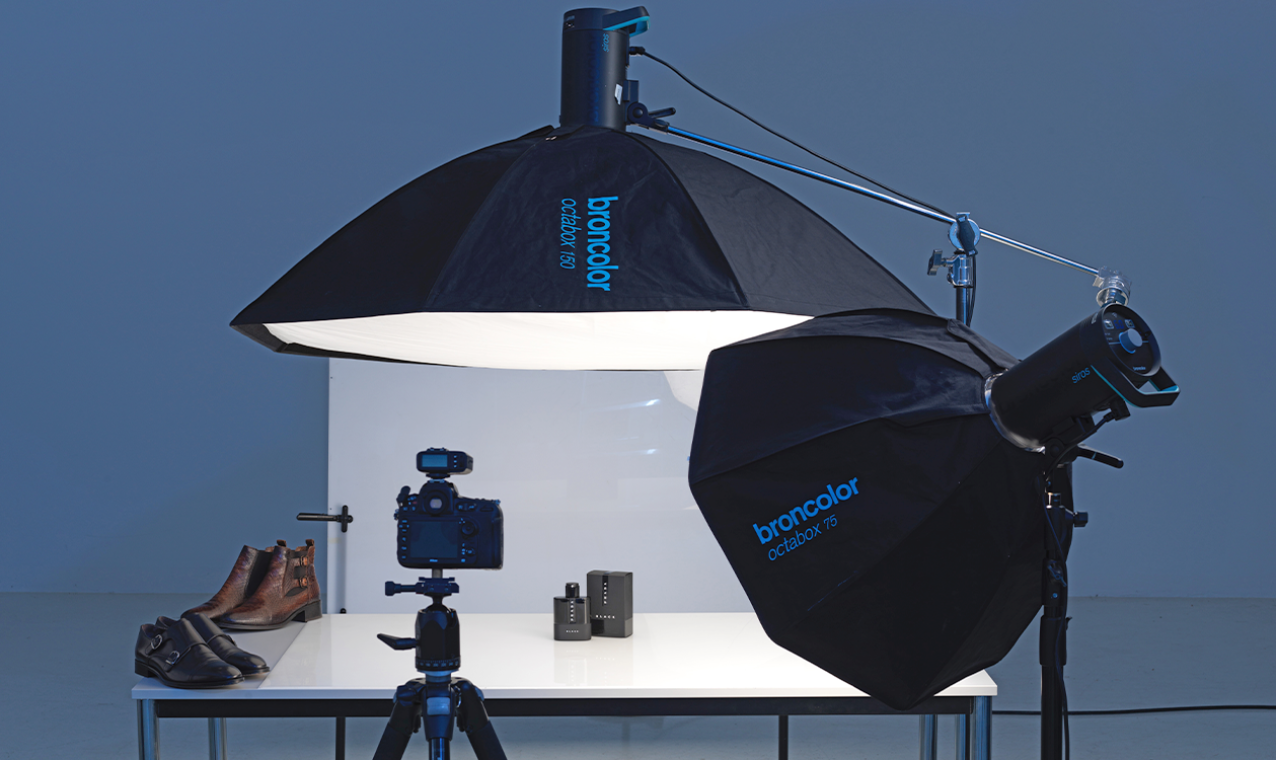
1. Softbox Lighting
A softbox is excellent for creating soft, even light, minimizing shadows.
- Positioning: Place your softbox at a 45-degree angle to your subject to create flattering light that adds depth.
- Height Adjustment: Adjust the height of the softbox to achieve the effect you want, whether its a dramatic or natural look.
2. LED Light Panels
LED panels are a fantastic option for constant lighting.
- Adjustability: Look for panels that allow adjustments in intensity and color temperature to best suit your needs.
- Portable: Since theyre lightweight, LED panels can easily be moved around your home studio.
3. Ring Lights
These are becoming increasingly popular, particularly for portraits and beauty shots.
- Even Illumination: The ring light provides a nice, round highlight in the eyes and softens any imperfections in the skin.
- Versatility: They can be used for a variety of subjects, from beauty portraits to product photography.

Using Color and Light Modifiers
To further enhance your home photography and control your lighting, consider using color gels and other light modifiers:
- Color Gels: These can add hues to your light and create dramatic effects.
- Dimmers: Adding dimmers to your lights allows for gradual control over intensity.
Creative Lighting Techniques
Now that you've set your lighting, its time to get creative with the possibilities that different lighting techniques provide.
- Backlighting: Place the light source behind your subject to create silhouettes or dramatic effects.
- Side Lighting: Lighting from the side can create a mysterious, moody ambiance, enhancing shadows.
Maintenance and Adaptation
Photographers should also consider adaptability:
- Change It Up: Regularly reinterpret your lighting to keep your work fresh and engaging.
- Learn from Mistakes: Evaluate your lighting setups critically. Learning from what didnt work is key to developing as a photographer.
Conclusion
In summary, understanding how to create good lighting for photography at home is essential for leveraging your skills as a professional photographer. Always remember to experiment, learn, and play with your lighting to develop your unique style.
Frequently Asked Questions
What type of light is best for home photography?
Natural light is generally ideal, but softboxes and LED panels can also provide excellent results when the light isnt sufficient.
Can I take professional photos with just natural light?
Yes, many photographers rely solely on natural light for stunning images, especially during the golden hour.
How can I improve my home photography lighting?
Use reflectors, diffusers, and different lighting setups (like softboxes and LED panels) to enhance your lighting at home.
For more in-depth insights, consider reading about types of lighting or the importance of light.
As an Amazon Associate, I earn from qualifying purchases.