How Does Lighting Effect Photography: Essential Techniques?
For a professional photographer, understanding how lighting affects photography is crucial. The interplay of light can drastically change the mood, subject focus, and visual quality of an image. In this article, we'll delve deep into the artistry and science behind how lighting shapes stunning photographs. We will also cover essential techniques that every photographer must consider.
Whether you are shooting indoors or outdoors, your command over light makes a significant difference in your photography results. Lighting influences everything from color and texture to shadows and highlights, so knowing how to manipulate it is essential for photographers of all skill levels.

Understanding the Basics of Lighting in Photography
The effect of lighting begins with its characteristics: intensity, color, direction, and quality. Each of these elements plays a vital role in shaping your images and conveying the desired message.
1. Intensity
Light intensity refers to the brightness of the light source. The more intense the light, the more pronounced the shadows and highlights become. Understanding how to balance intensity can lead to high-contrast images or softer, more subtle effects that flatter your subjects. For example, shooting during the golden hour provides soft, diffused light that is perfect for portrait photography.
2. Color
The color of your lighting can drastically change the mood of your photographs. Different light sources produce various color temperatures, measured in Kelvin. Warmer light sources (around 2000K to 3000K) yield a cozy feel, while cooler light (above 6000K) lends a more clinical or modern tone. Consider studying the front lighting technique for how to use lighting color effectively.
3. Direction
The direction from which light hits your subject can drastically alter the scene's emotional impact. Use directional lighting to create dynamic shadows and depth. For instance, side lighting adds texture, while backlighting can create dramatic silhouettes. Understanding how the angle of light interacts with your subject is essential for storytelling through images.
4. Quality
The quality of light determines whether it appears soft or harsh. Natural light tends to be soft during cloudy days or early mornings, while direct sunlight casts hard shadows and bright highlights. To achieve a desirable quality of light in your images, consider diffusing your light sources or using reflectors.

Types of Lighting Techniques
After grasping the fundamental aspects of lighting, photographers can apply various techniques to enhance their imagery. Lets explore some prominent lighting techniques used in photography:
1. Natural Lighting
Natural lighting relies on ambient light from the sun, making it one of the most accessible and widely used forms of lighting. Professional photographers often utilize natural light for its sweeping colors and attractive quality, particularly during the golden hour. However, it requires a keen understanding of sunlight patterns. For specific outdoor lighting strategies, check out studio lighting insights.
2. Artificial Lighting
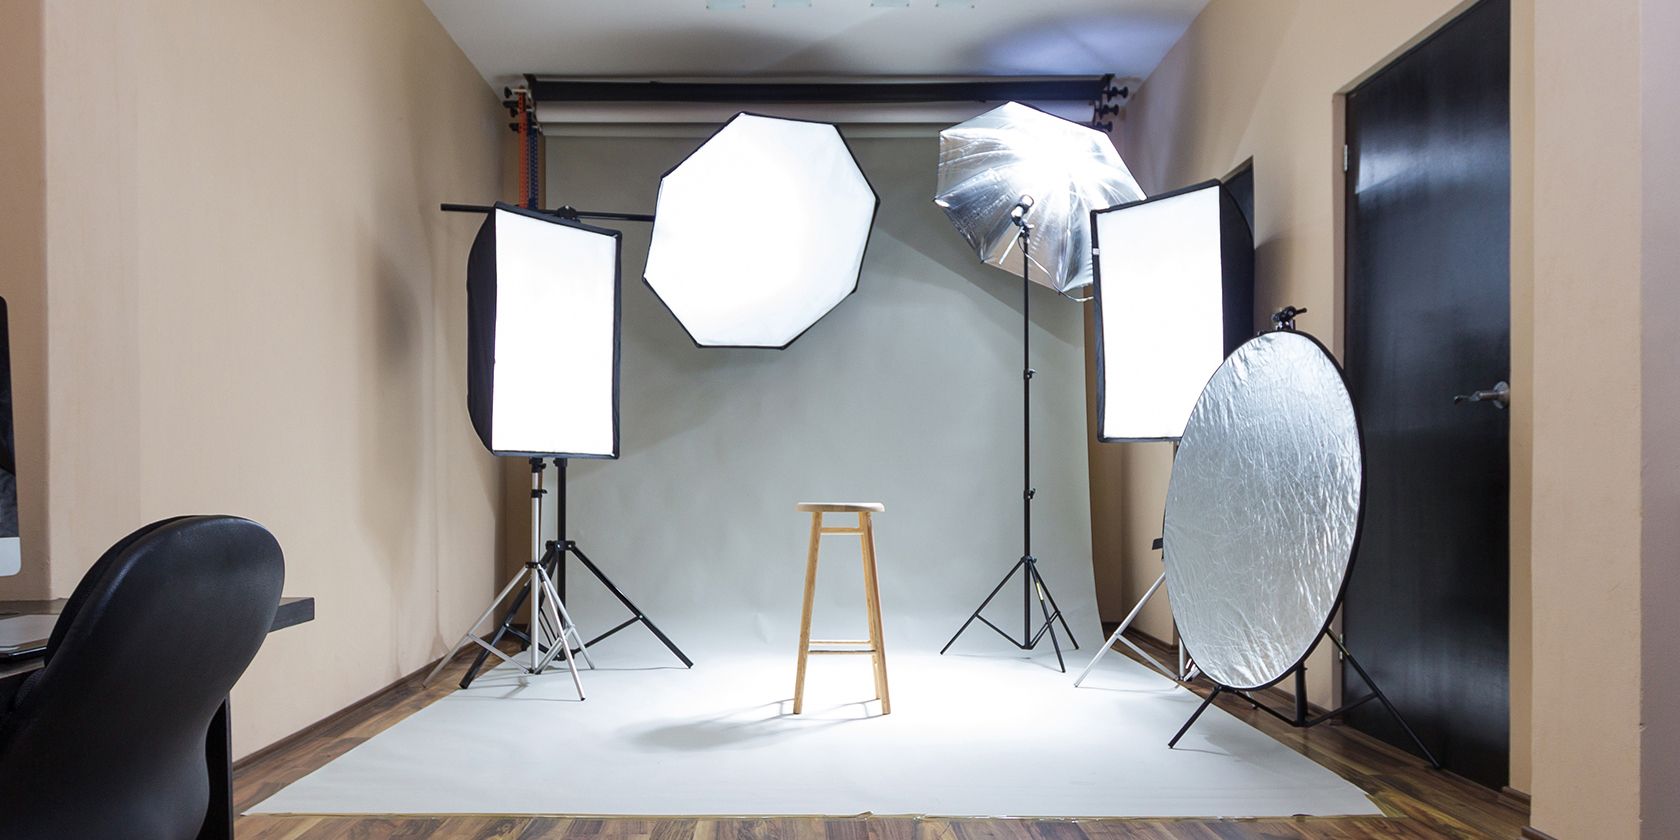
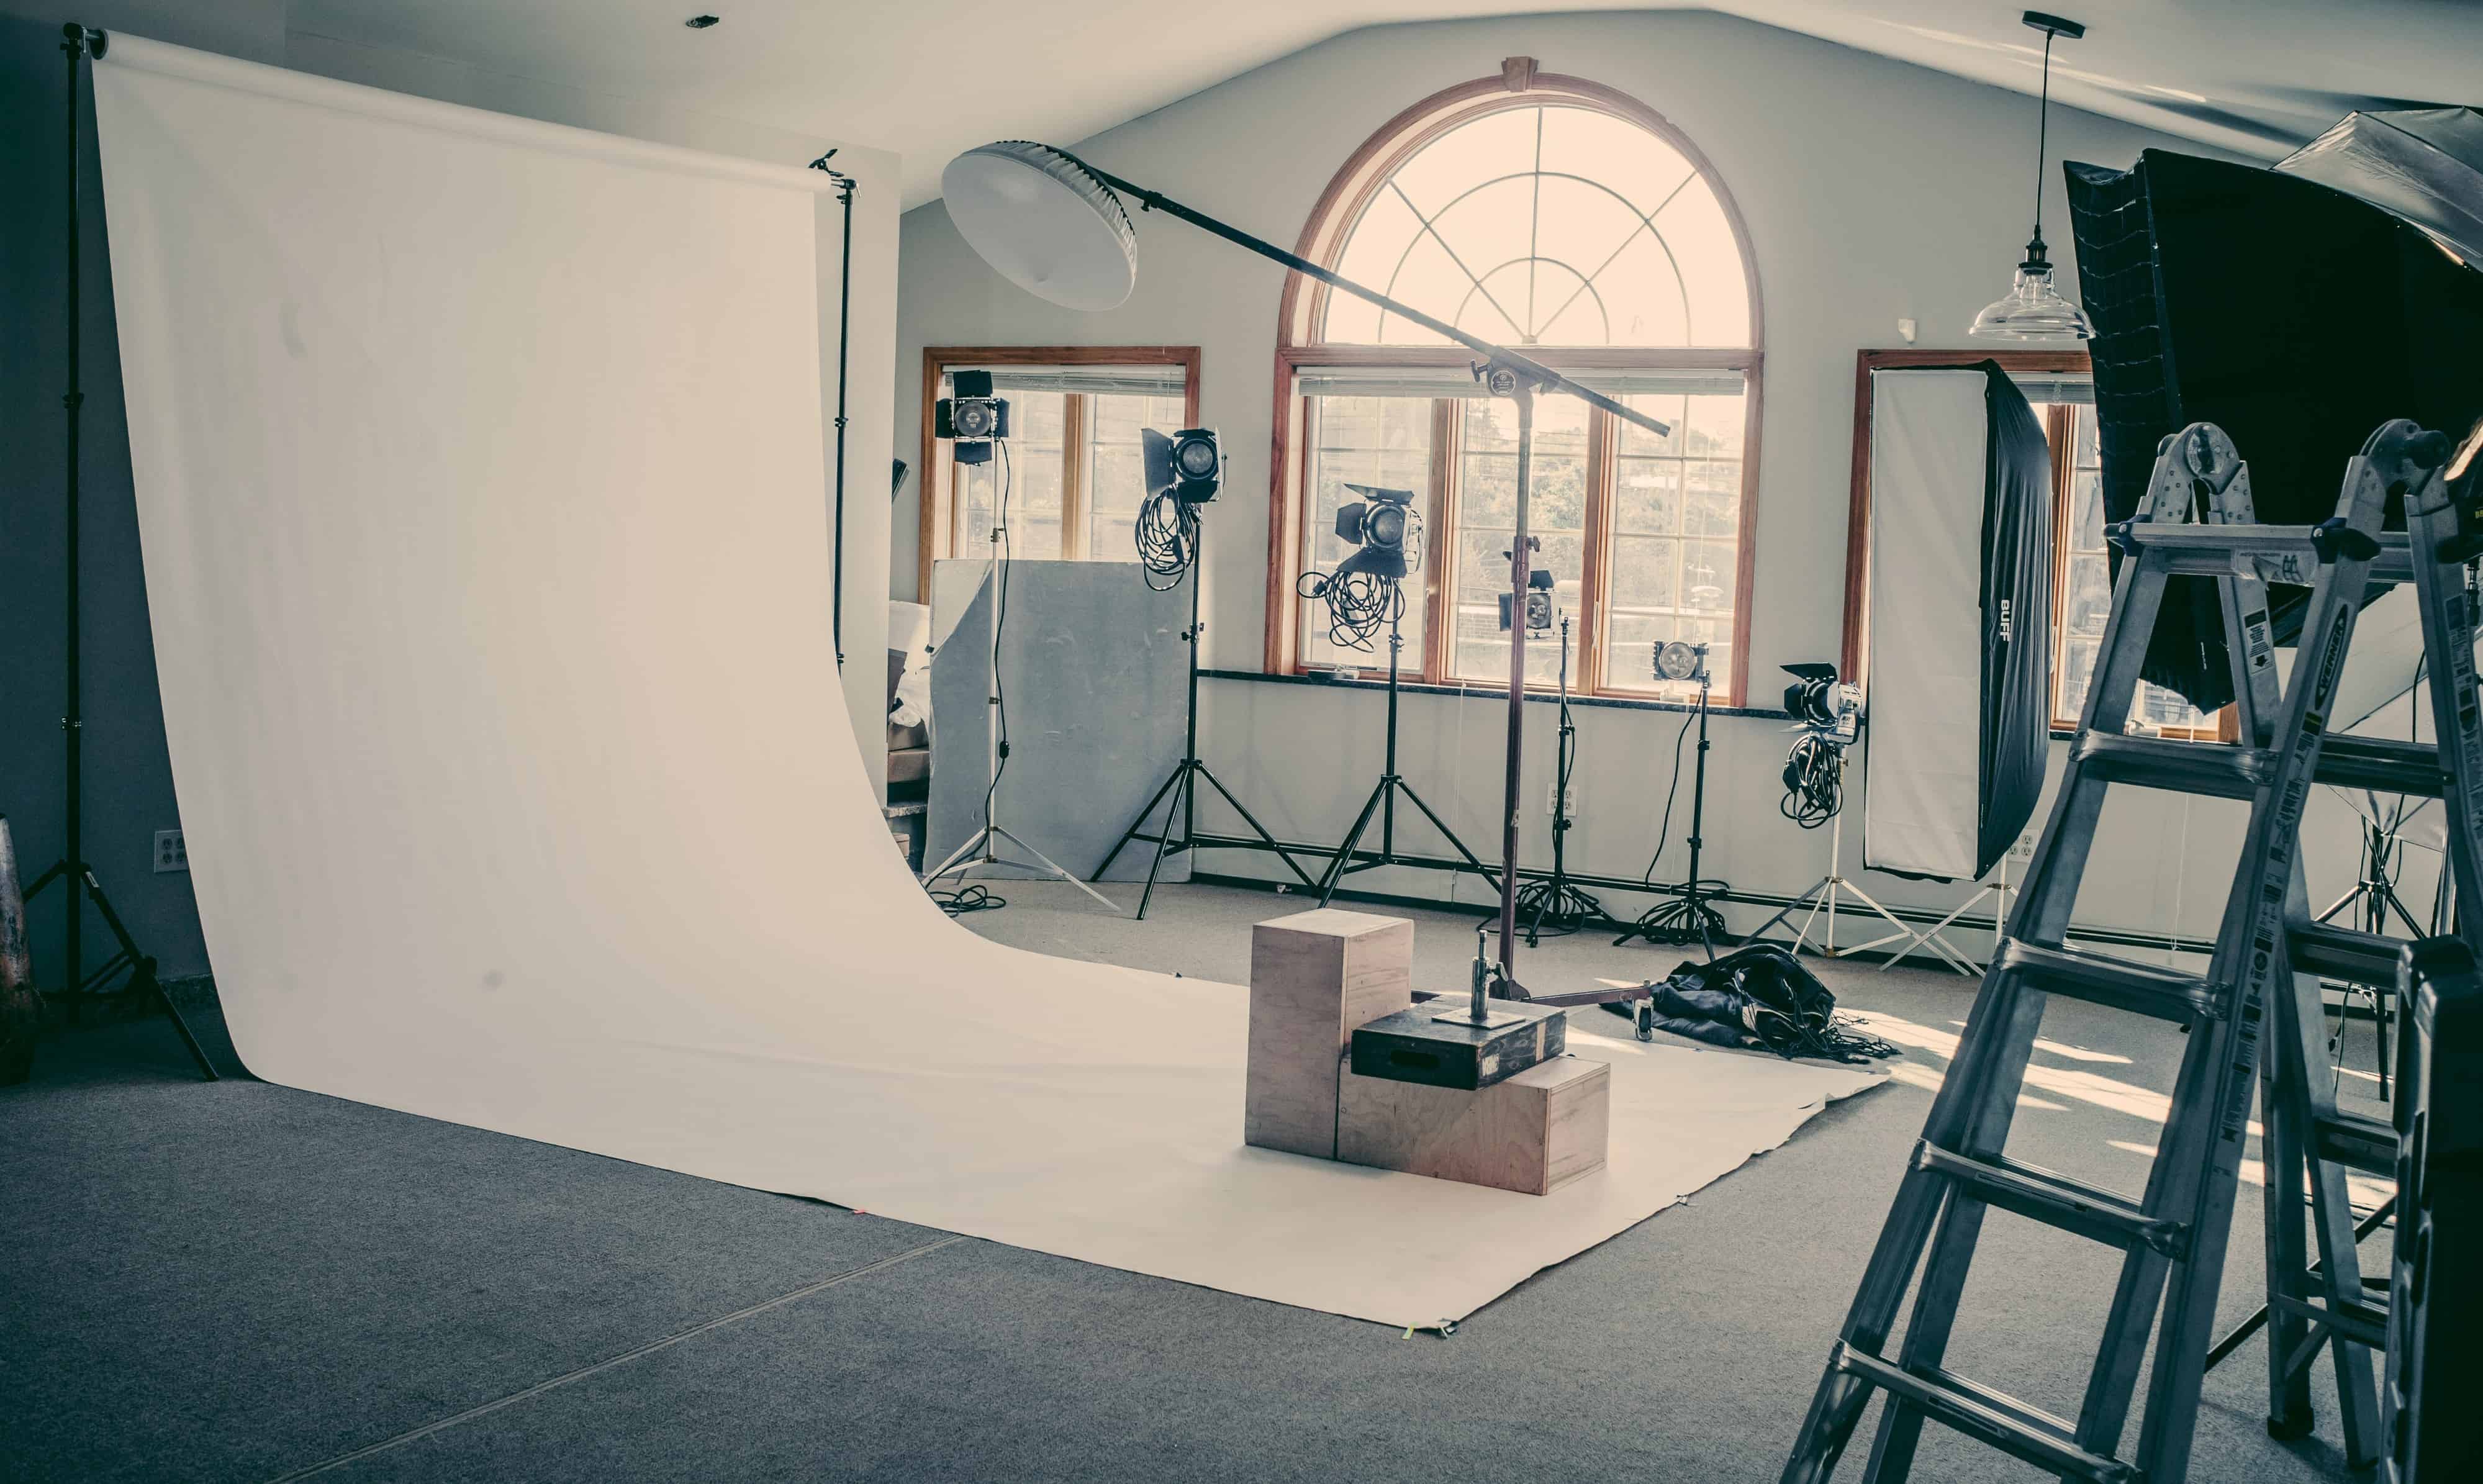
Artificial lighting gives photographers complete control over the light's characteristics. This approach includes using flash, continuous lights, or studio lights, allowing you to create an optimal environment for your subject. Mastering how to manage artificial light sources can significantly elevate your photographs, especially in controlled settings.
3. Mixed Lighting
Mixed lighting involves combining different types of lighting to craft unique or balanced images. For example, you can enhance a photograph captured in natural light with a flash to add catchlights in the subjects eyes. This mix can create bold contrasts or soft transitions, depending on execution, making it a valuable technique for dynamic photography.

Practical Tips for Manipulating Light
Now that you understand different types of lighting, here are some practical tips to help you manipulate lighting in your photography effectively:
1. Utilize Reflectors
Reflectors are essential tools for bouncing light onto your subject, effectively brightening shadows and smoothing out harsh contrasts. They can significantly improve lighting quality and are available in various colors to alter the light's warmth and intensity.
2. Diffuse the Light
Utilizing diffusers can soften harsh light sources, making them more flattering for portraits or sensitive subjects. You can purchase diffusers, but white sheets or shower curtains work remarkably well in a pinch!
3. Experiment with Angles
Do not be afraid to experiment with different angles when positioning your light sources. The direction in which you shoot can affect the overall composition and feel of your images. Moving the light source can sometimes yield unexpected yet stunning results.
4. Watch Your Shadows
Shadows can add to or subtract from your image's appeal. Pay attention to how light creates shadows behind or around your subject. Sometimes, you may want to eliminate deep shadows for a softer touch, whereas other times, shadows can provide interest or depth, depending on your photograph's narrative.

Common mistakes to avoid with light
Even seasoned photographers face challenges when working with lighting. To help you avoid common pitfalls, here are some mistakes to be wary of:
1. Ignoring White Balance
Neglecting to manage white balance can result in images that appear overly warm or cool. Always ensure your camera settings match your light source to produce accurate colors.
2. Over-Reliance on Automatic Settings
While modern cameras often select ideal lighting settings automatically, they may fail to produce the intended results. Take the time to learn manual adjustments for a greater understanding of how light and exposure work together.
3. Not Practicing
Finally, photographers often fail to practice and experiment under different lighting scenarios. Take every opportunity to shoot in various lighting conditions; this will only improve your craft.
Conclusion
Understanding how lighting effects photography is a lifelong journey essential to becoming a professional photographer. With time, practice, and experimentation, photographers can comprehend how to utilize various lighting techniques to elevate their work. Remember to consider how the basics of lightingits intensity, color, direction, and qualitycan impact your images. By approaching light thoughtfully, your photography will flourish.
For further reading, consider these resources: Types of Lighting, Studio Lighting Basics.
FAQ
1. How can I control natural light when taking portraits?
You can control natural light by utilizing reflectors, diffusers, or shooting during the golden hour when the sun is low in the sky, producing softer light.
2. What is the best lighting for product photography?
Soft, diffused light works best for product photography, as it minimizes harsh shadows and provides a more even illumination of the subject.
3. Should I use artificial light for indoor photography?
Yes, artificial light can provide consistent and controlled lighting, which is essential for capturing high-quality indoor images without relying solely on available light sources.
As an Amazon Associate, I earn from qualifying purchases.

